Design
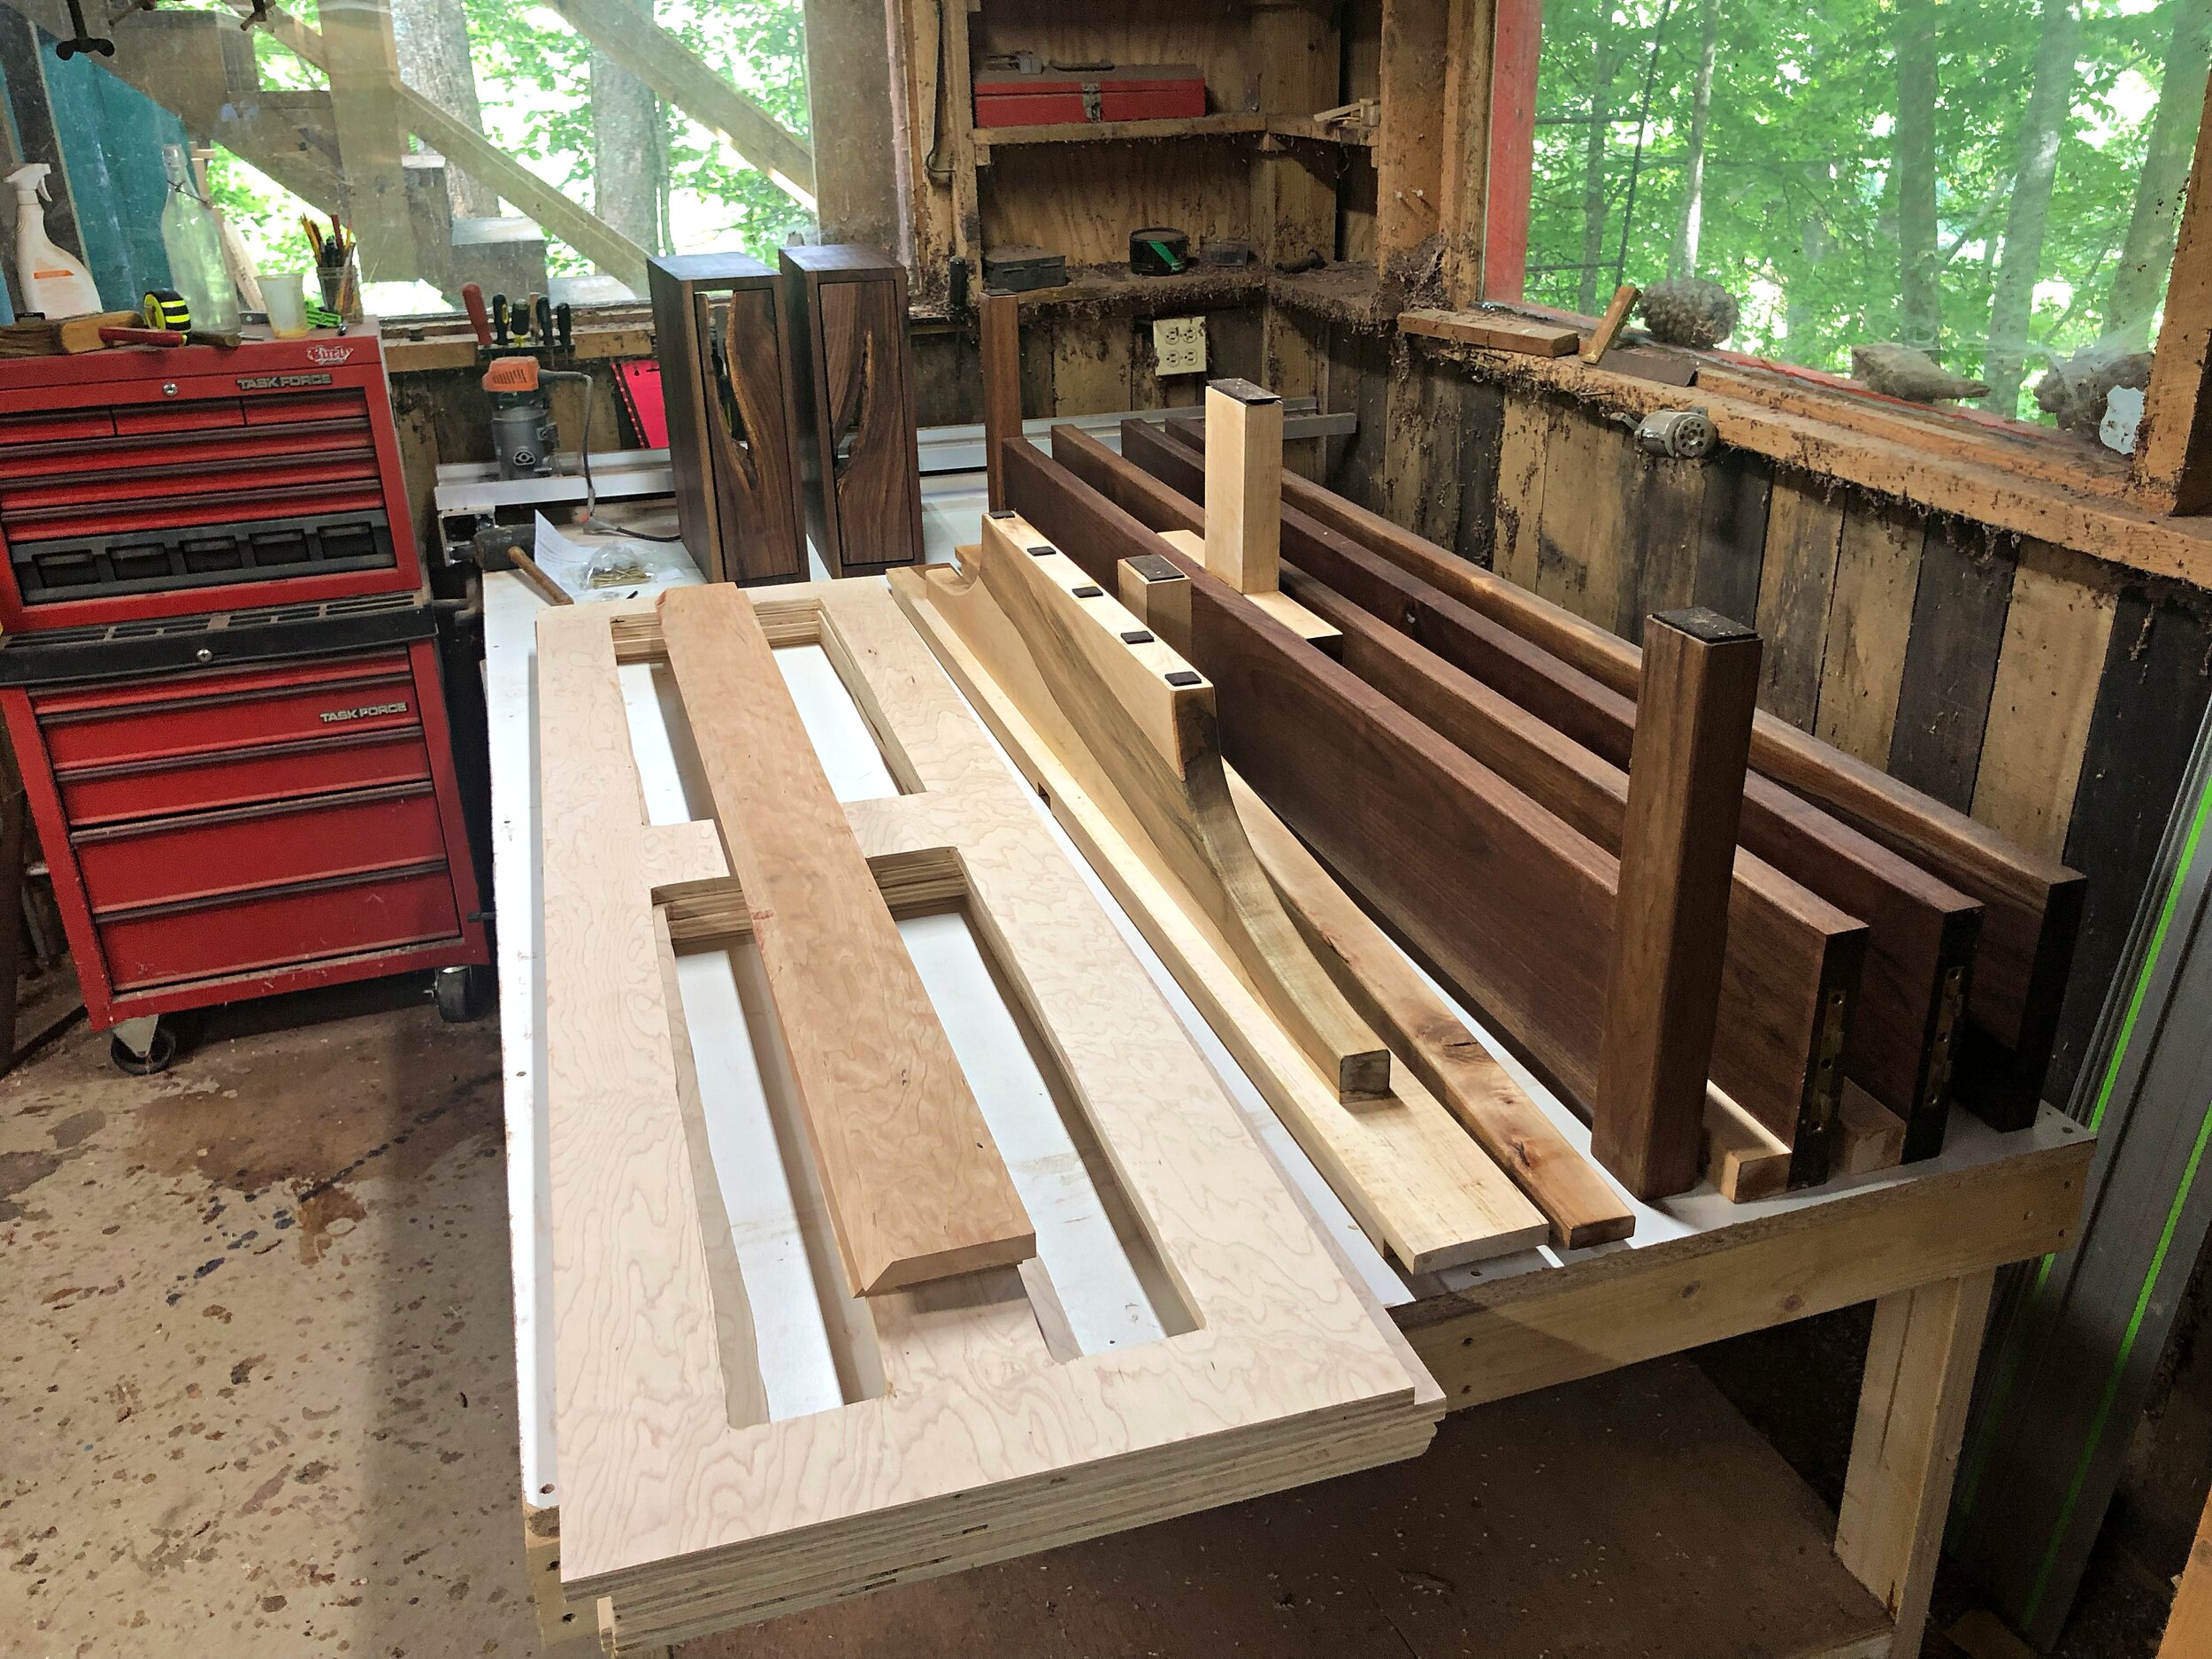
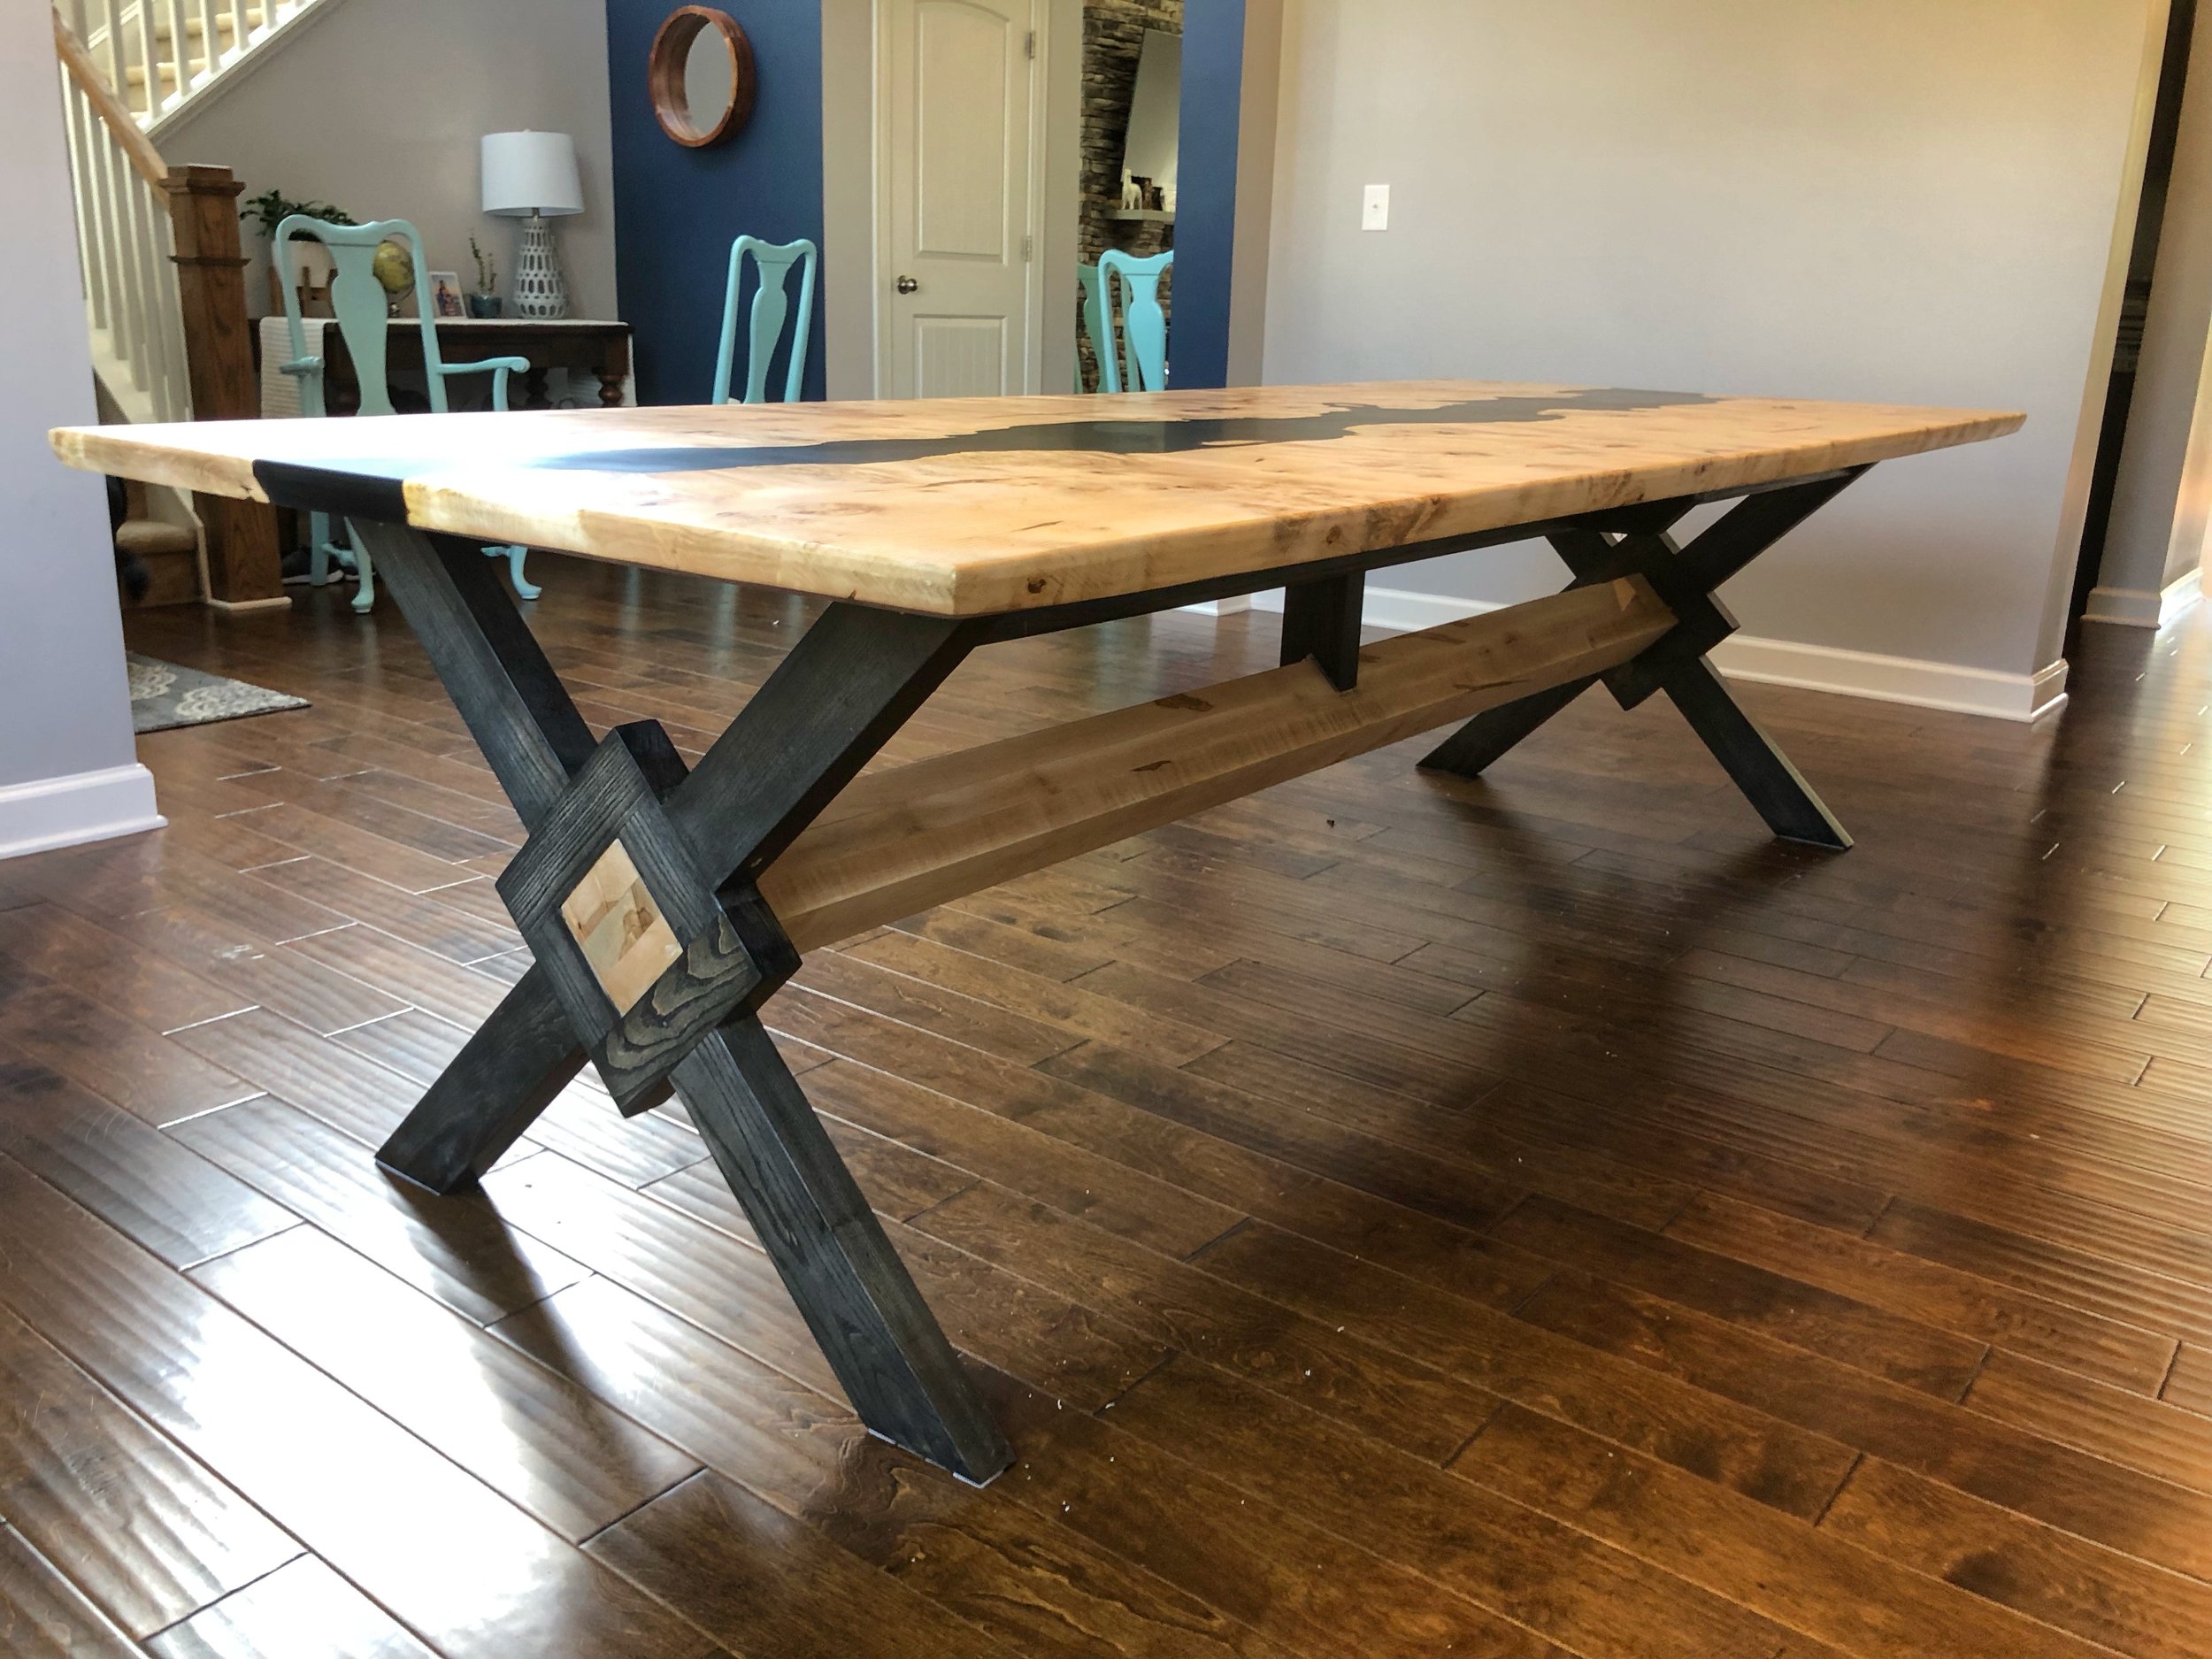
Every project starts with a conversation. My clients come to me with a need and an idea and I fill the rest in over a series of emails and conversations. I design my furniture with your space in mind - using the colors and styles of your home combined with your idea as a seed which grows into a one of a kind piece of heirloom furniture. Your input is valued - from selecting material, to various design aspects that come up before and during the build.
After the details are worked out, I send my clients an estimate and from there start the build after a deposit for half the projects value is paid on orders over $500, or the total value for orders under. I’ll update you through the process as your piece is built, with pictures of the process and room for customization along the way. My goal is my clients satisfaction.
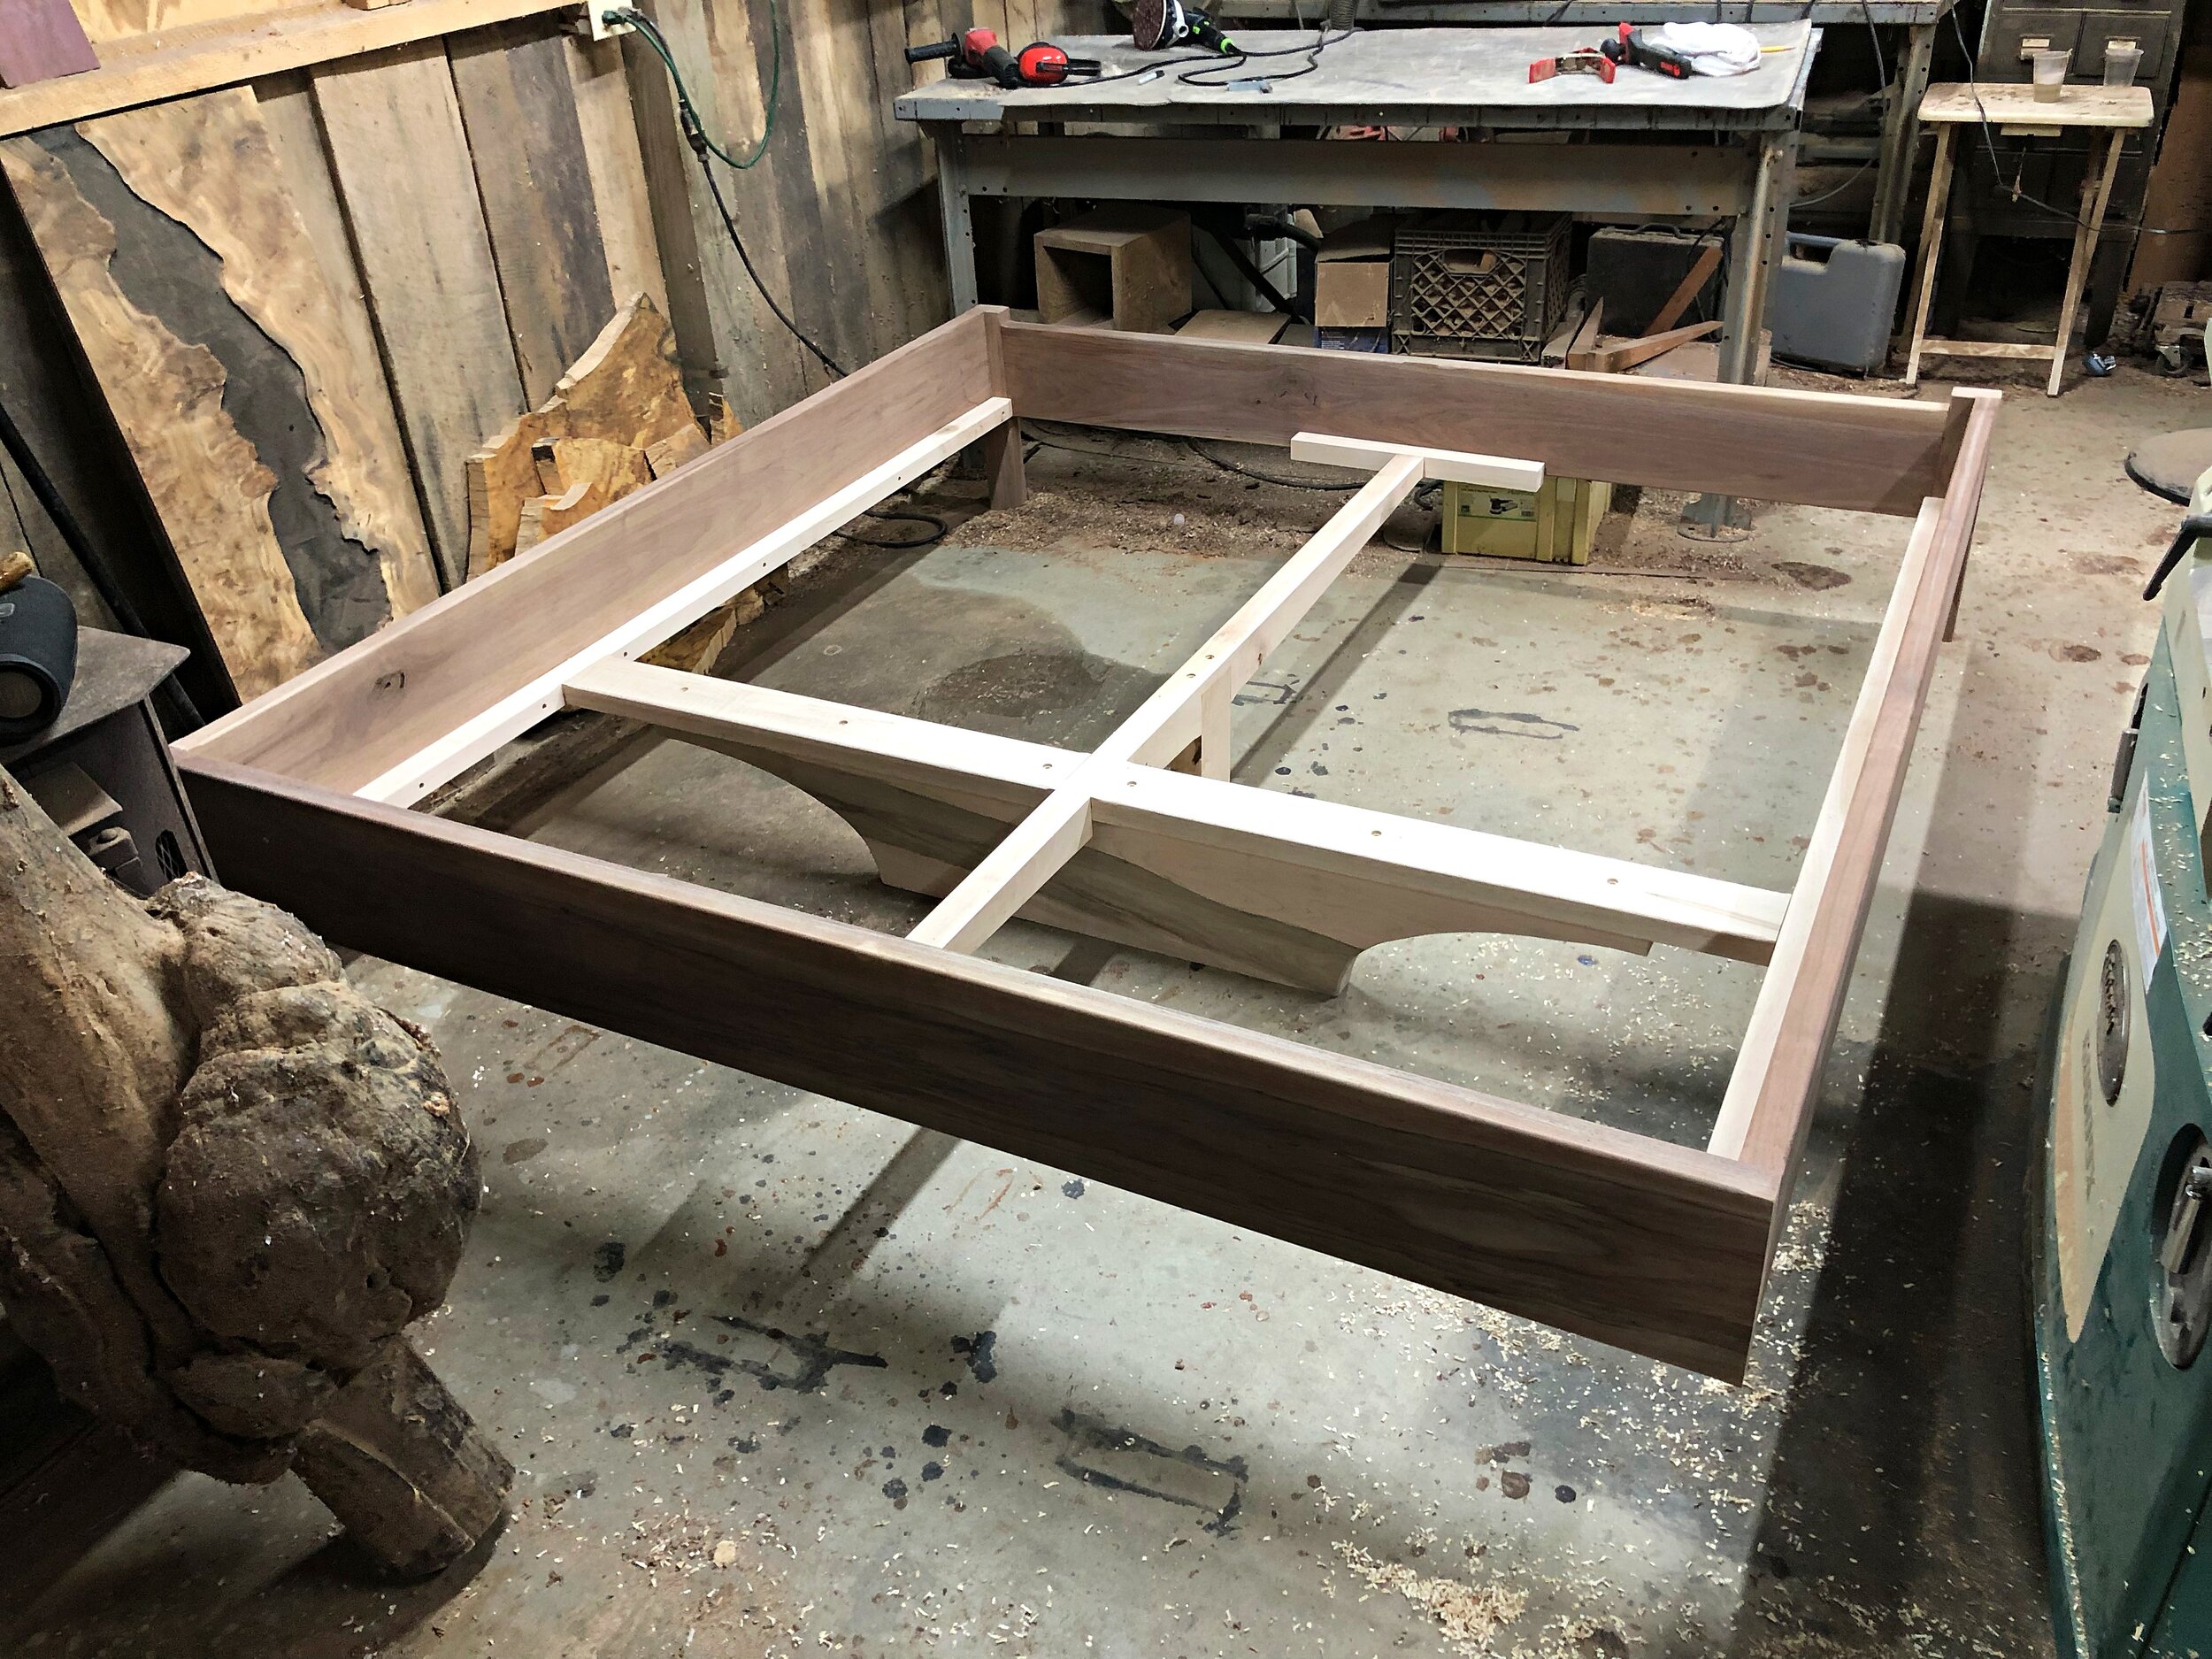
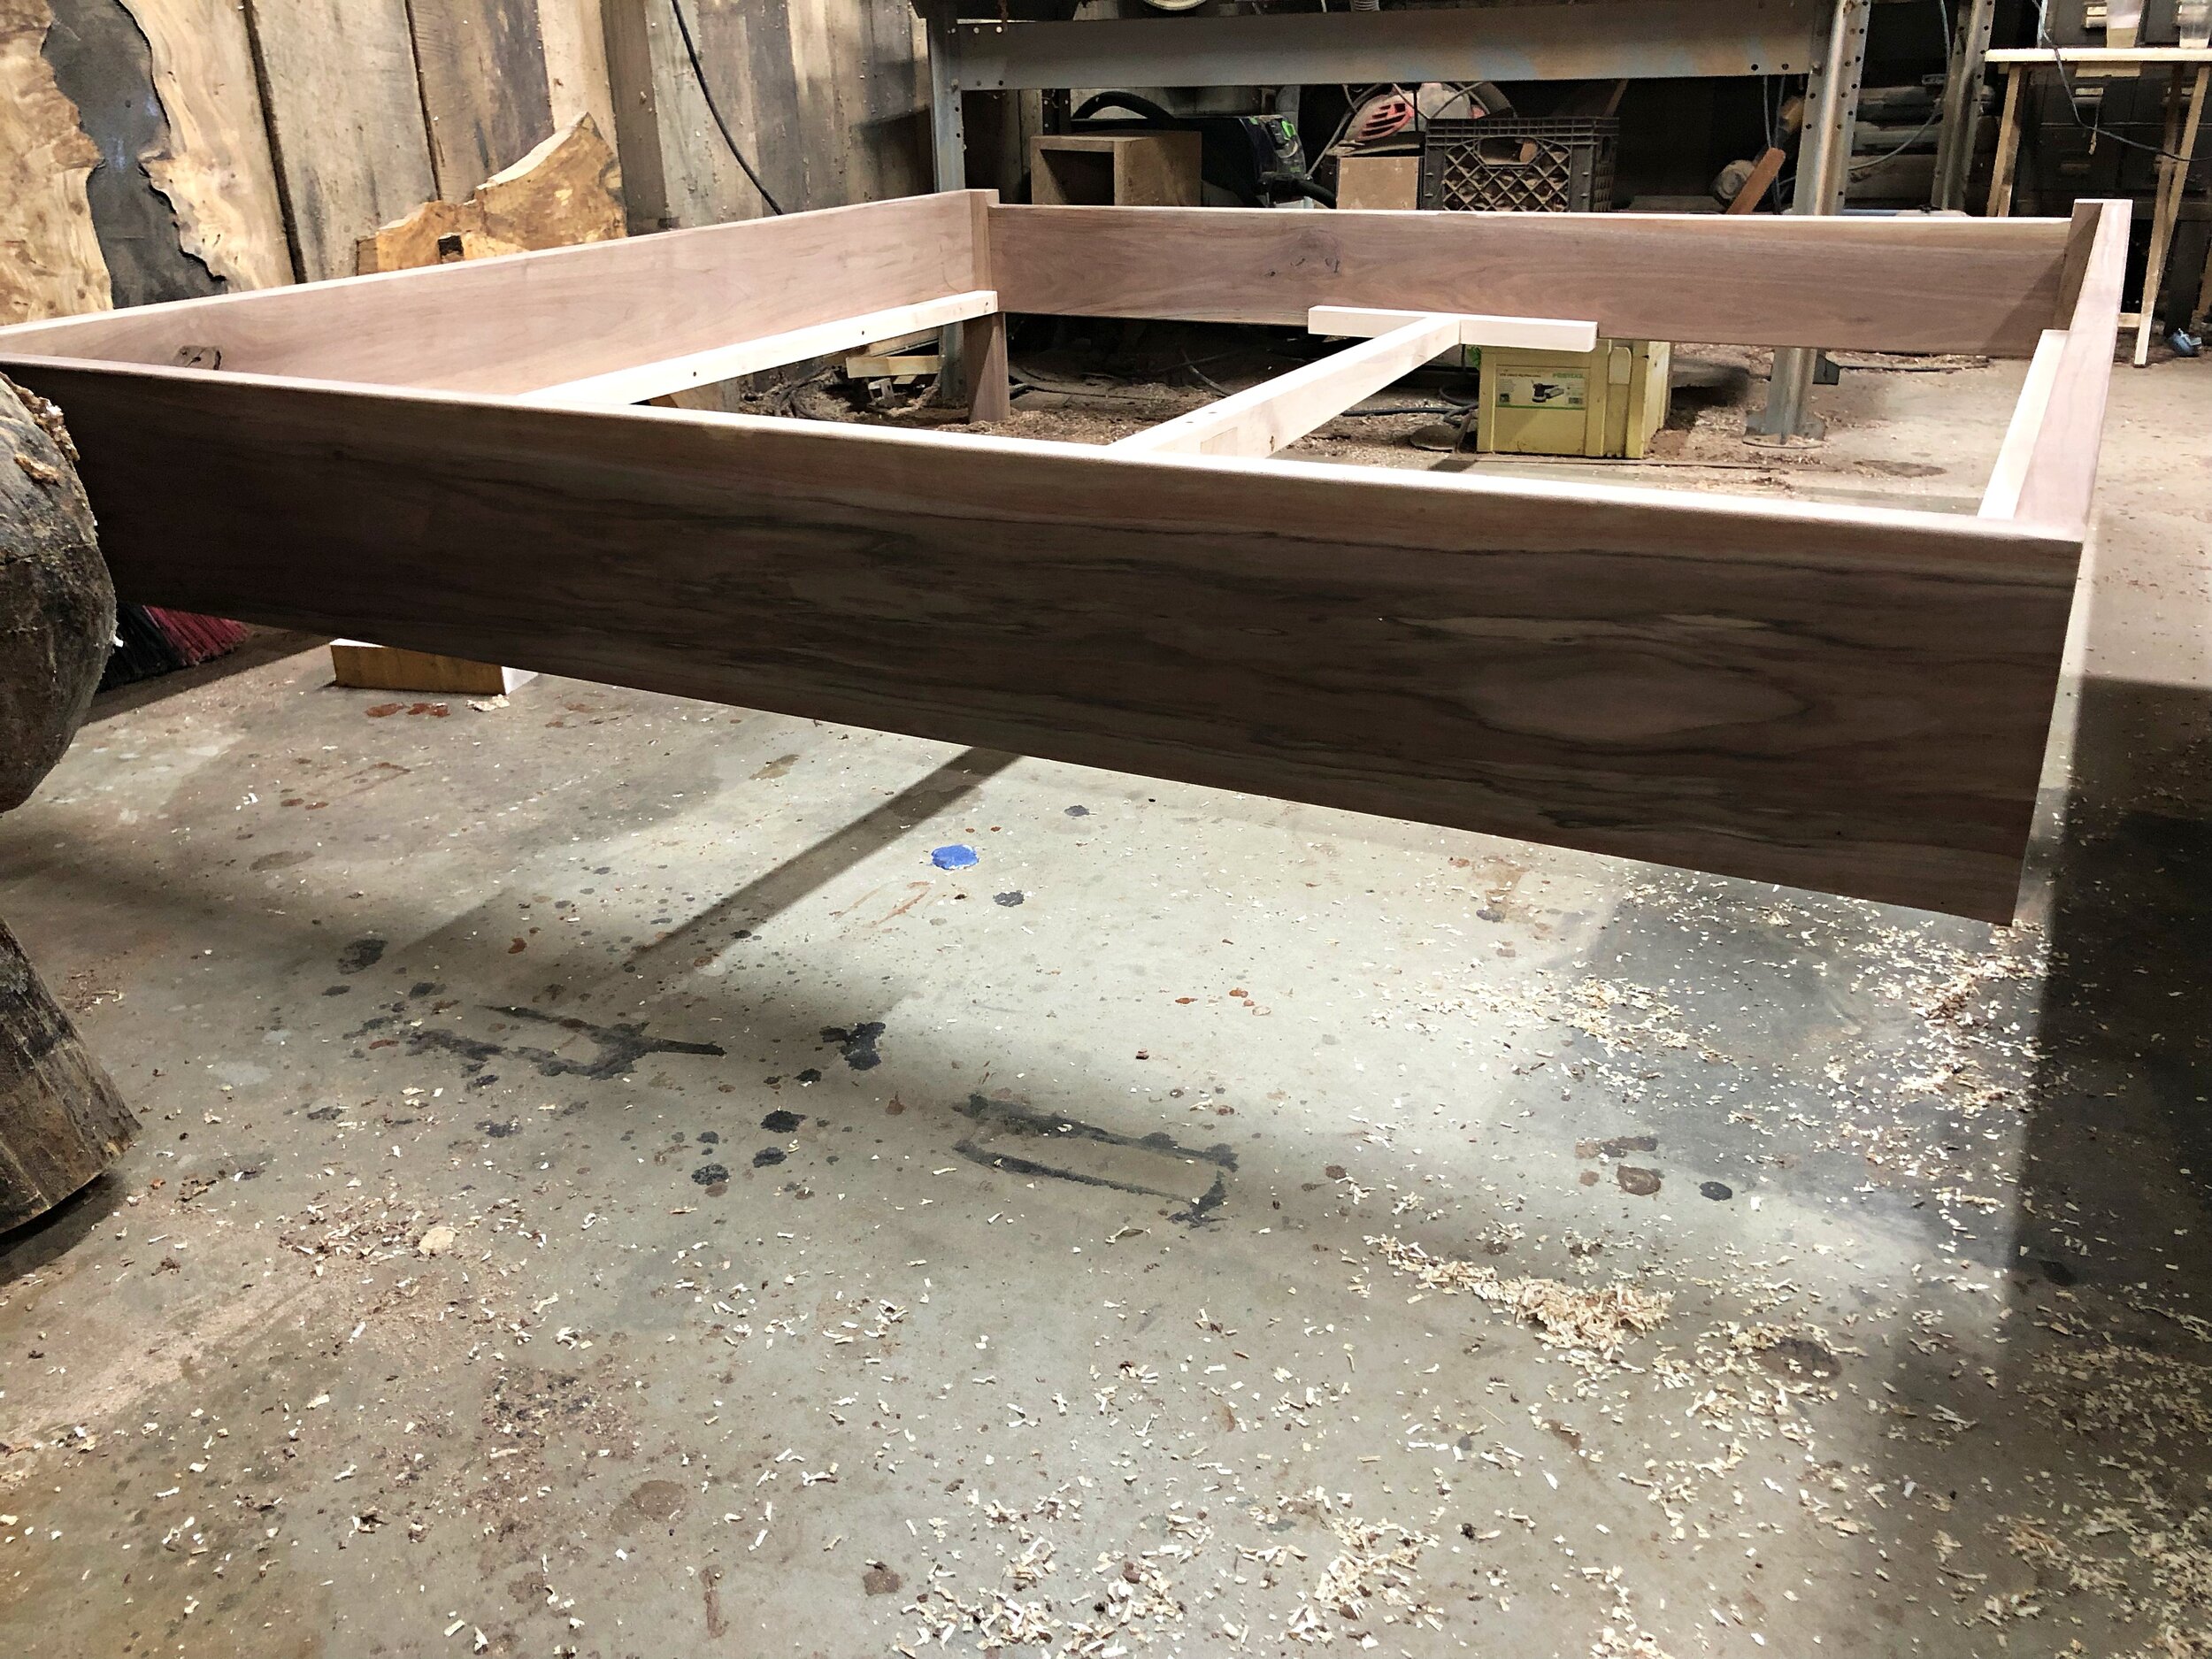
The project started with a picture of room and an exchange of ideas - they knew they wanted a live edge headboard and I suggested a floating bedframe design.
Based on the colors in the room I suggested black walnut for contrast and elegance
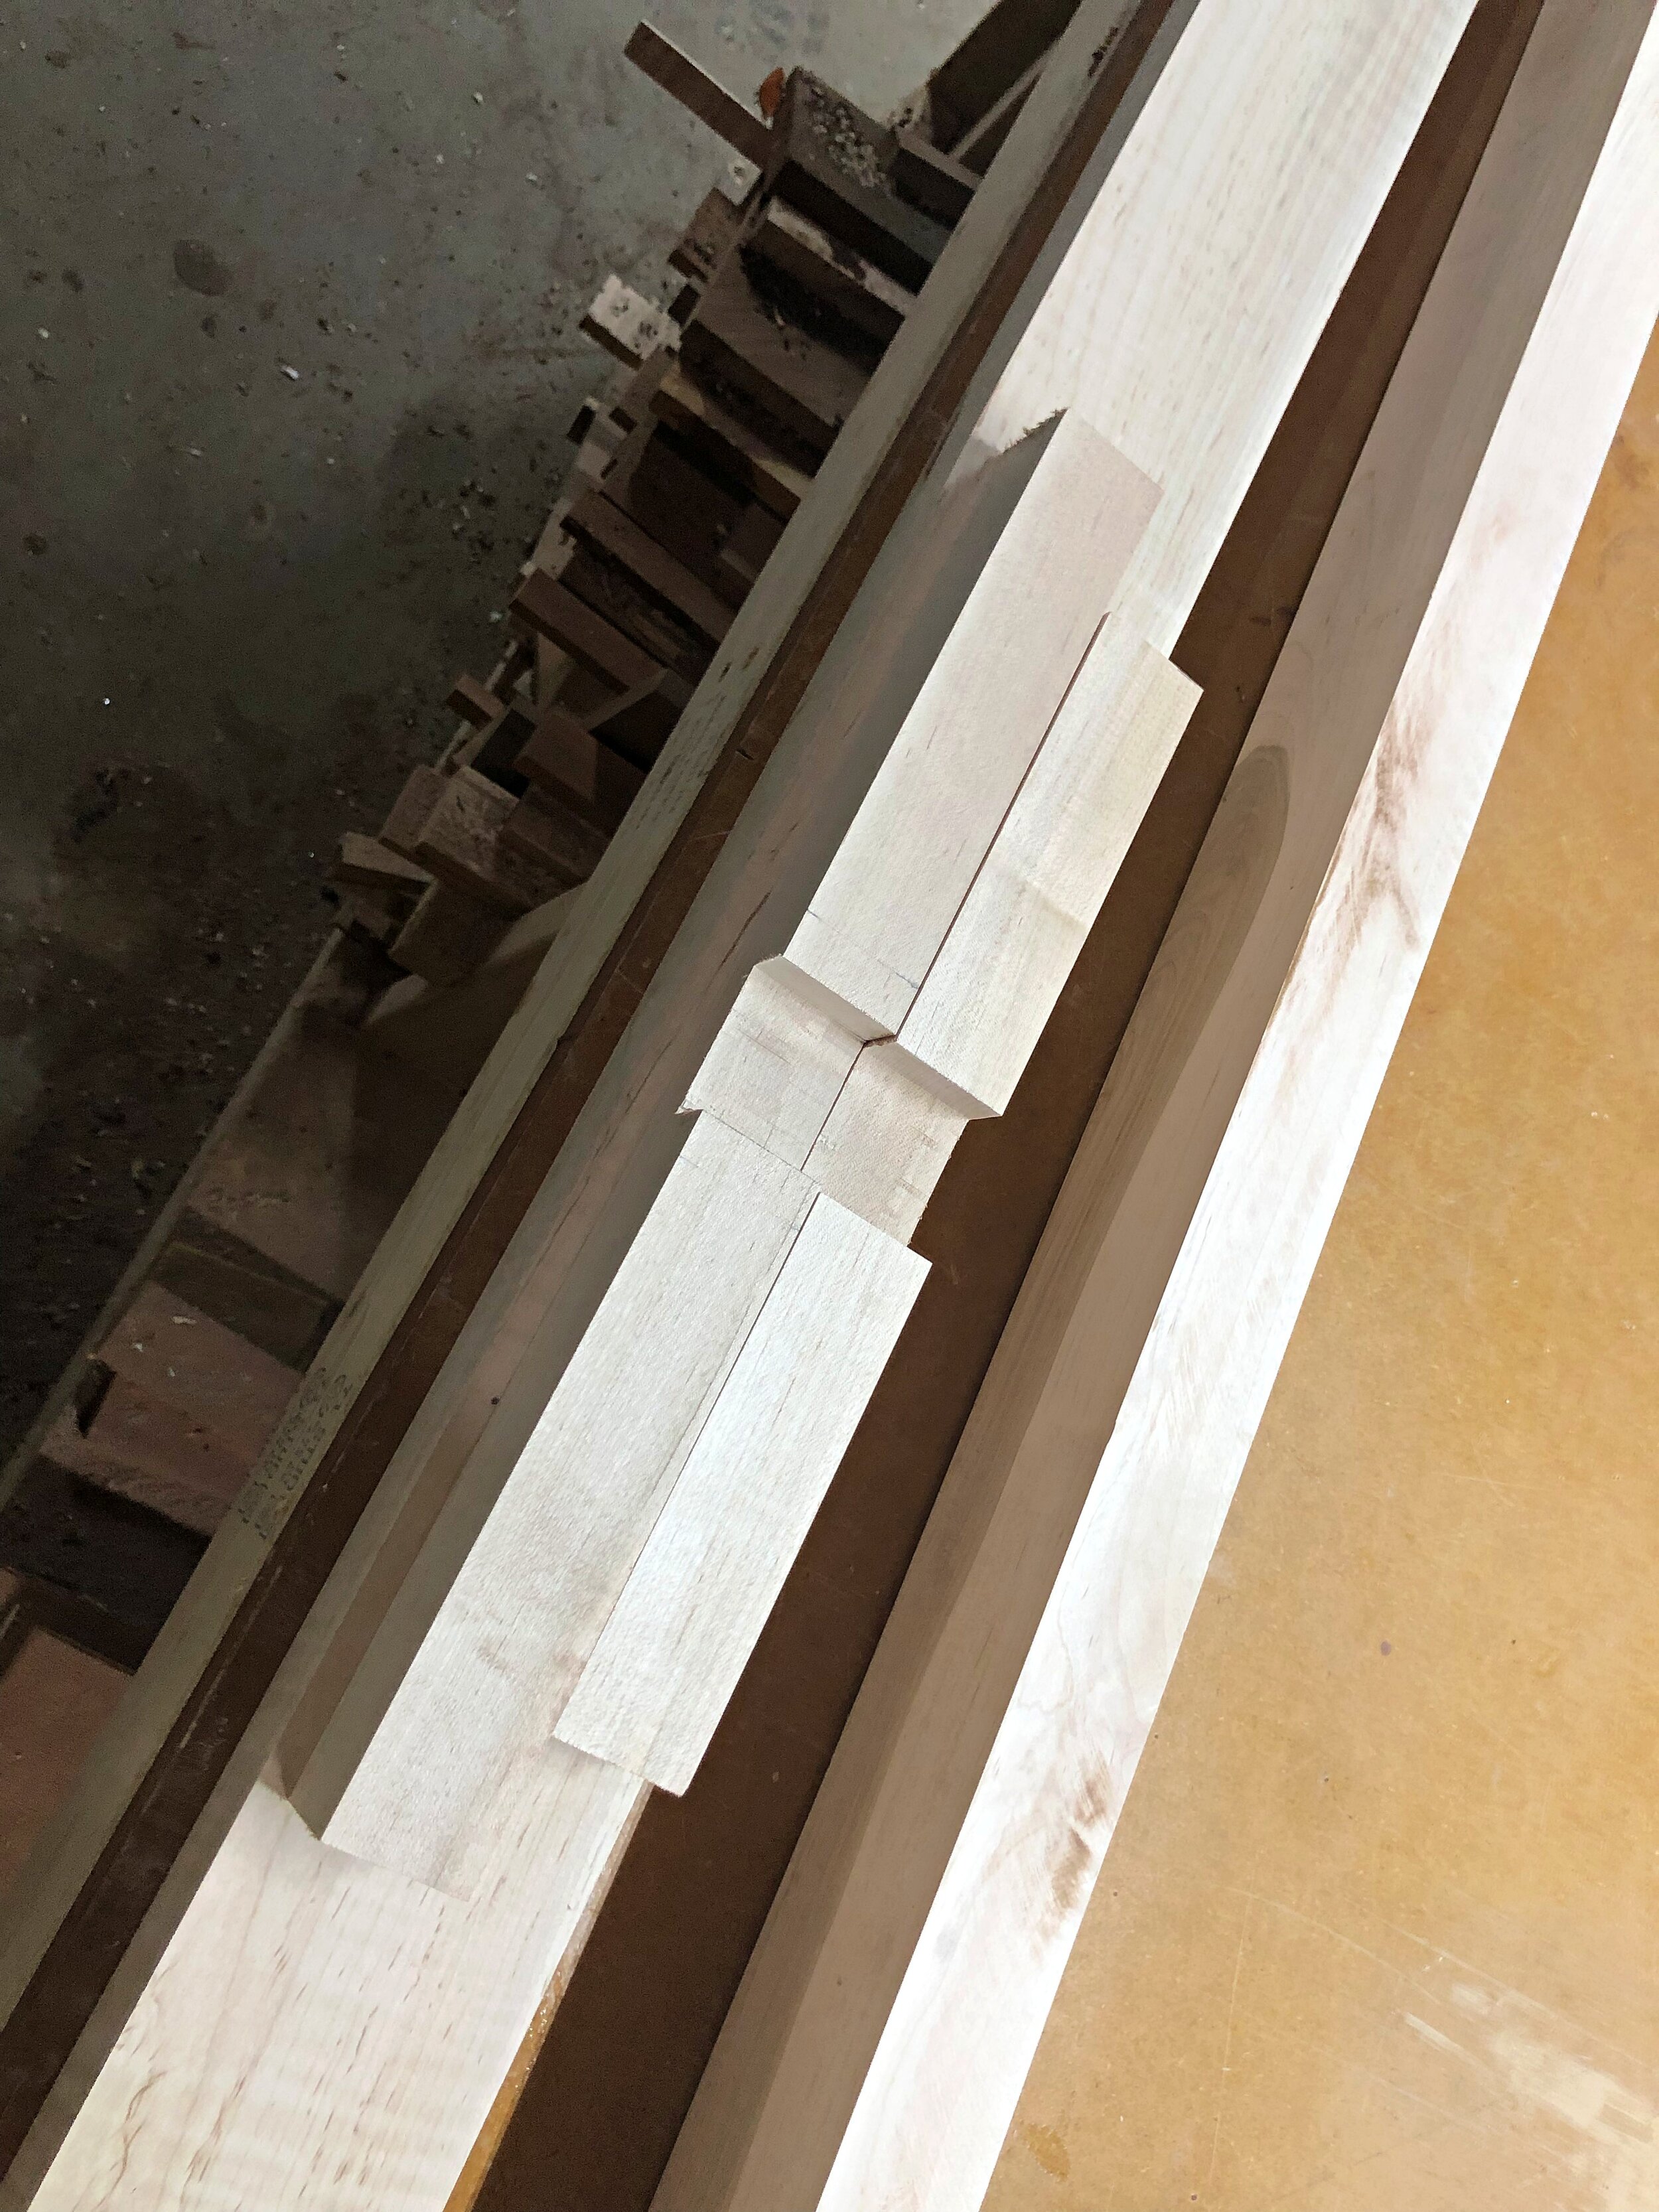
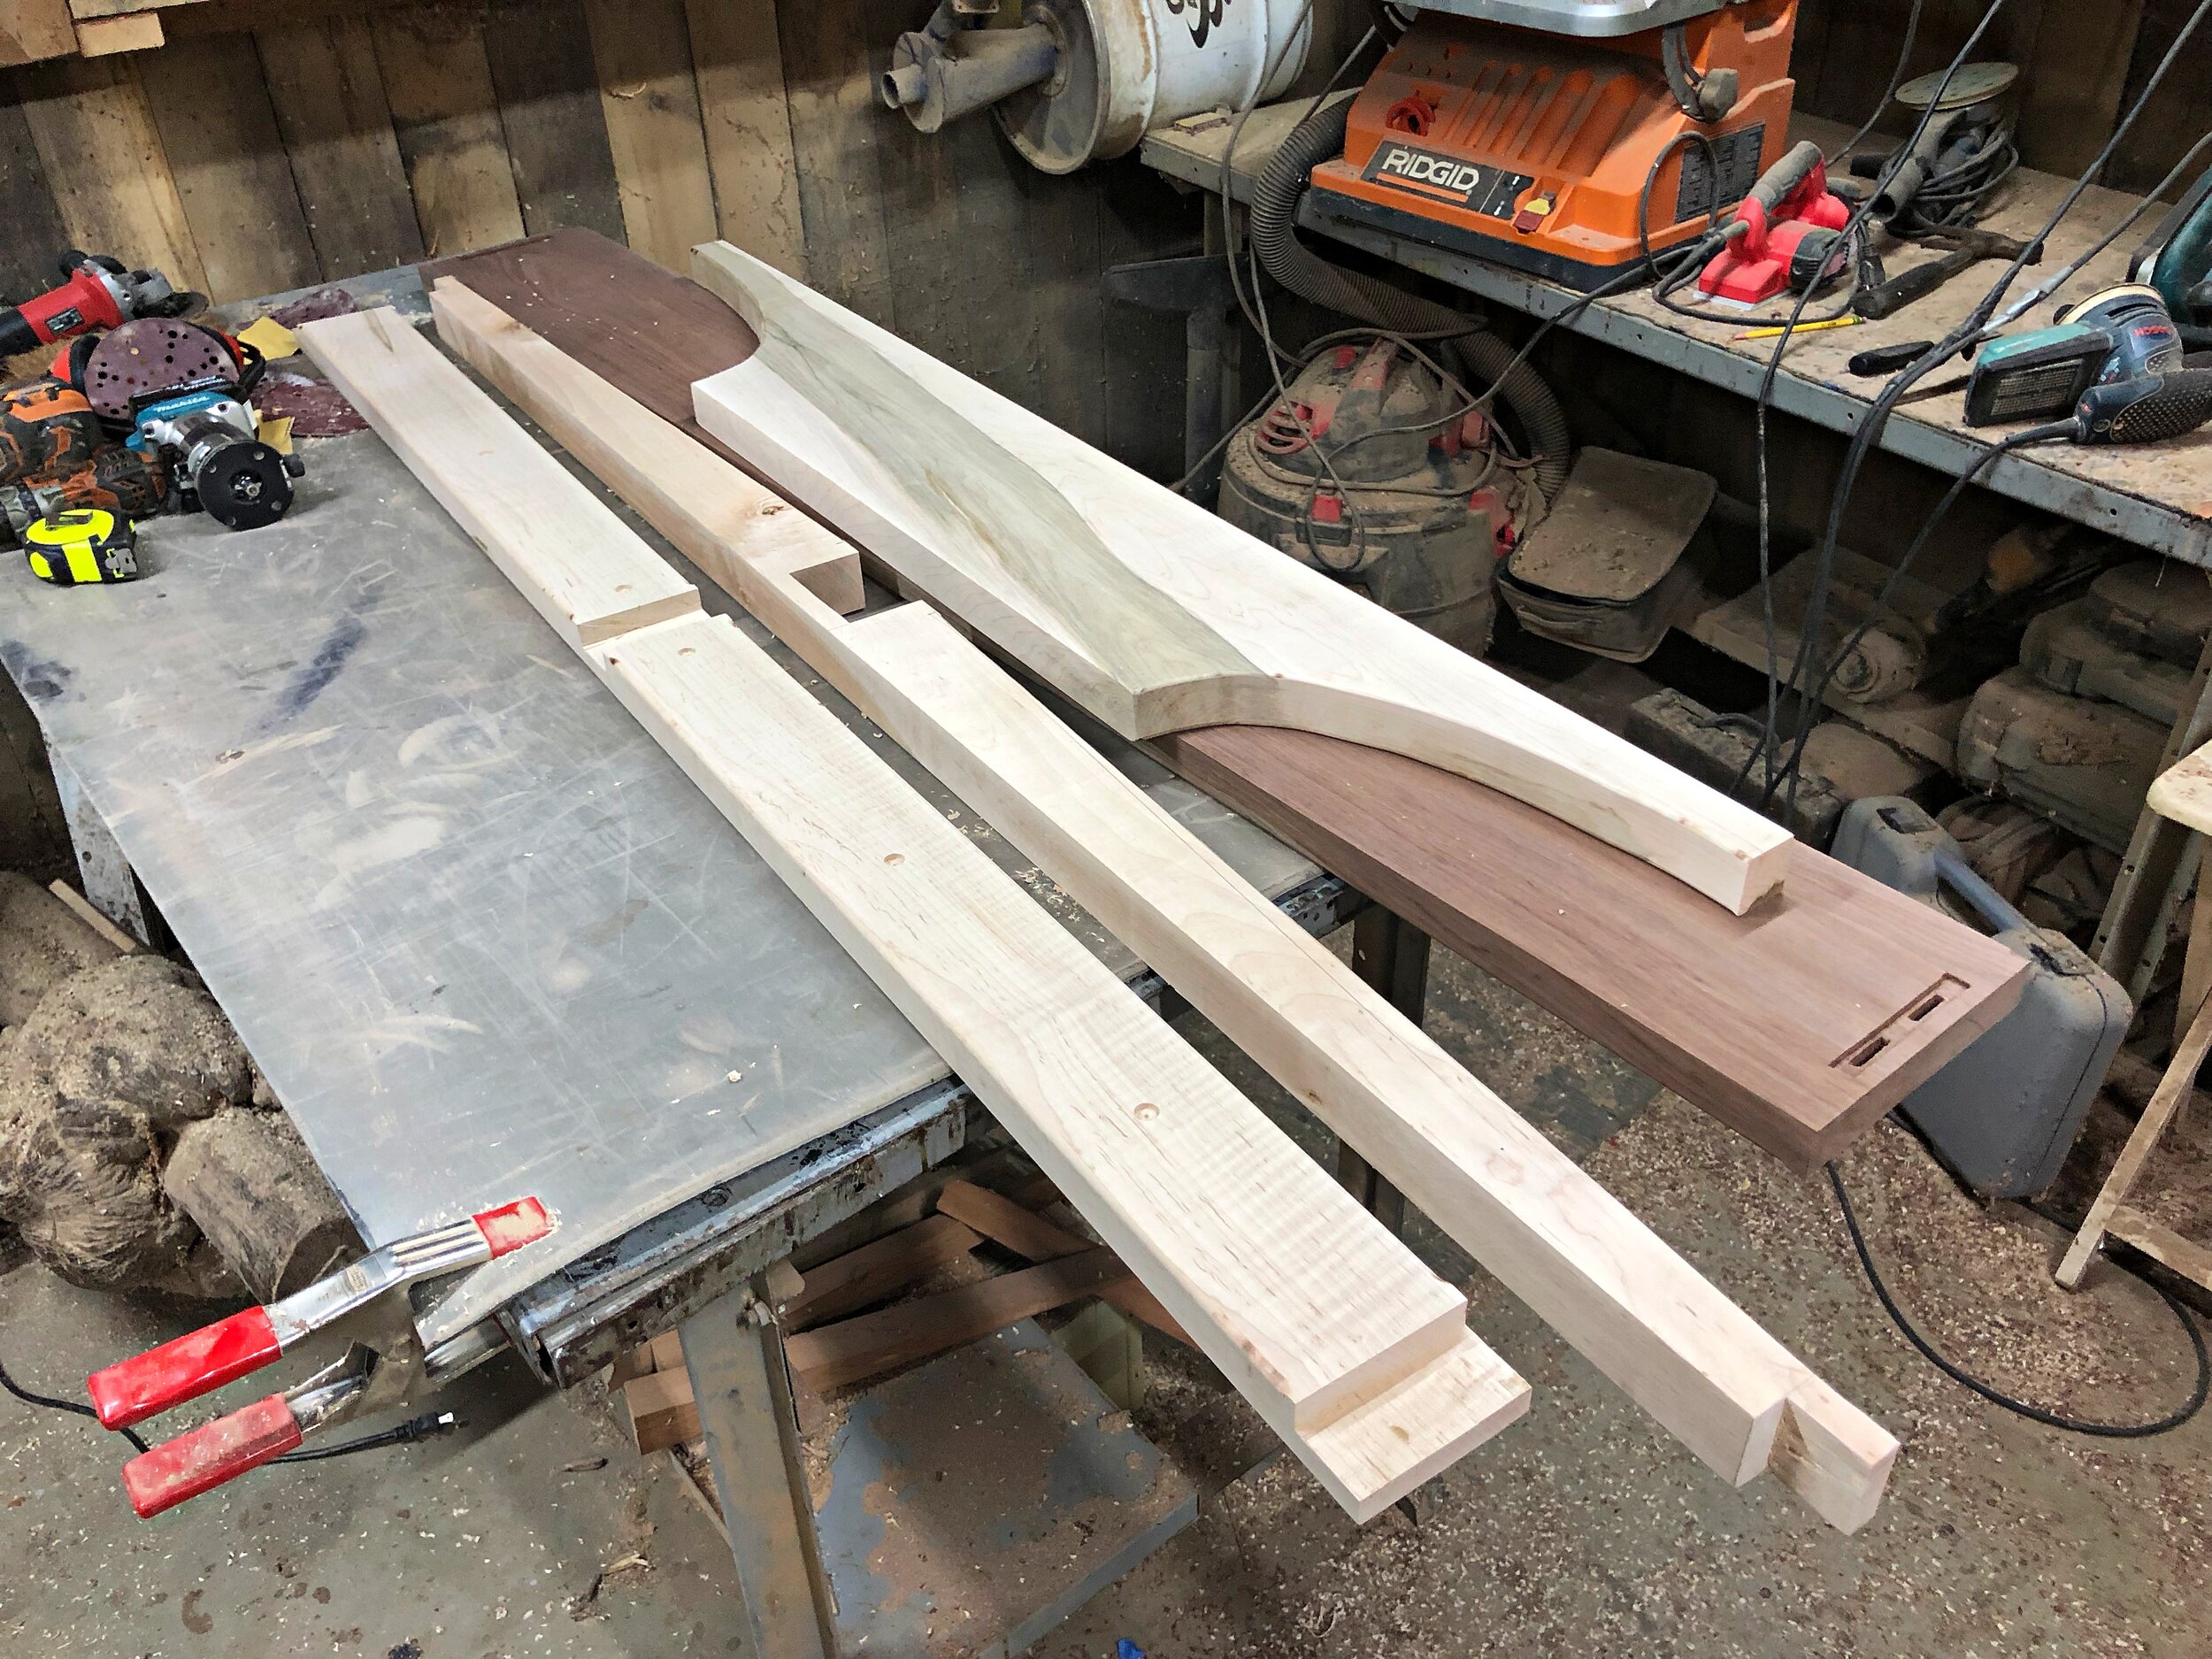
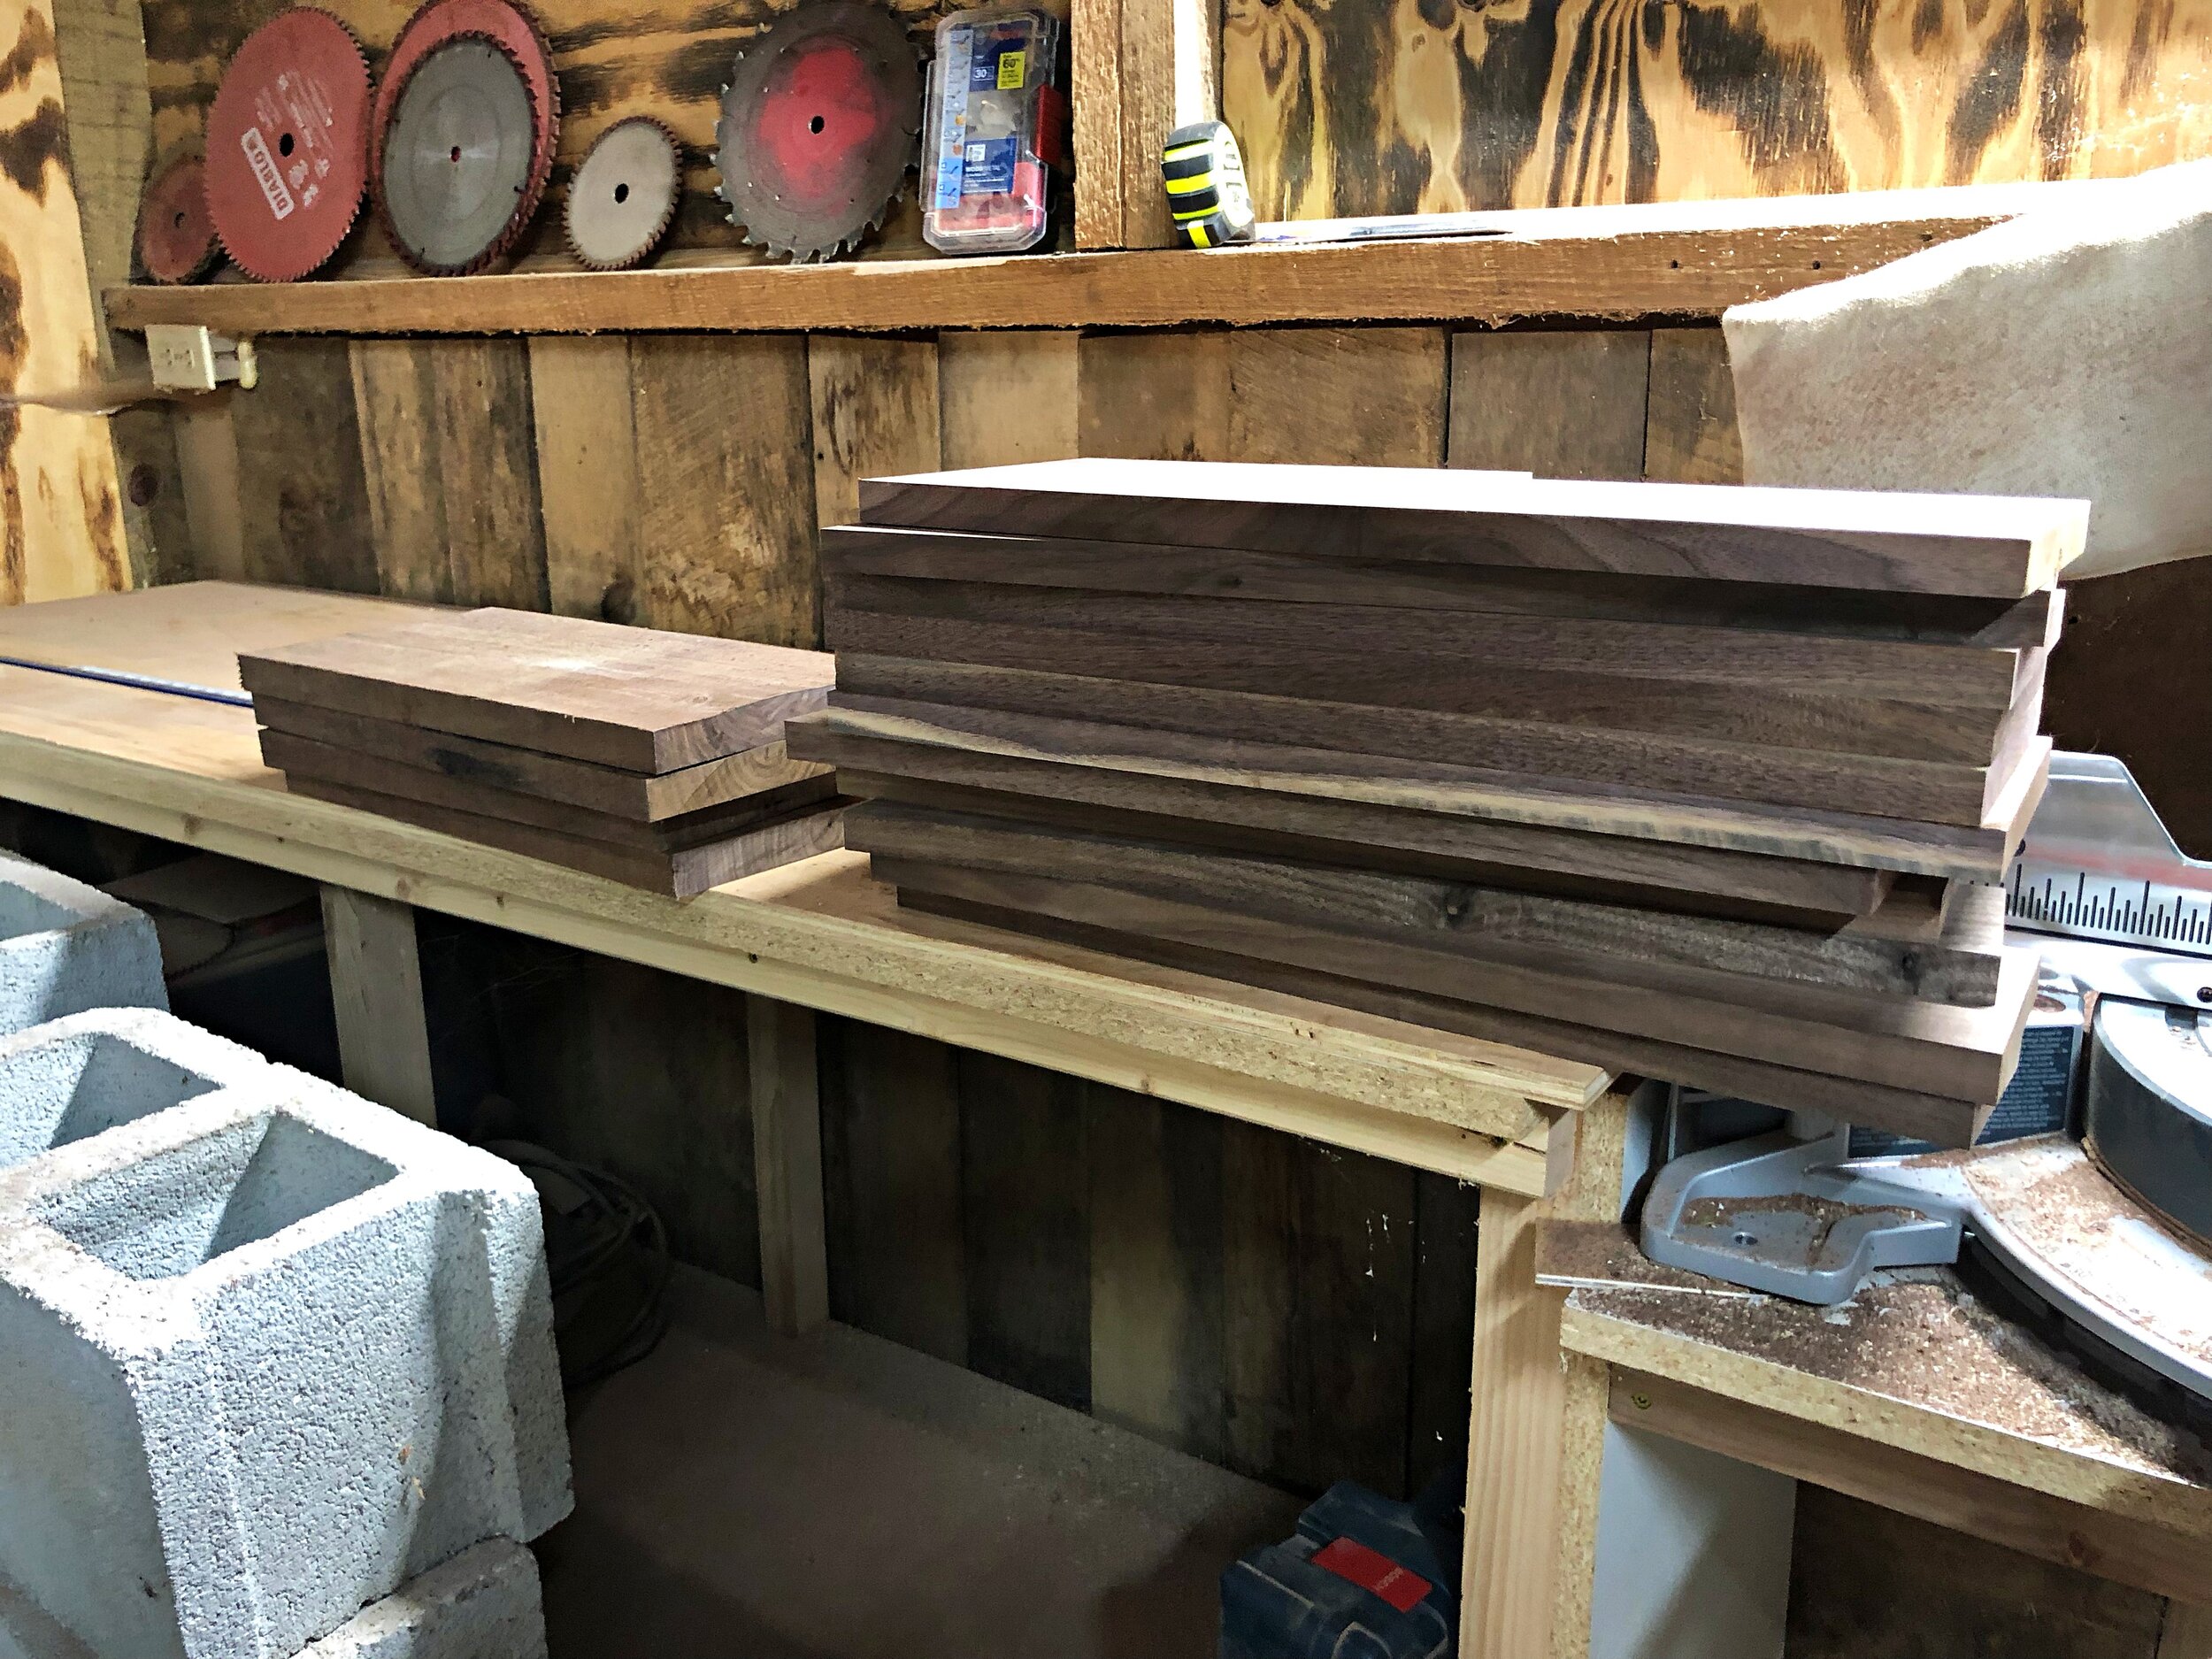
Cut to size, flattened and ready for assembly
and the client agreed it should be showcased front and center
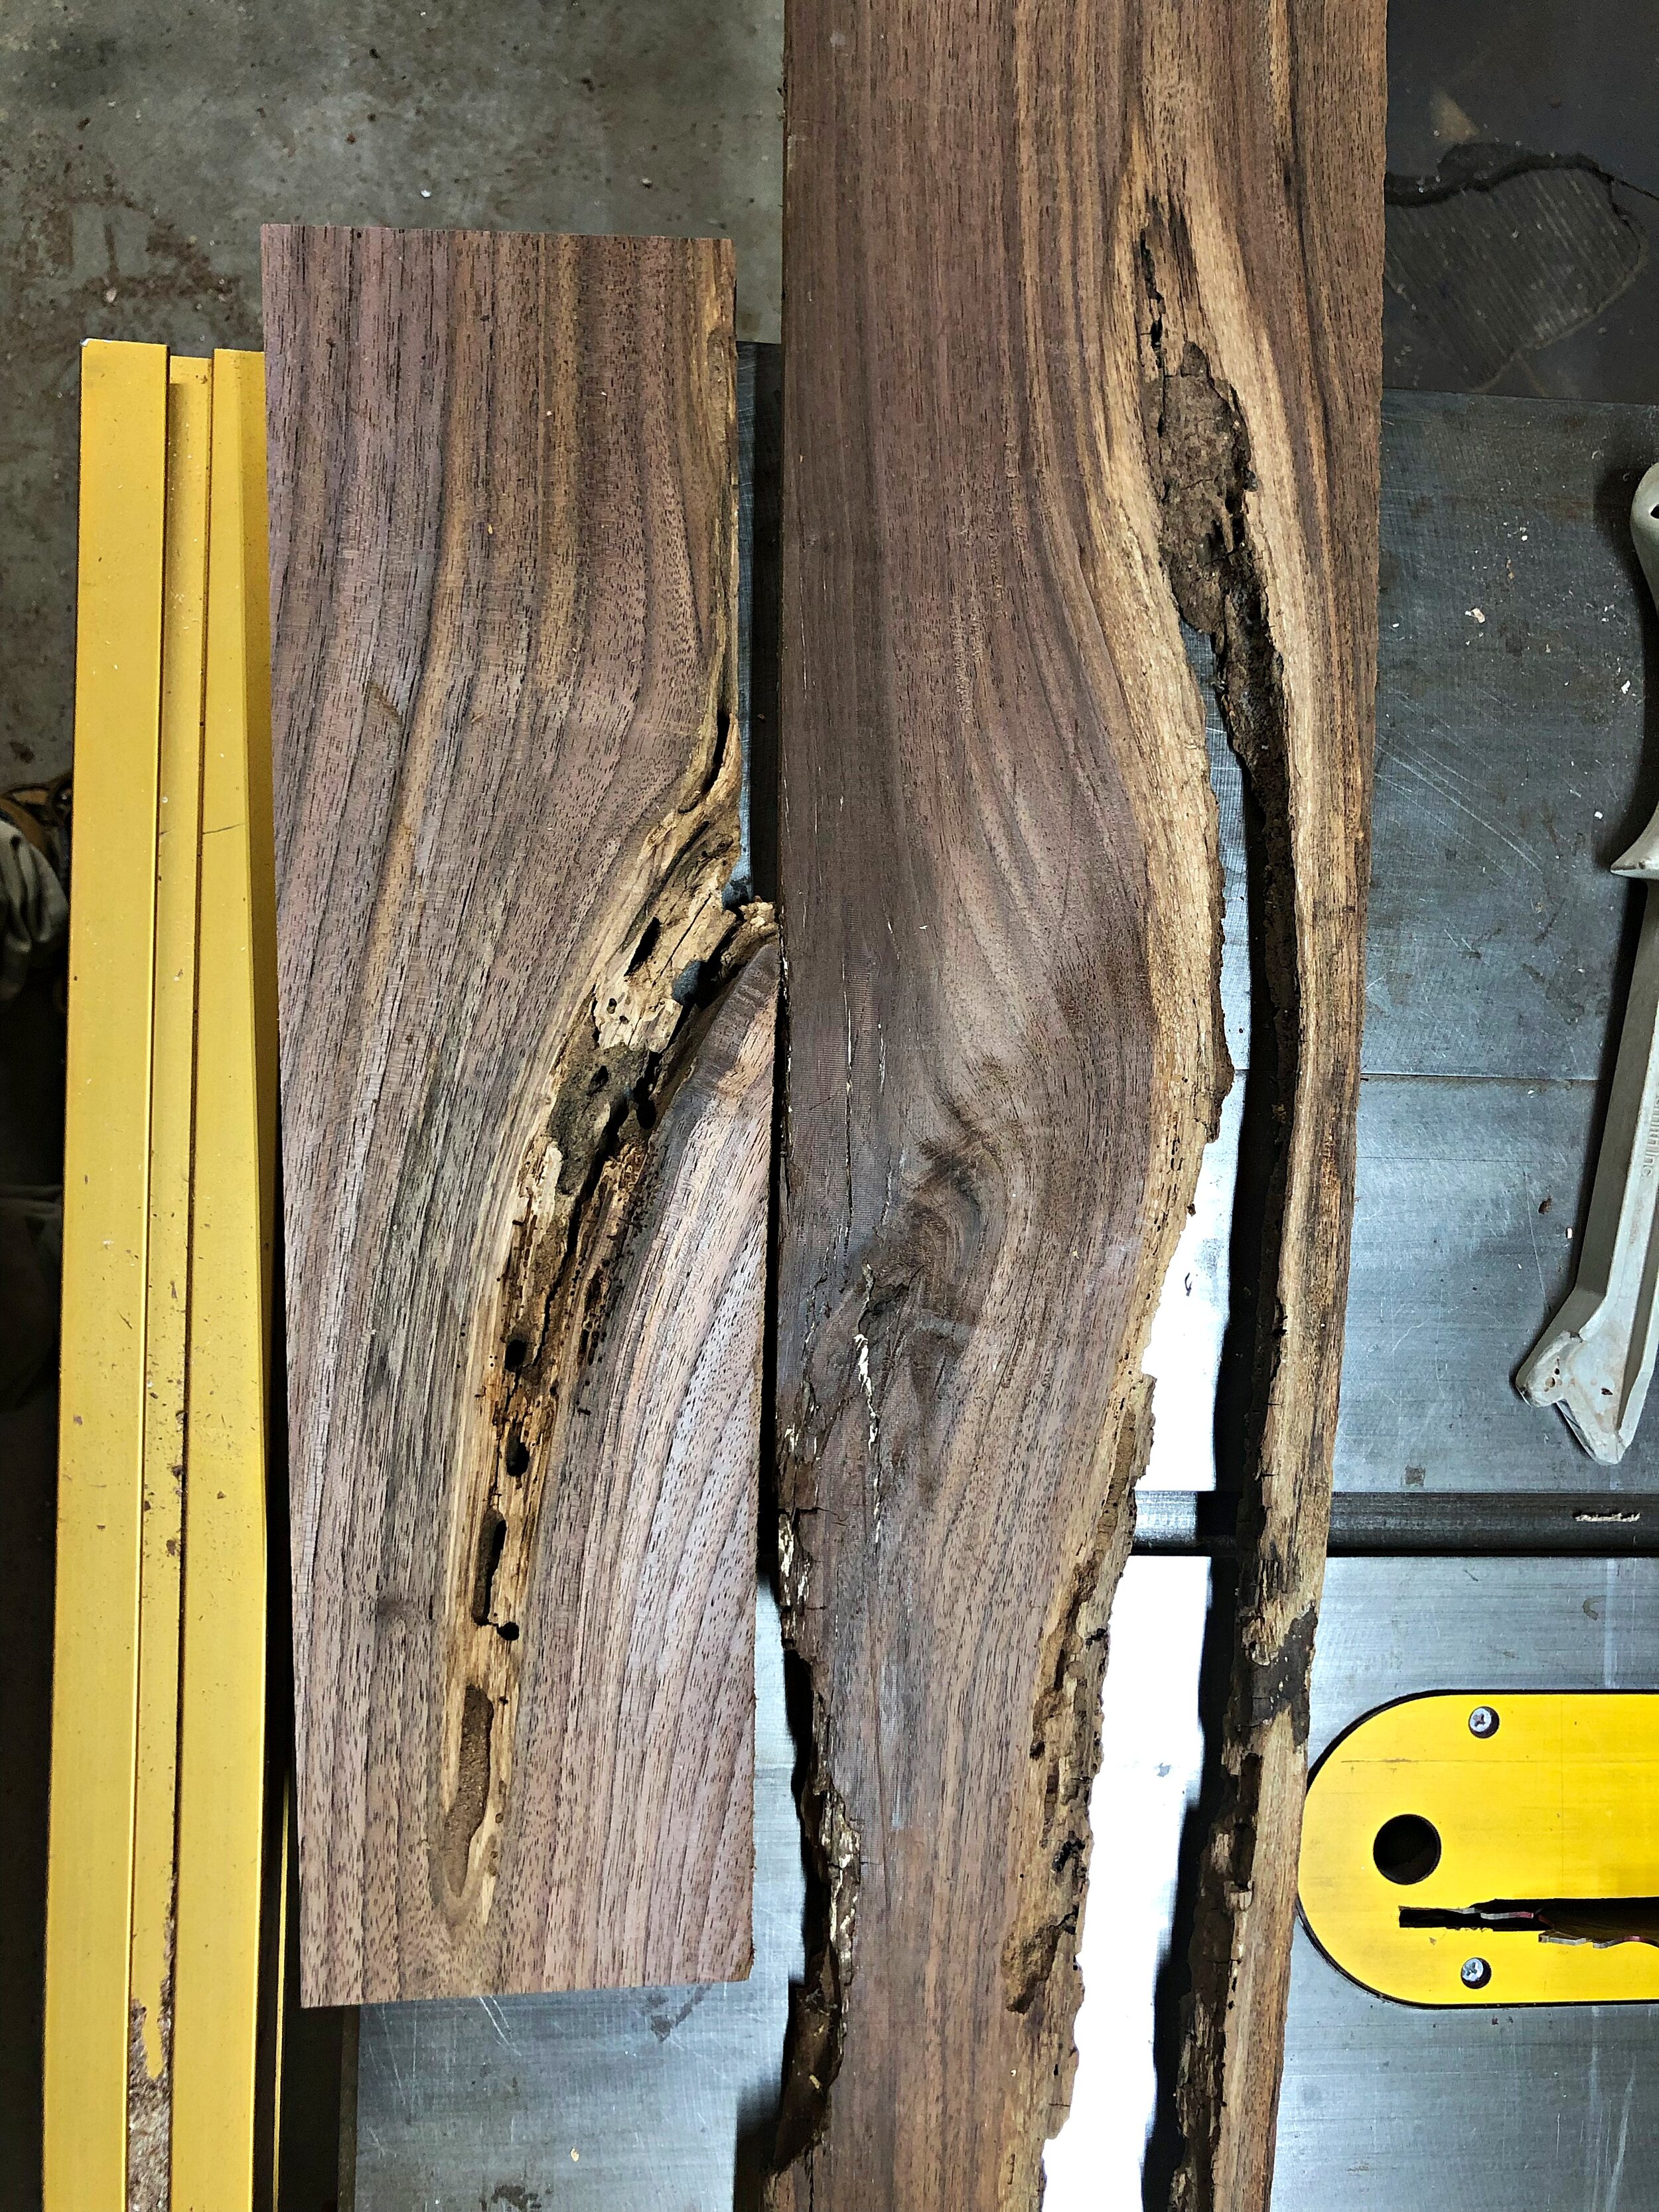
I’d been holding onto these pieces for many years waiting for the right project. I suggested using them for the drawer faces and my clients loved the idea!
The whole frame breaks down for easy transport and assembles simply in a few minutes with only the use of an alan wrench
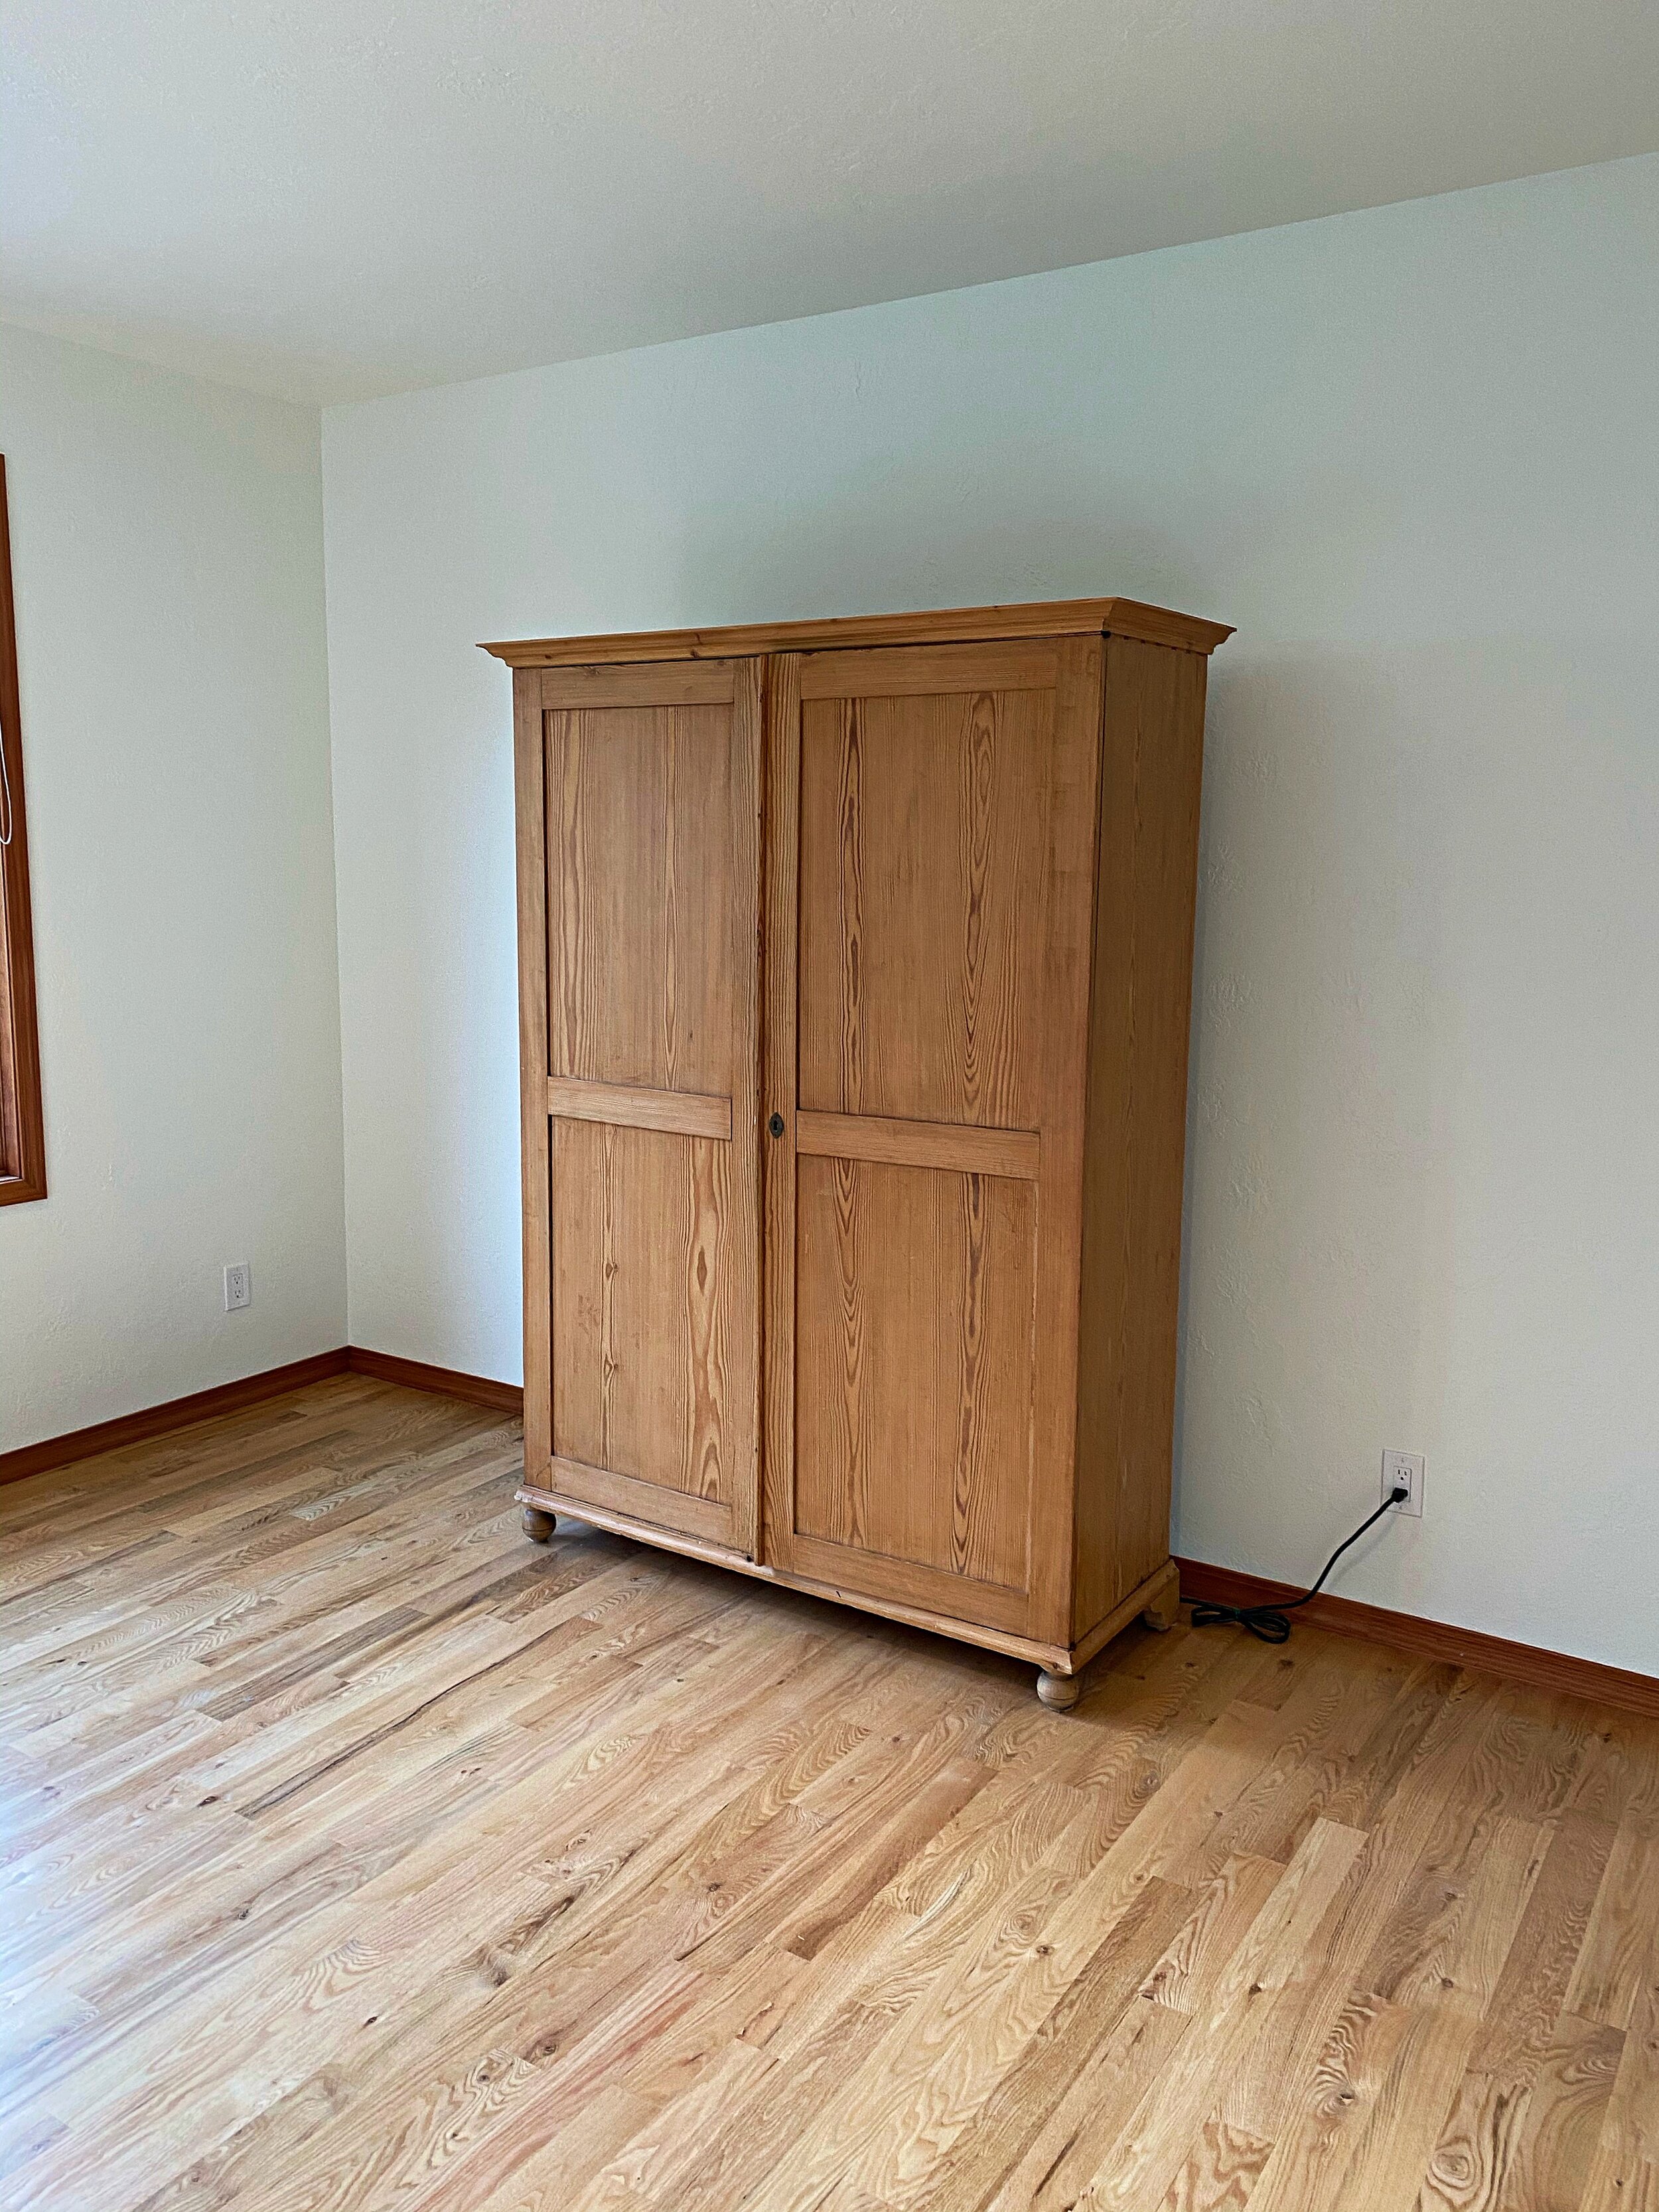
I start most projects with pictures of the clients space, so I can visualize what a matching aesthetic may be.
We then bounce ideas back and forth, narrowing in on a rough design that will evolve and adapt over the course of the build
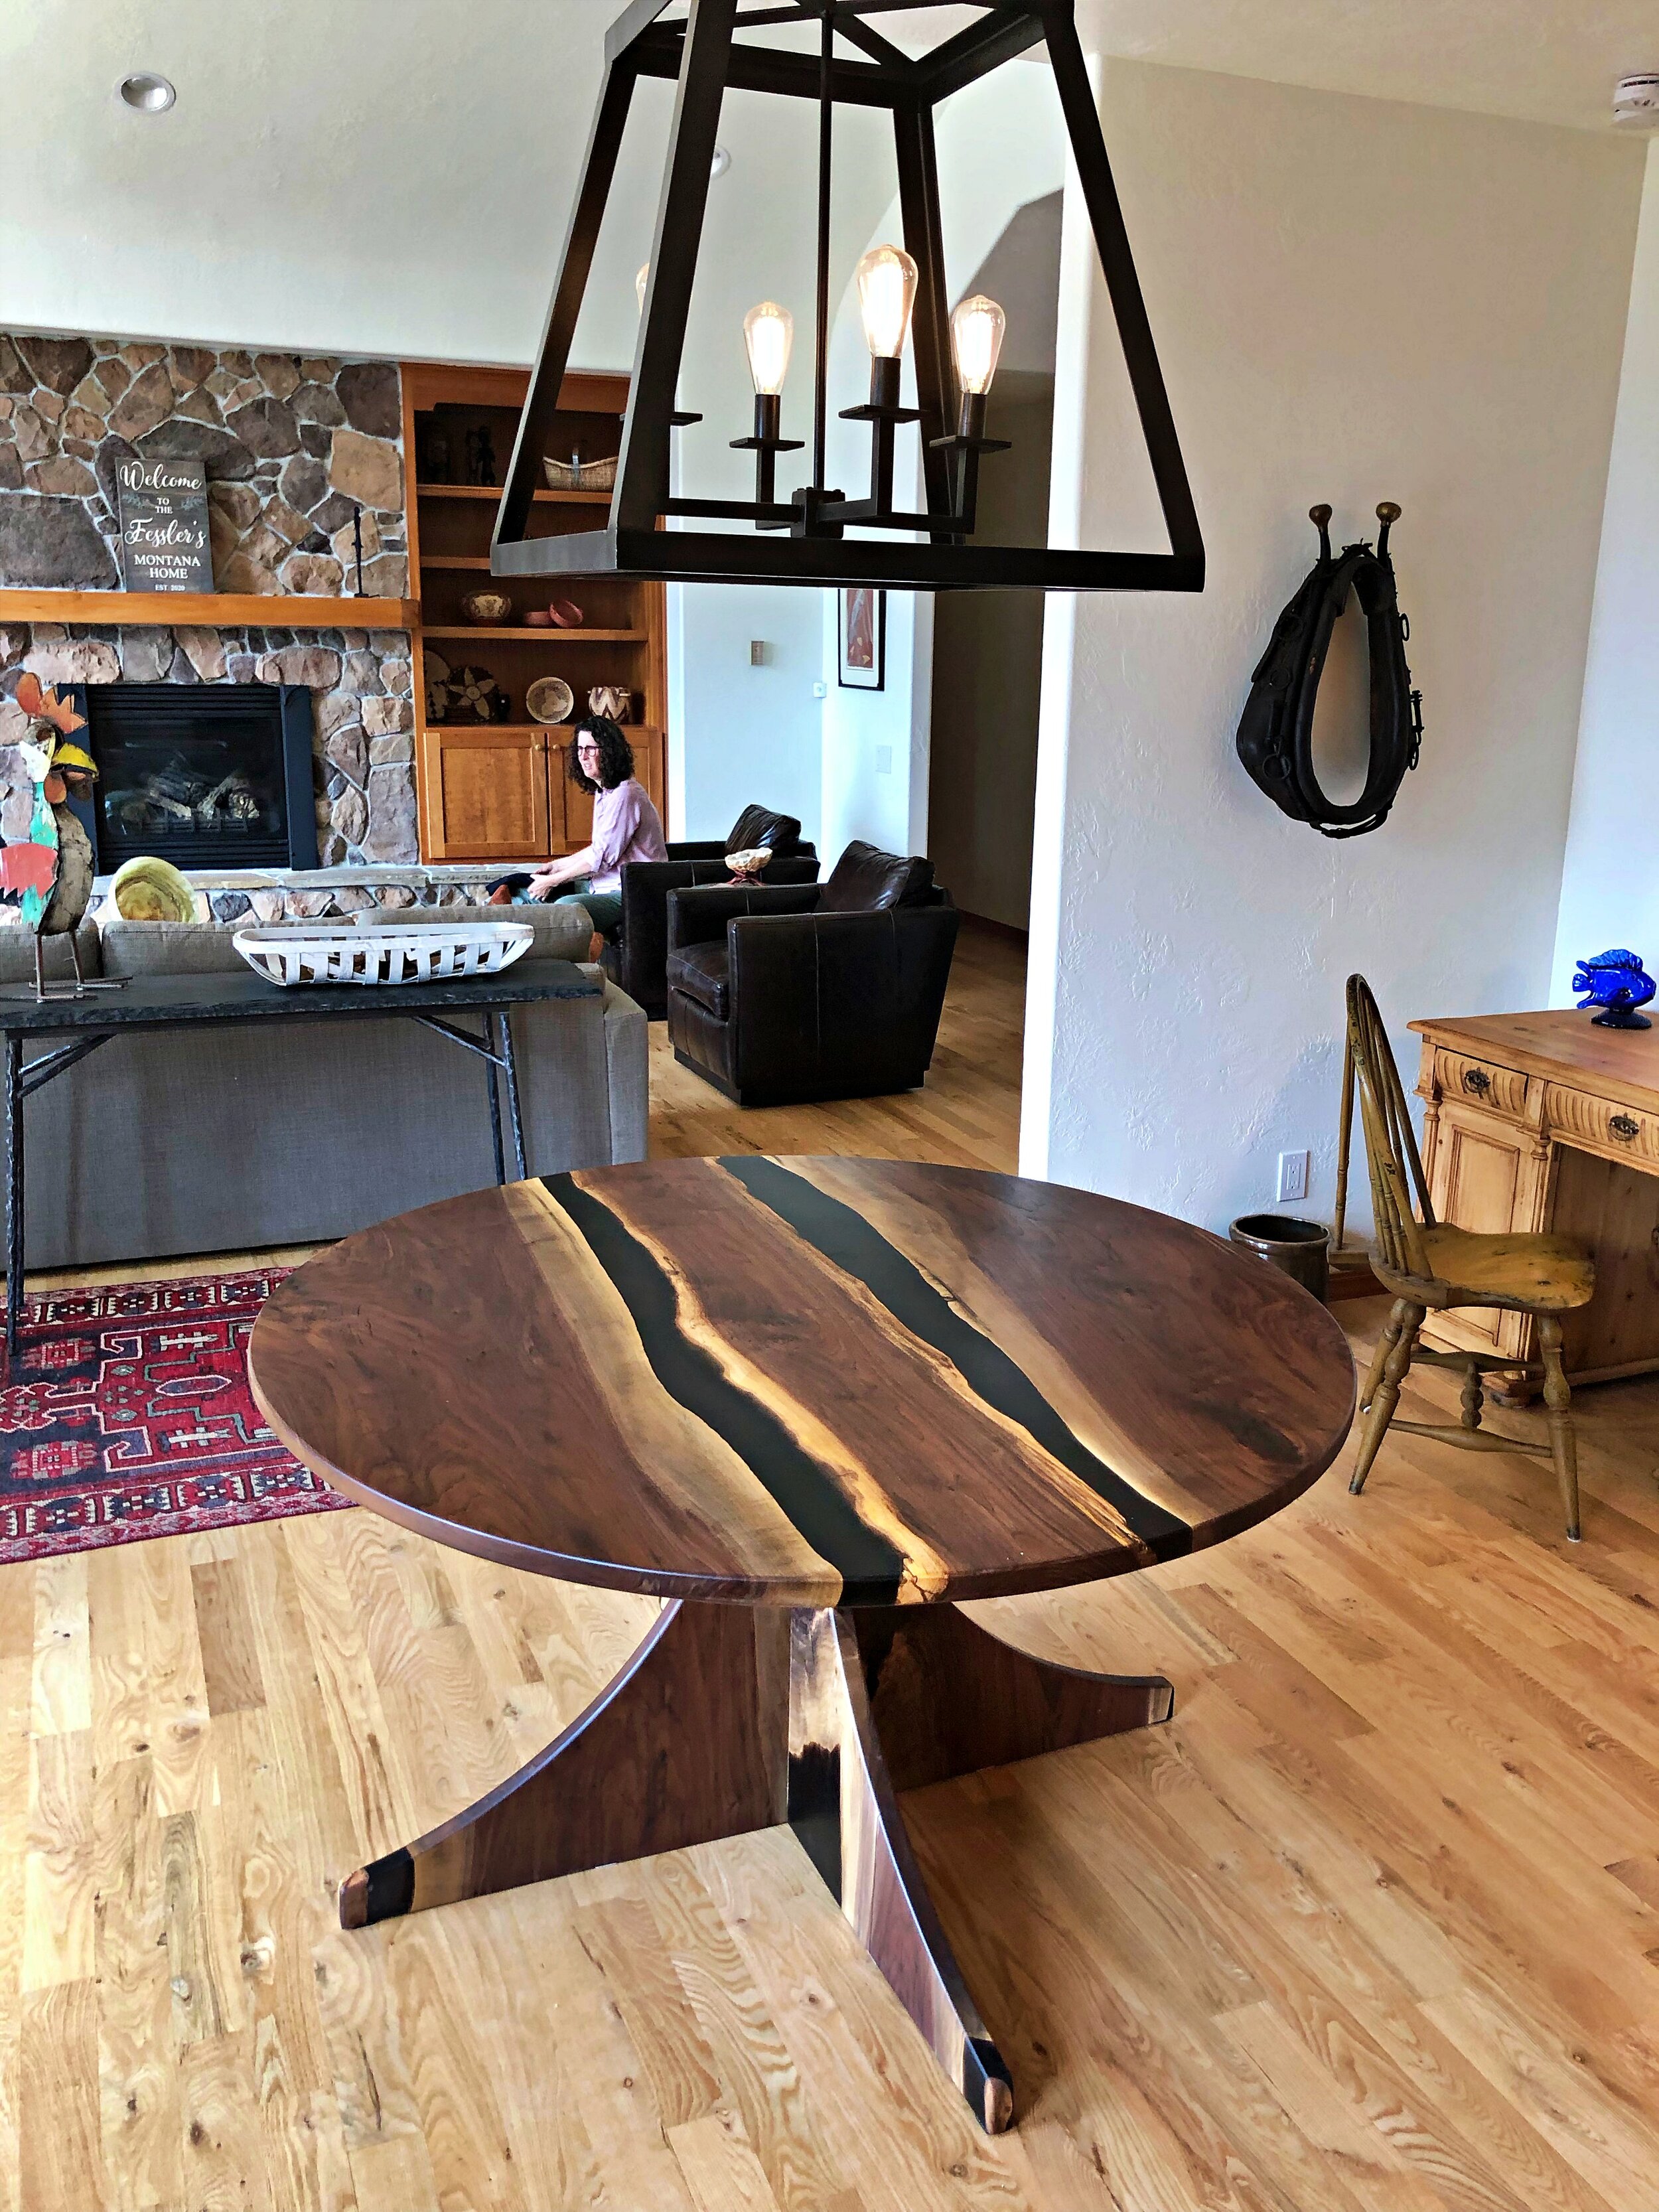
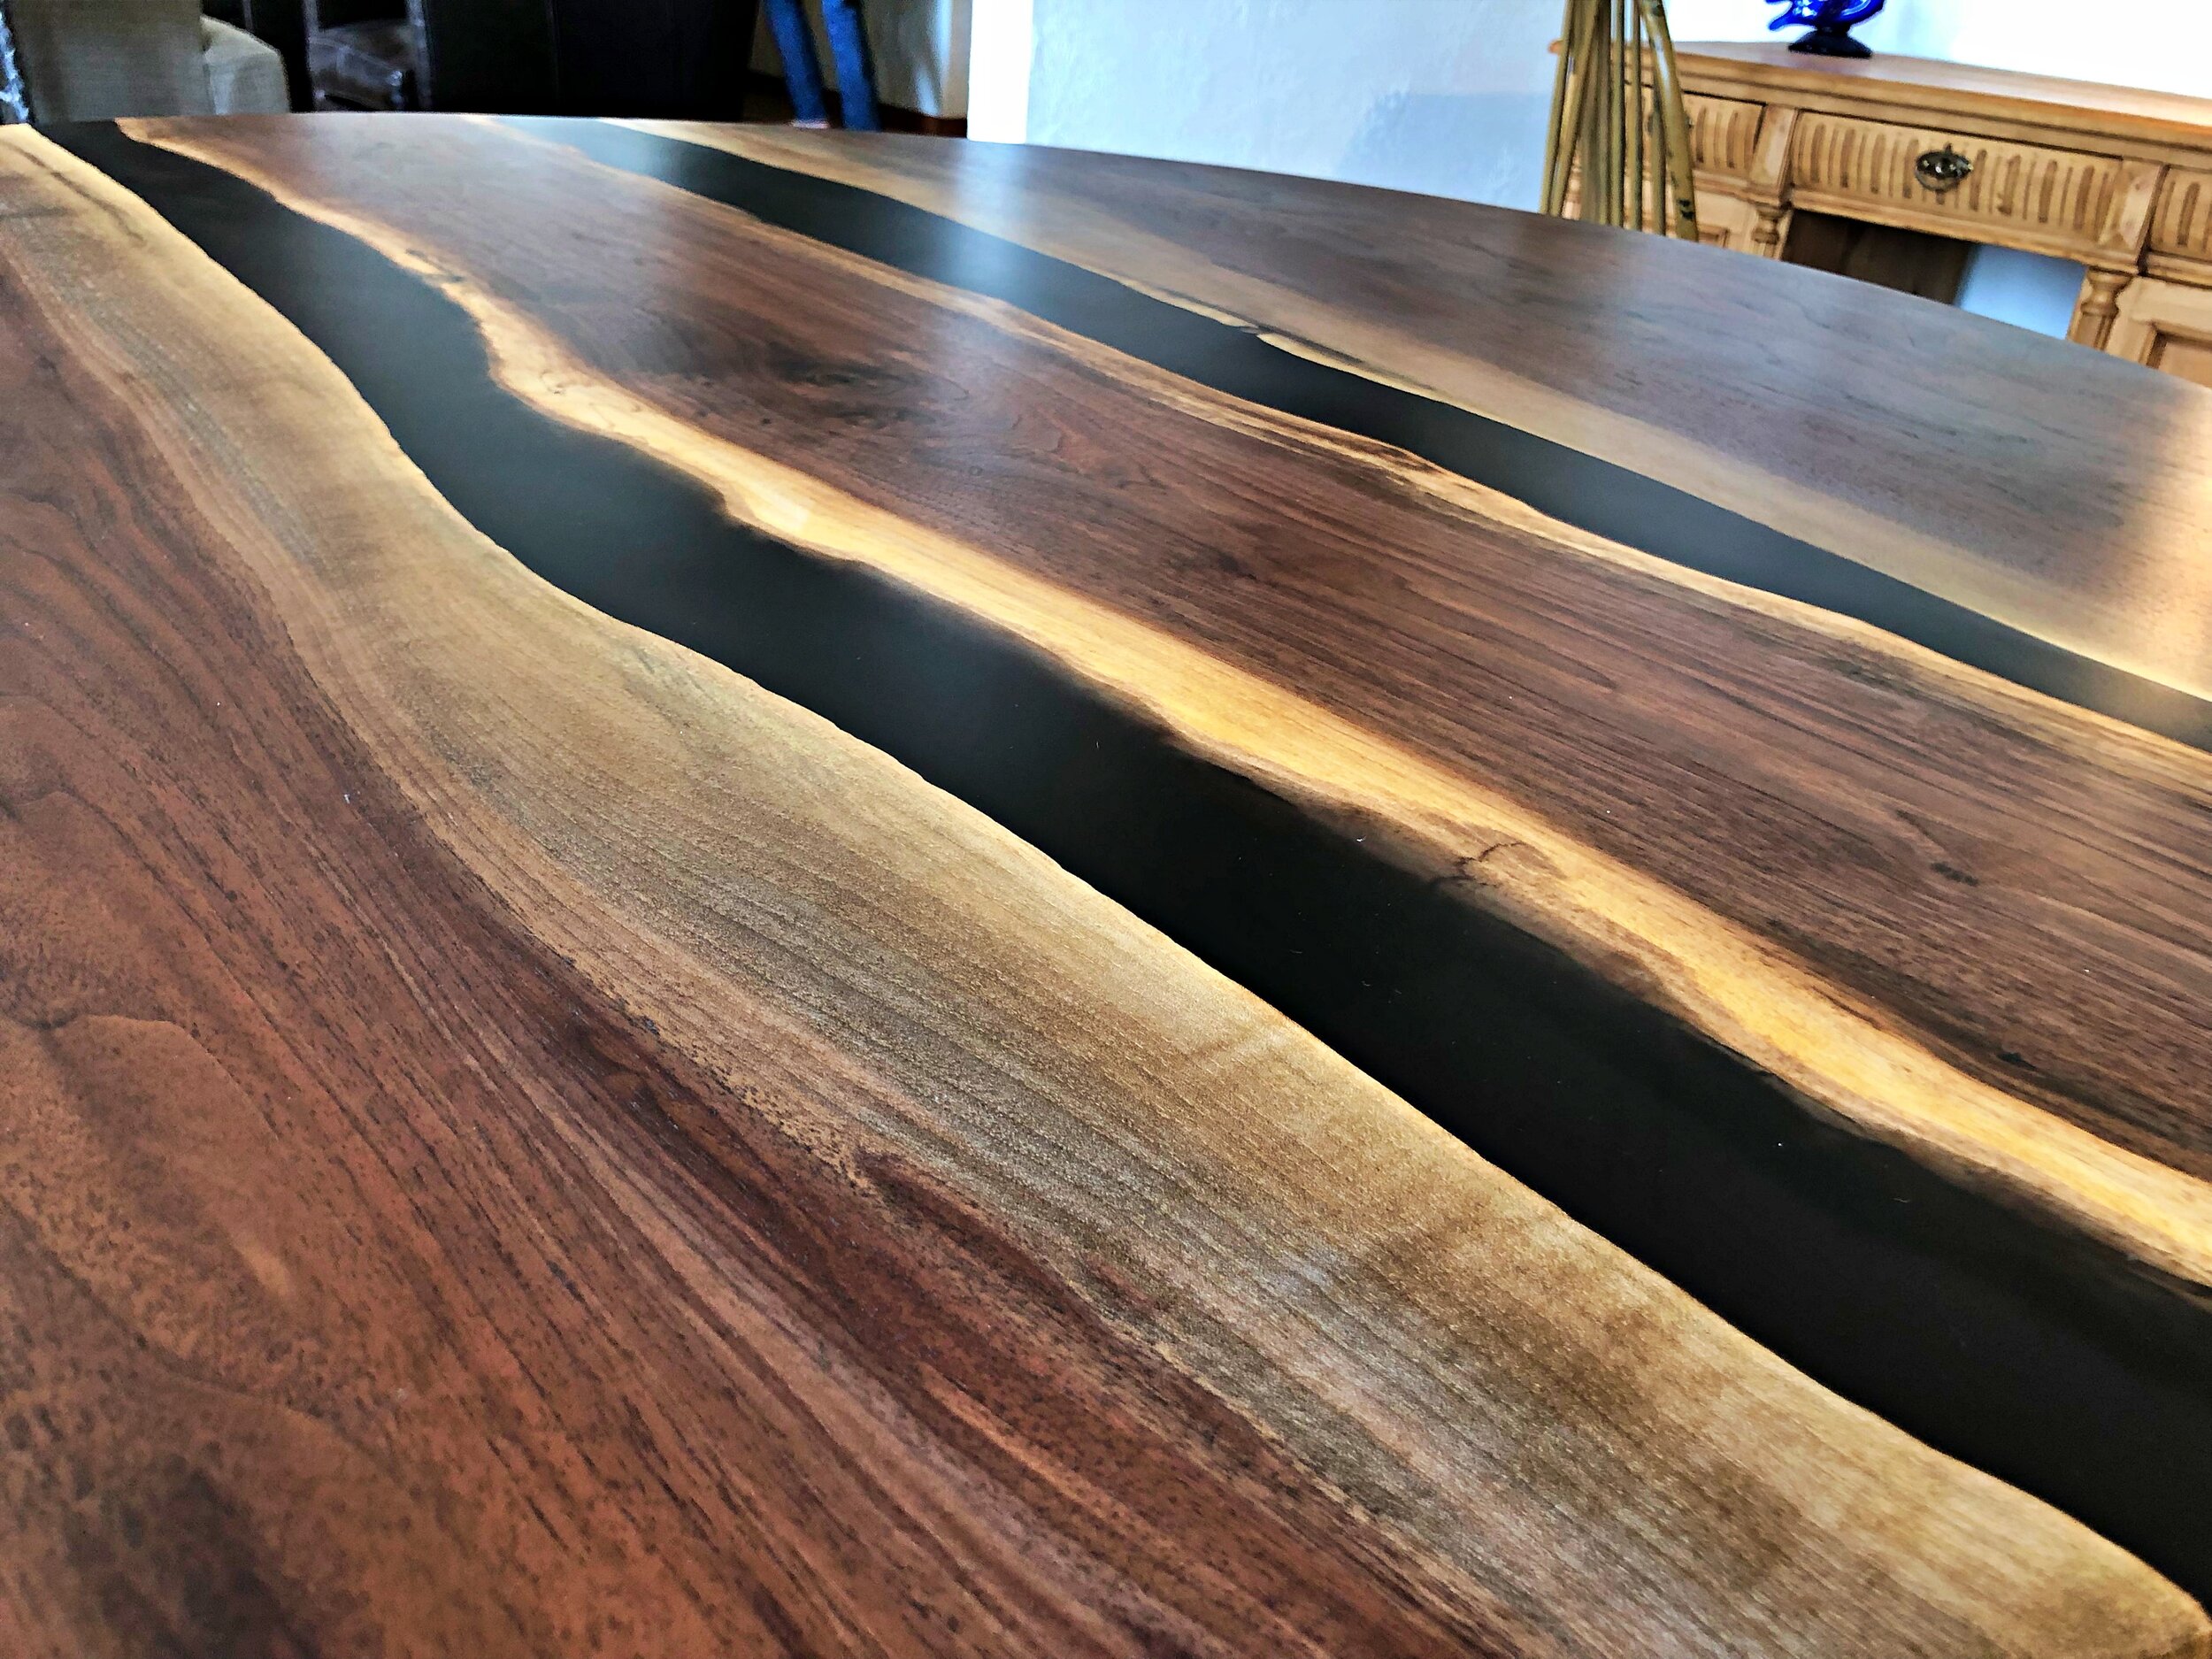
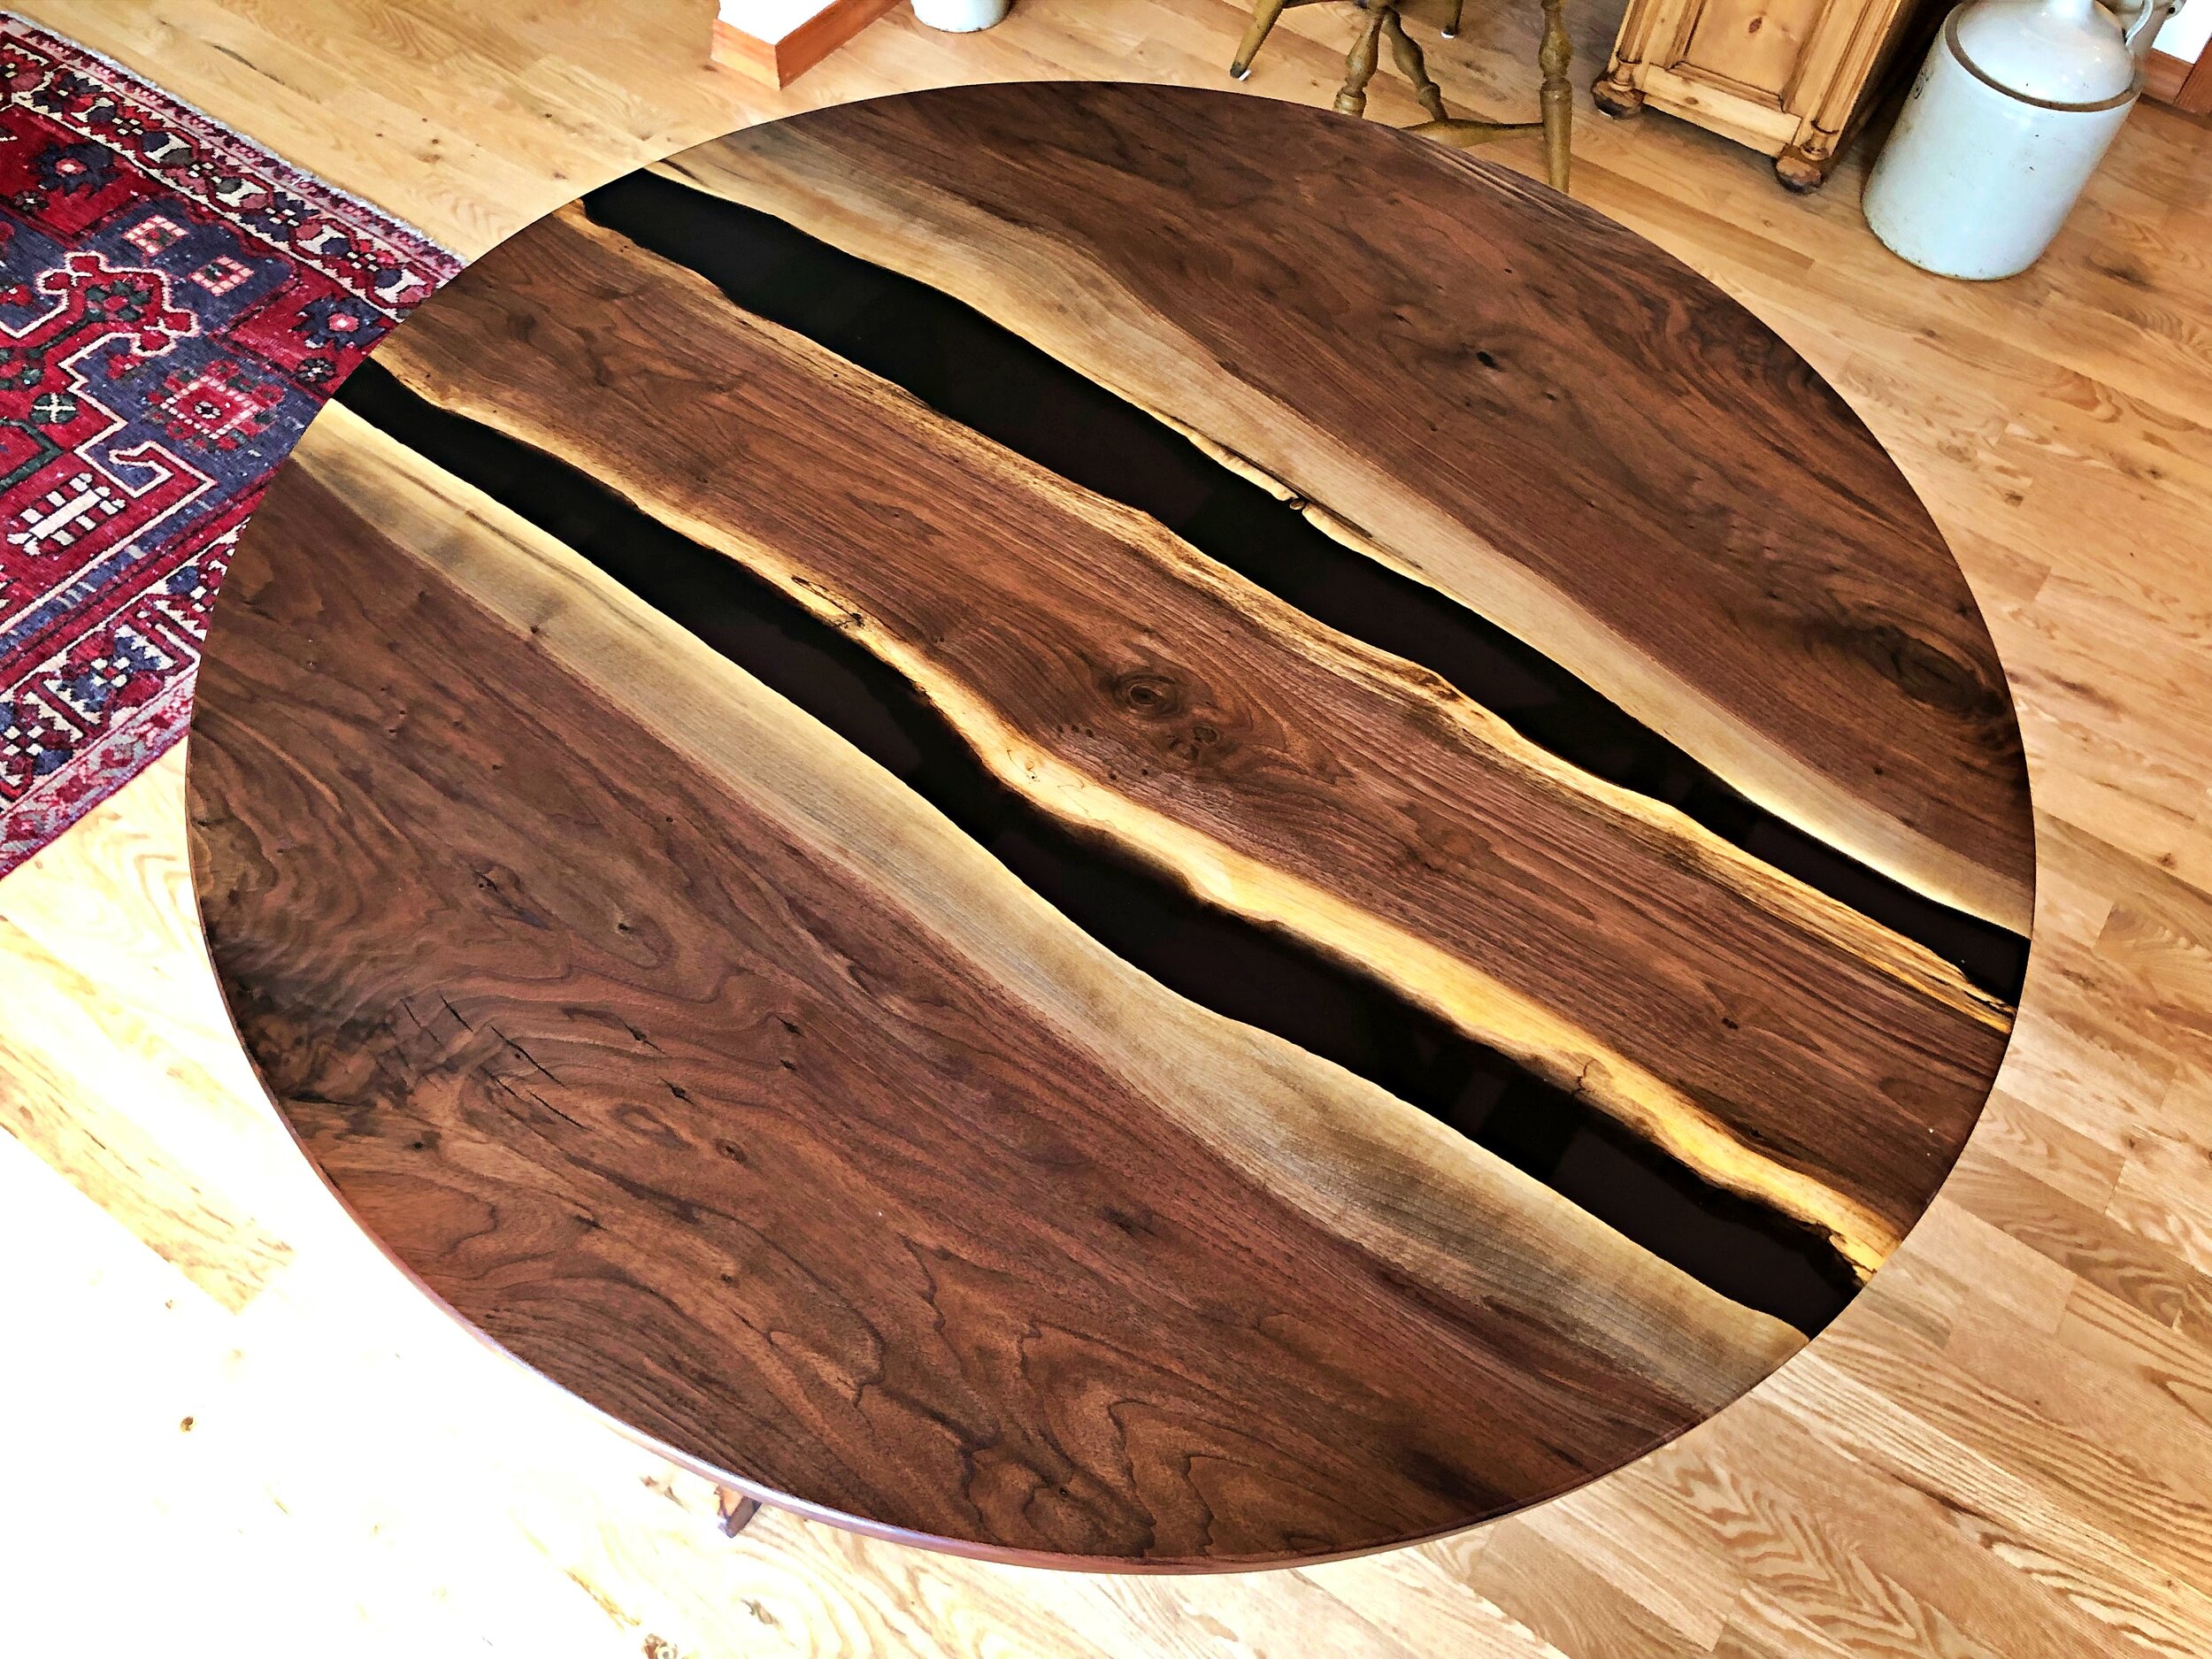
We settled on a round table, with walnut as the wood to match the room. I suggested doing a resin river style table, and the clients liked the idea.
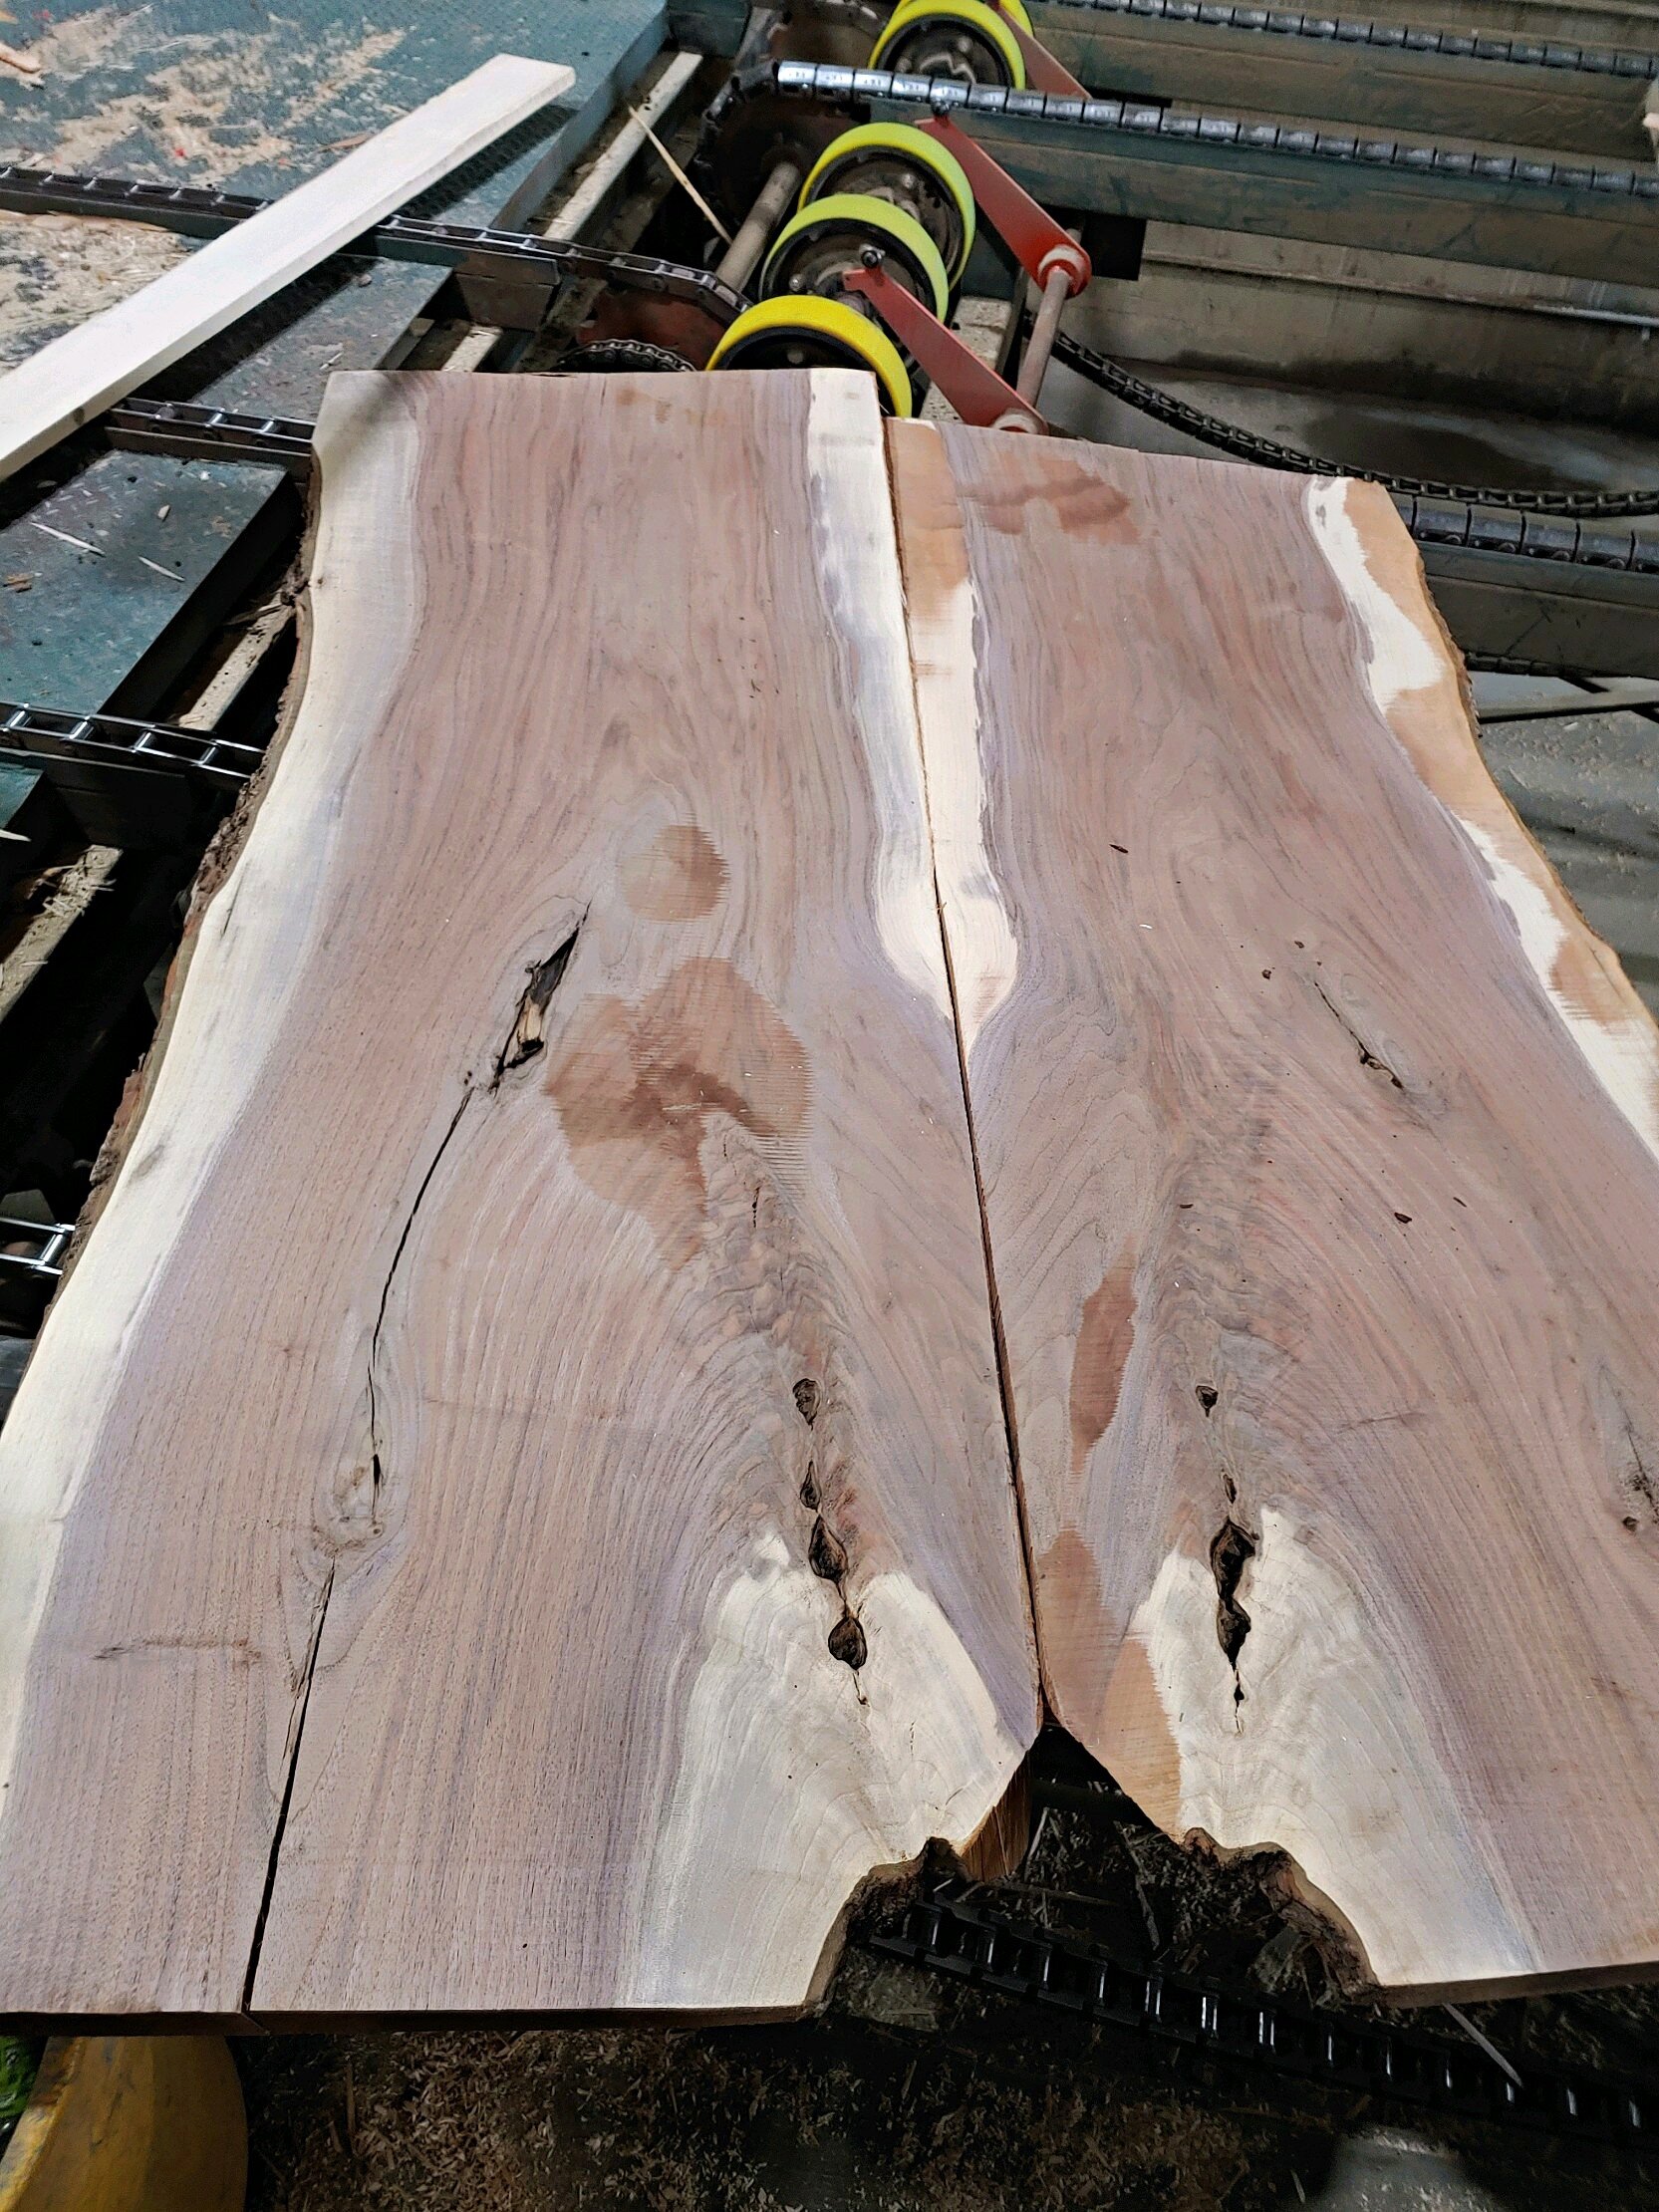
I found this pair of slabs at one of my wood suppliers, and had the idea to arrange them as a “reverse bookmatch” with another slab between to fill the gap.
After a drive to Mountain City, Tennessee I mocked up the slabs and had another idea - to make the mold oversized and use the scraps from the outside as the base for the table
They wanted a 55” diameter table - so this mock up at 60” would allow enough material for my base design.
The slabs are flattened to size
and sealed with shellac before being put in the mold
the mold is constructed from melamine, with meticulous attention to ensure it is properly sealed to avoid leaks
The slabs are then clamped into place and the epoxy is poured! After a week it can be removed from the mold.
Fresh out of the mold, and I can begin to imagine what the piece will look like.
I custom made a circle cutting jig and began cutting
Using a router I make the initial cut, followed by a jig saw to finish it off and then a flush trim bit to get it perfectly round.
I had to custom make a router sled extension to fit the oversized table
Slots are inlaid for steel C channel which ensures the table remains flat over time
After many many hours the table is sanded smooth, the channel is inlaid and it is ready for finishing
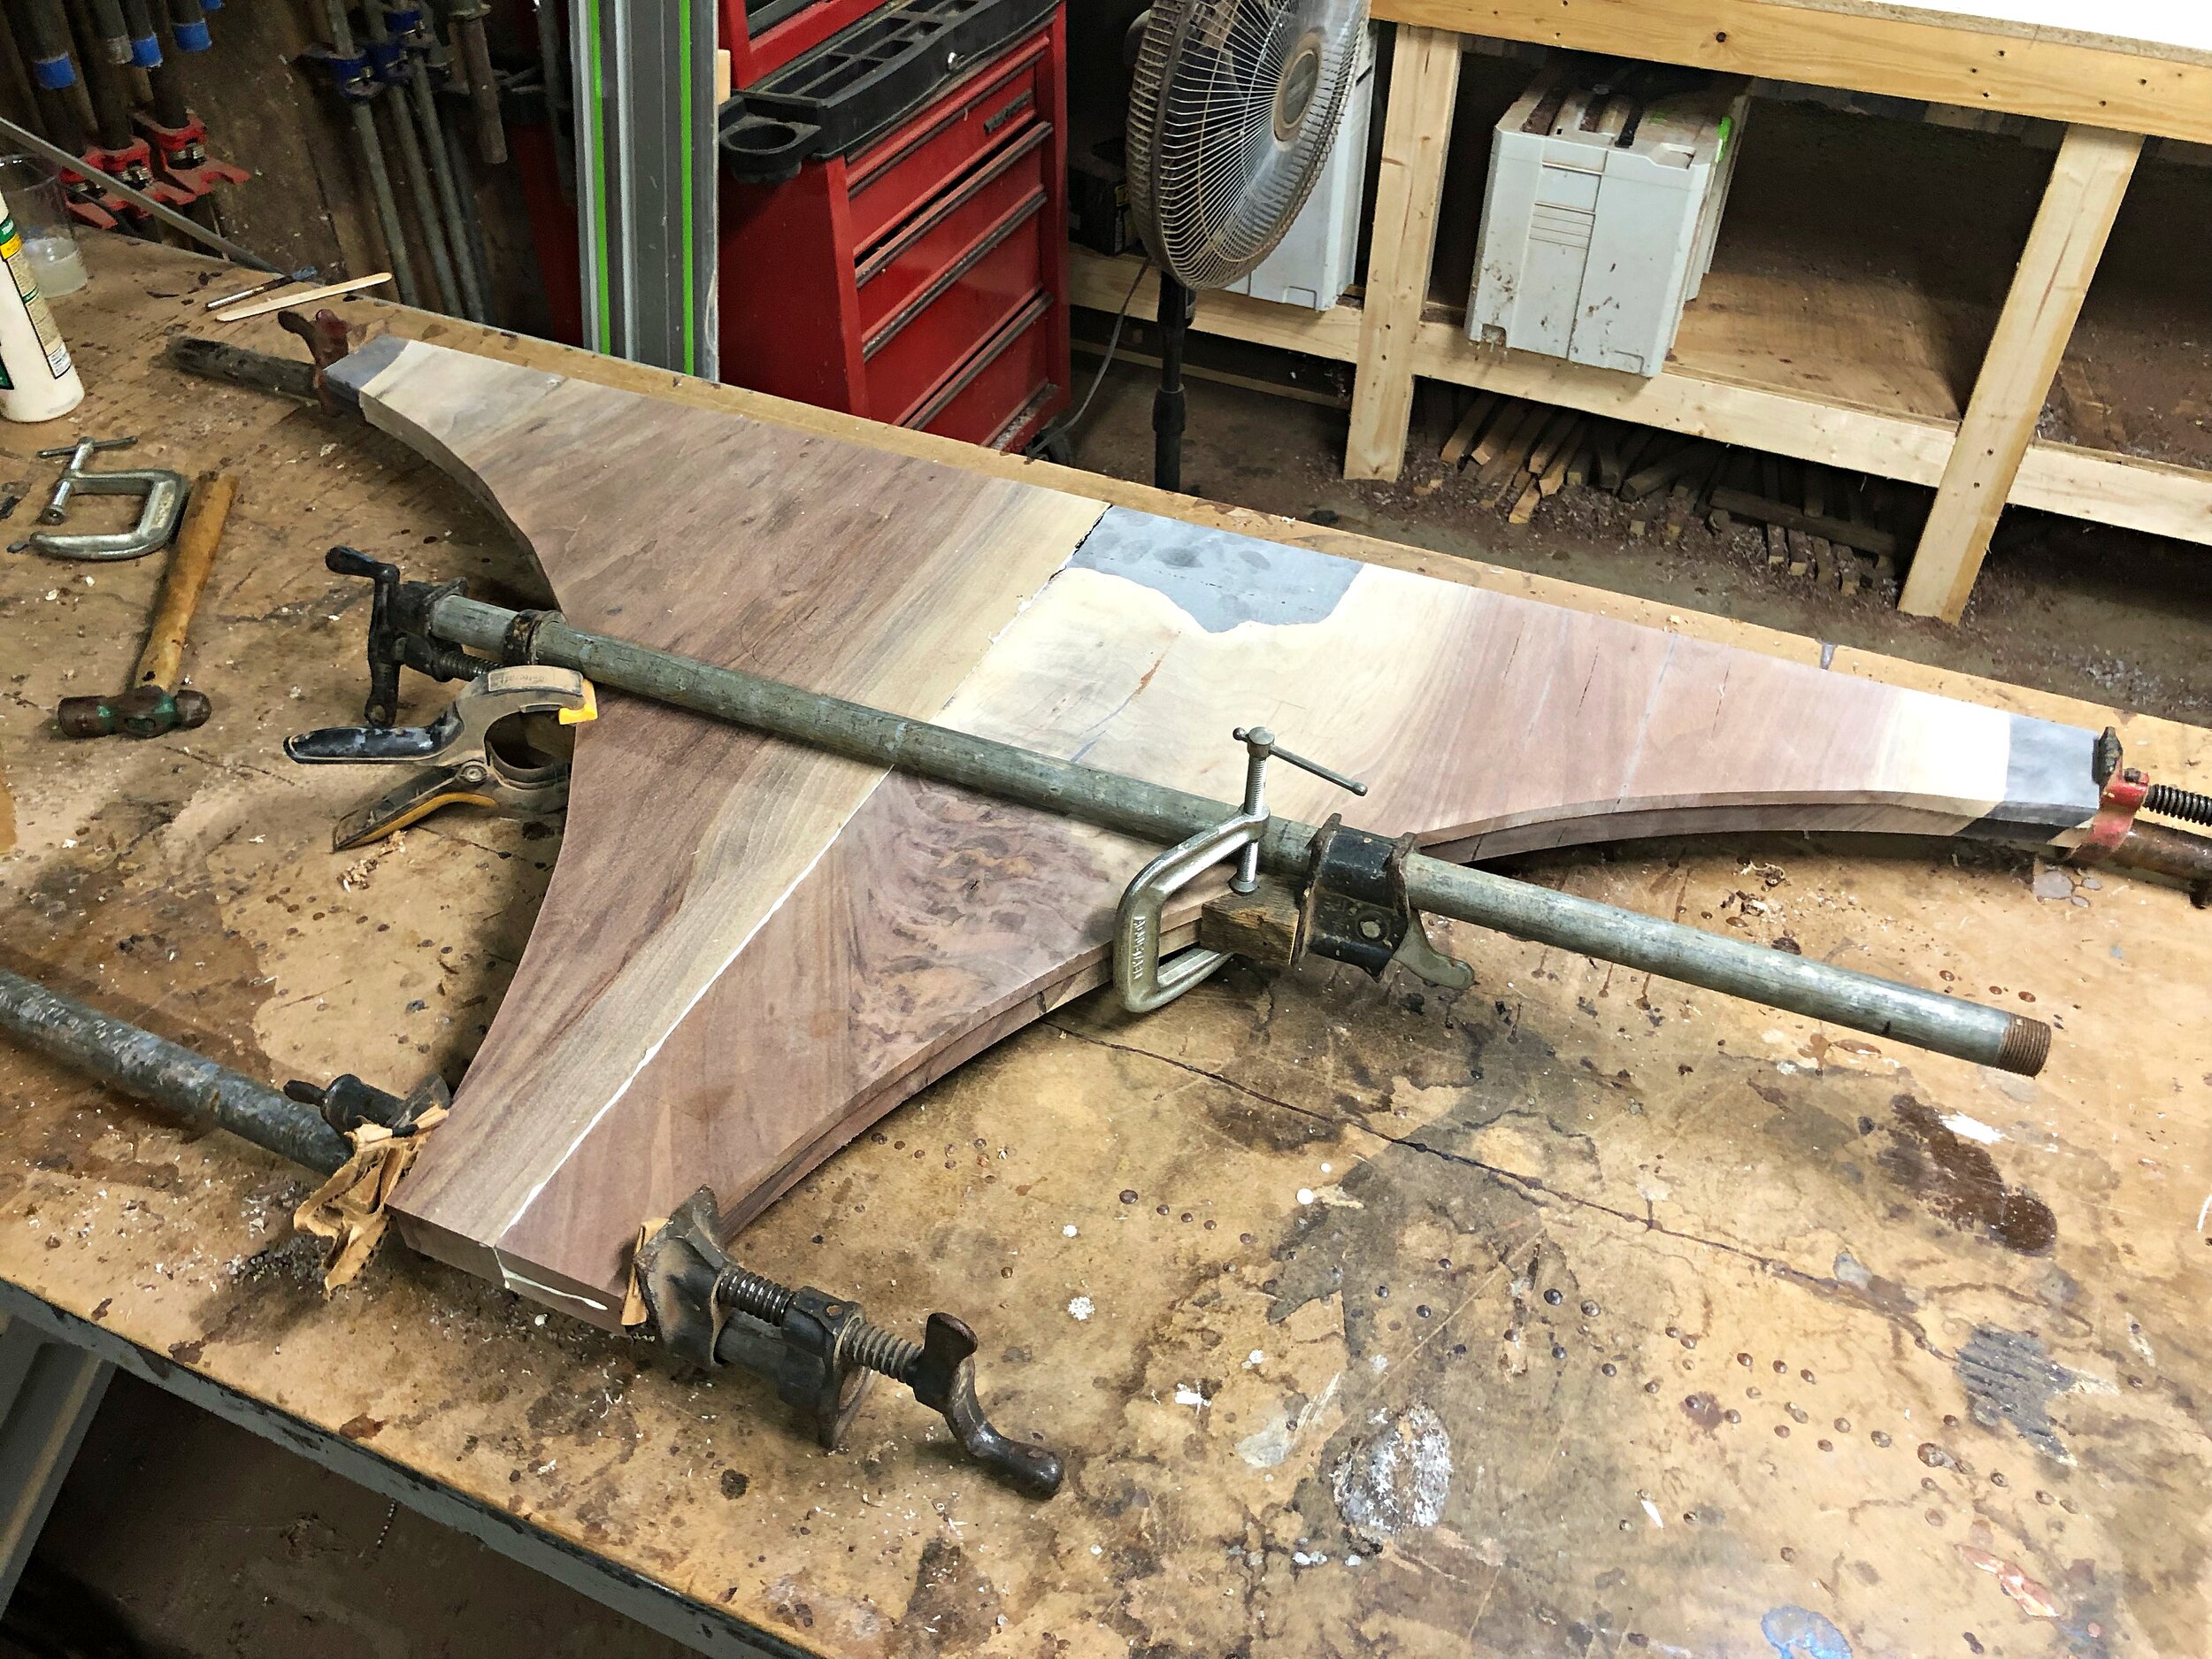
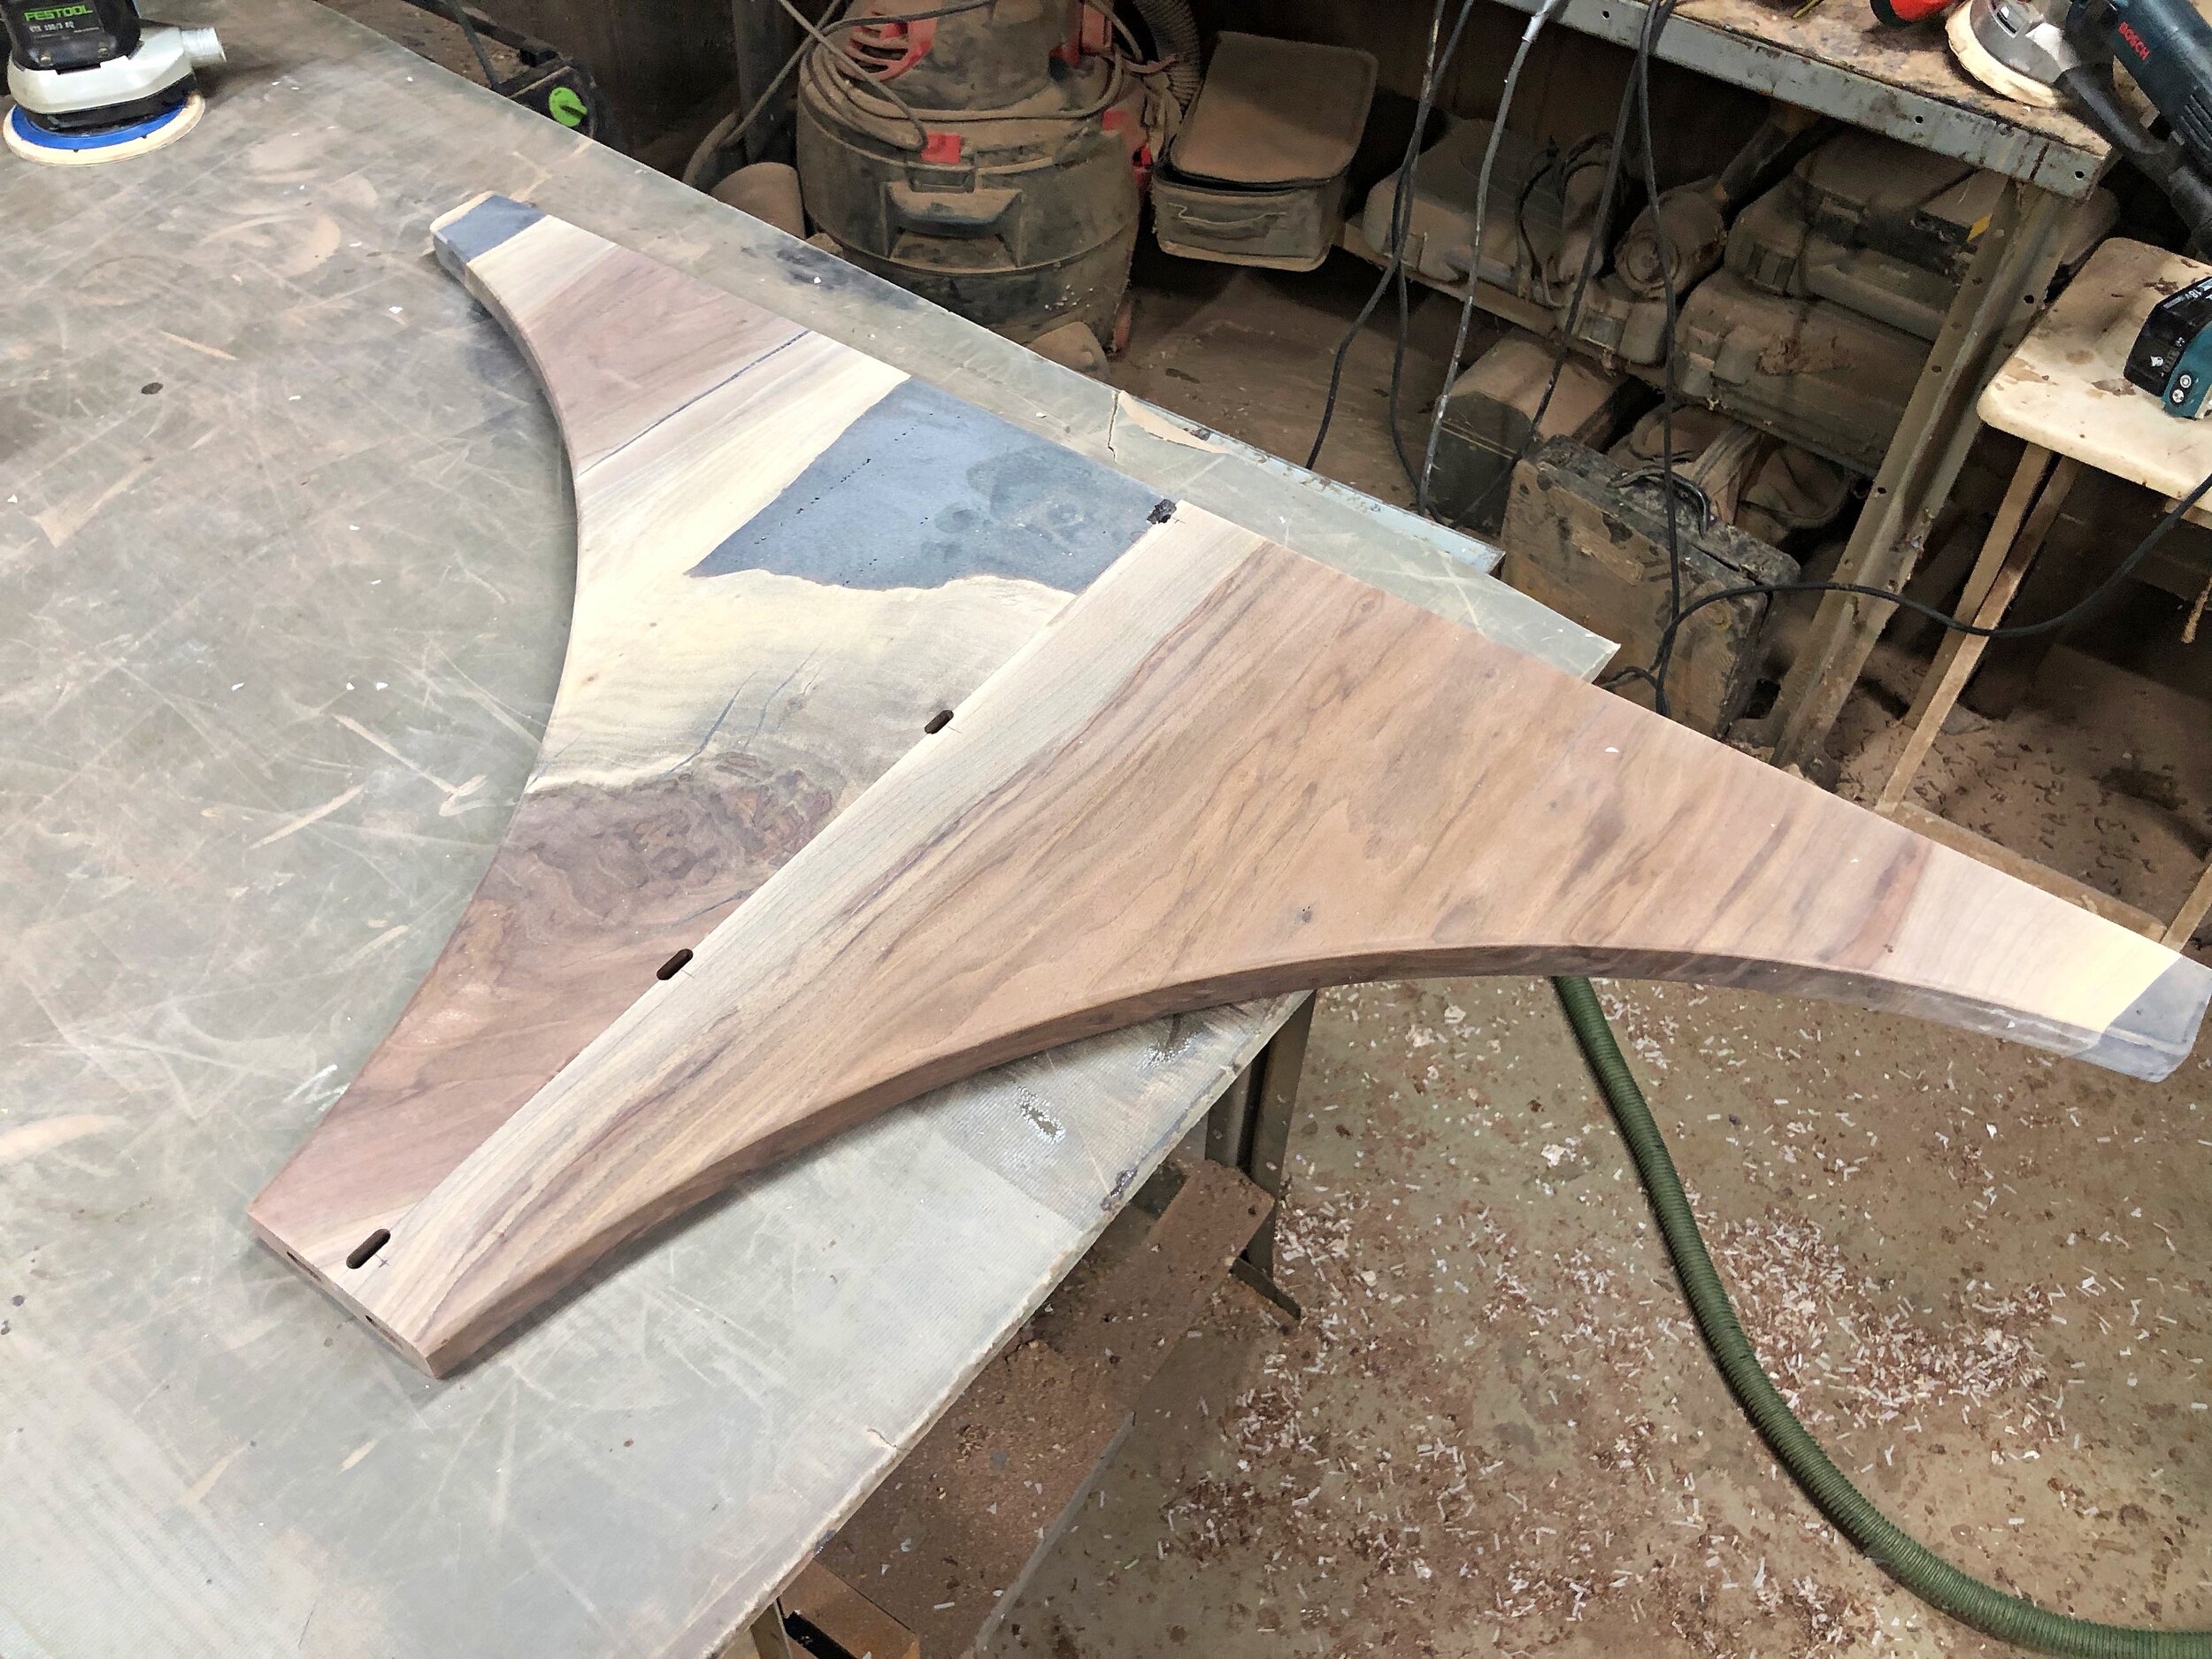
The first mock up of the base, using the extra material from cutting the circle out of a square mold
Flattening the pieces - this wound up being a difficult job
And on to assembly - dominoes are used to strength the joint and a combination of glue and epoxy for the different surface materials
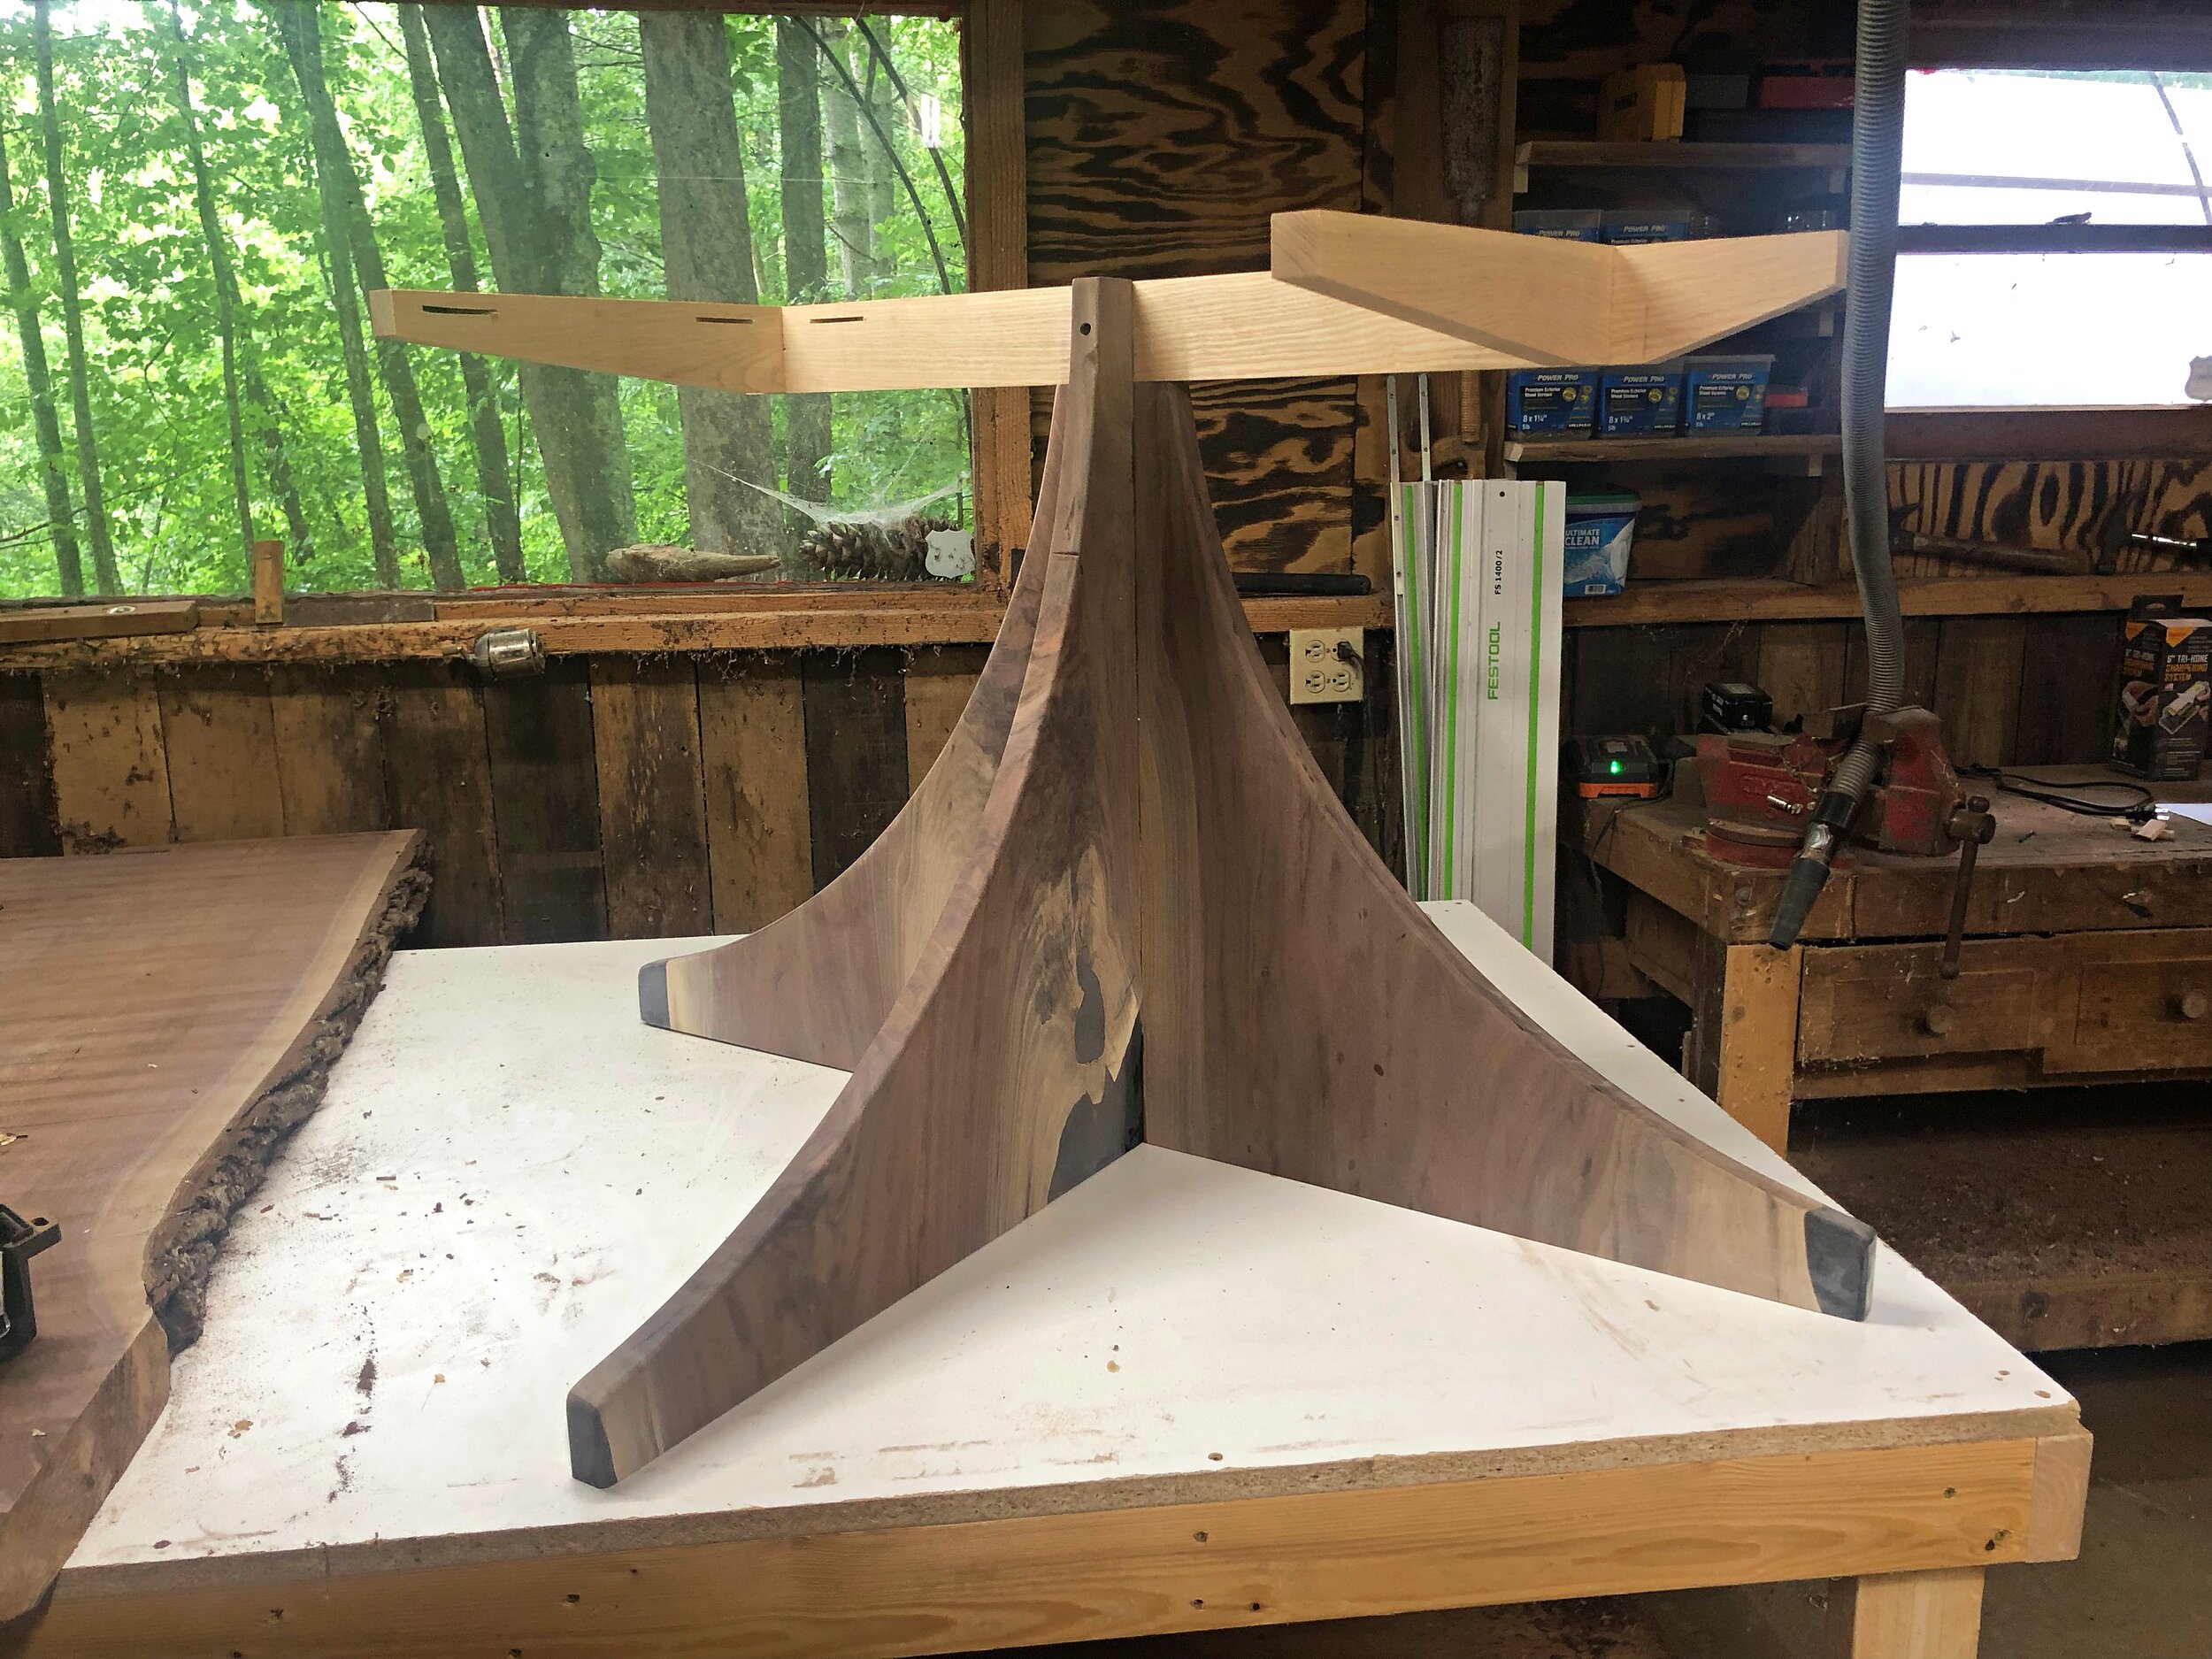
After several days of staged assembly, the base is mocked up. I added substantially more bracing to the top support after testing it initially.
The first test fit in the shop!
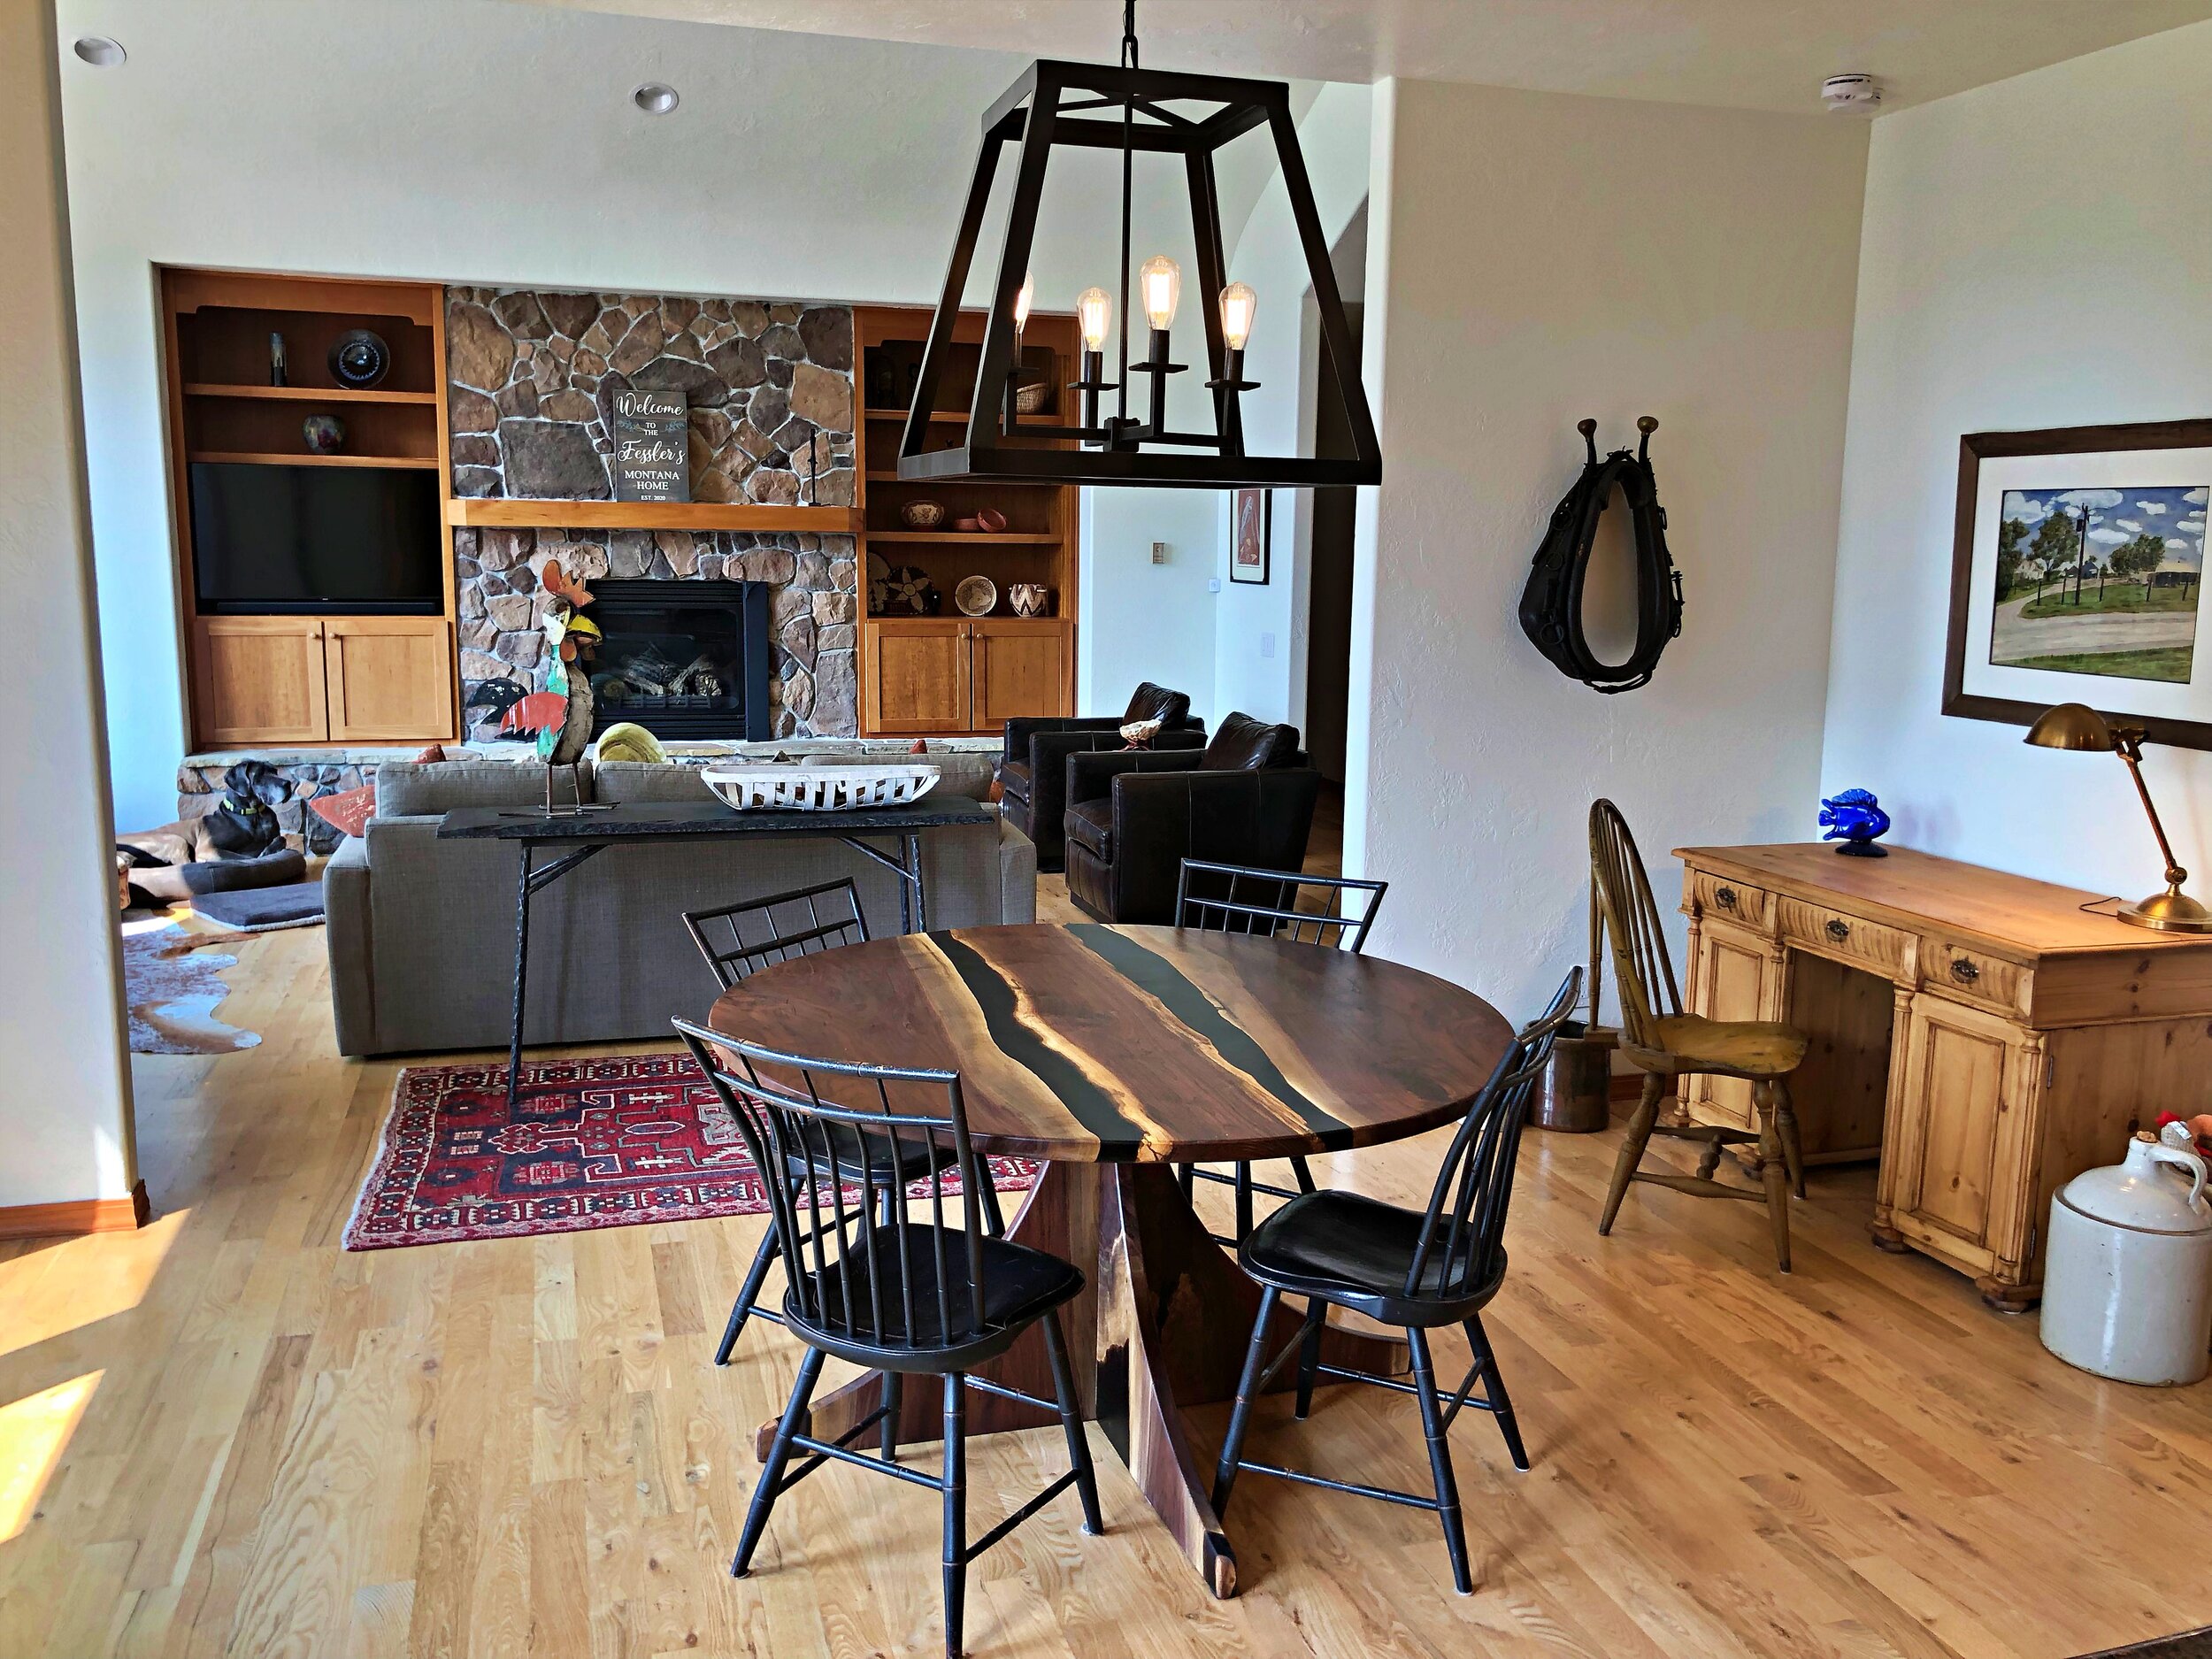
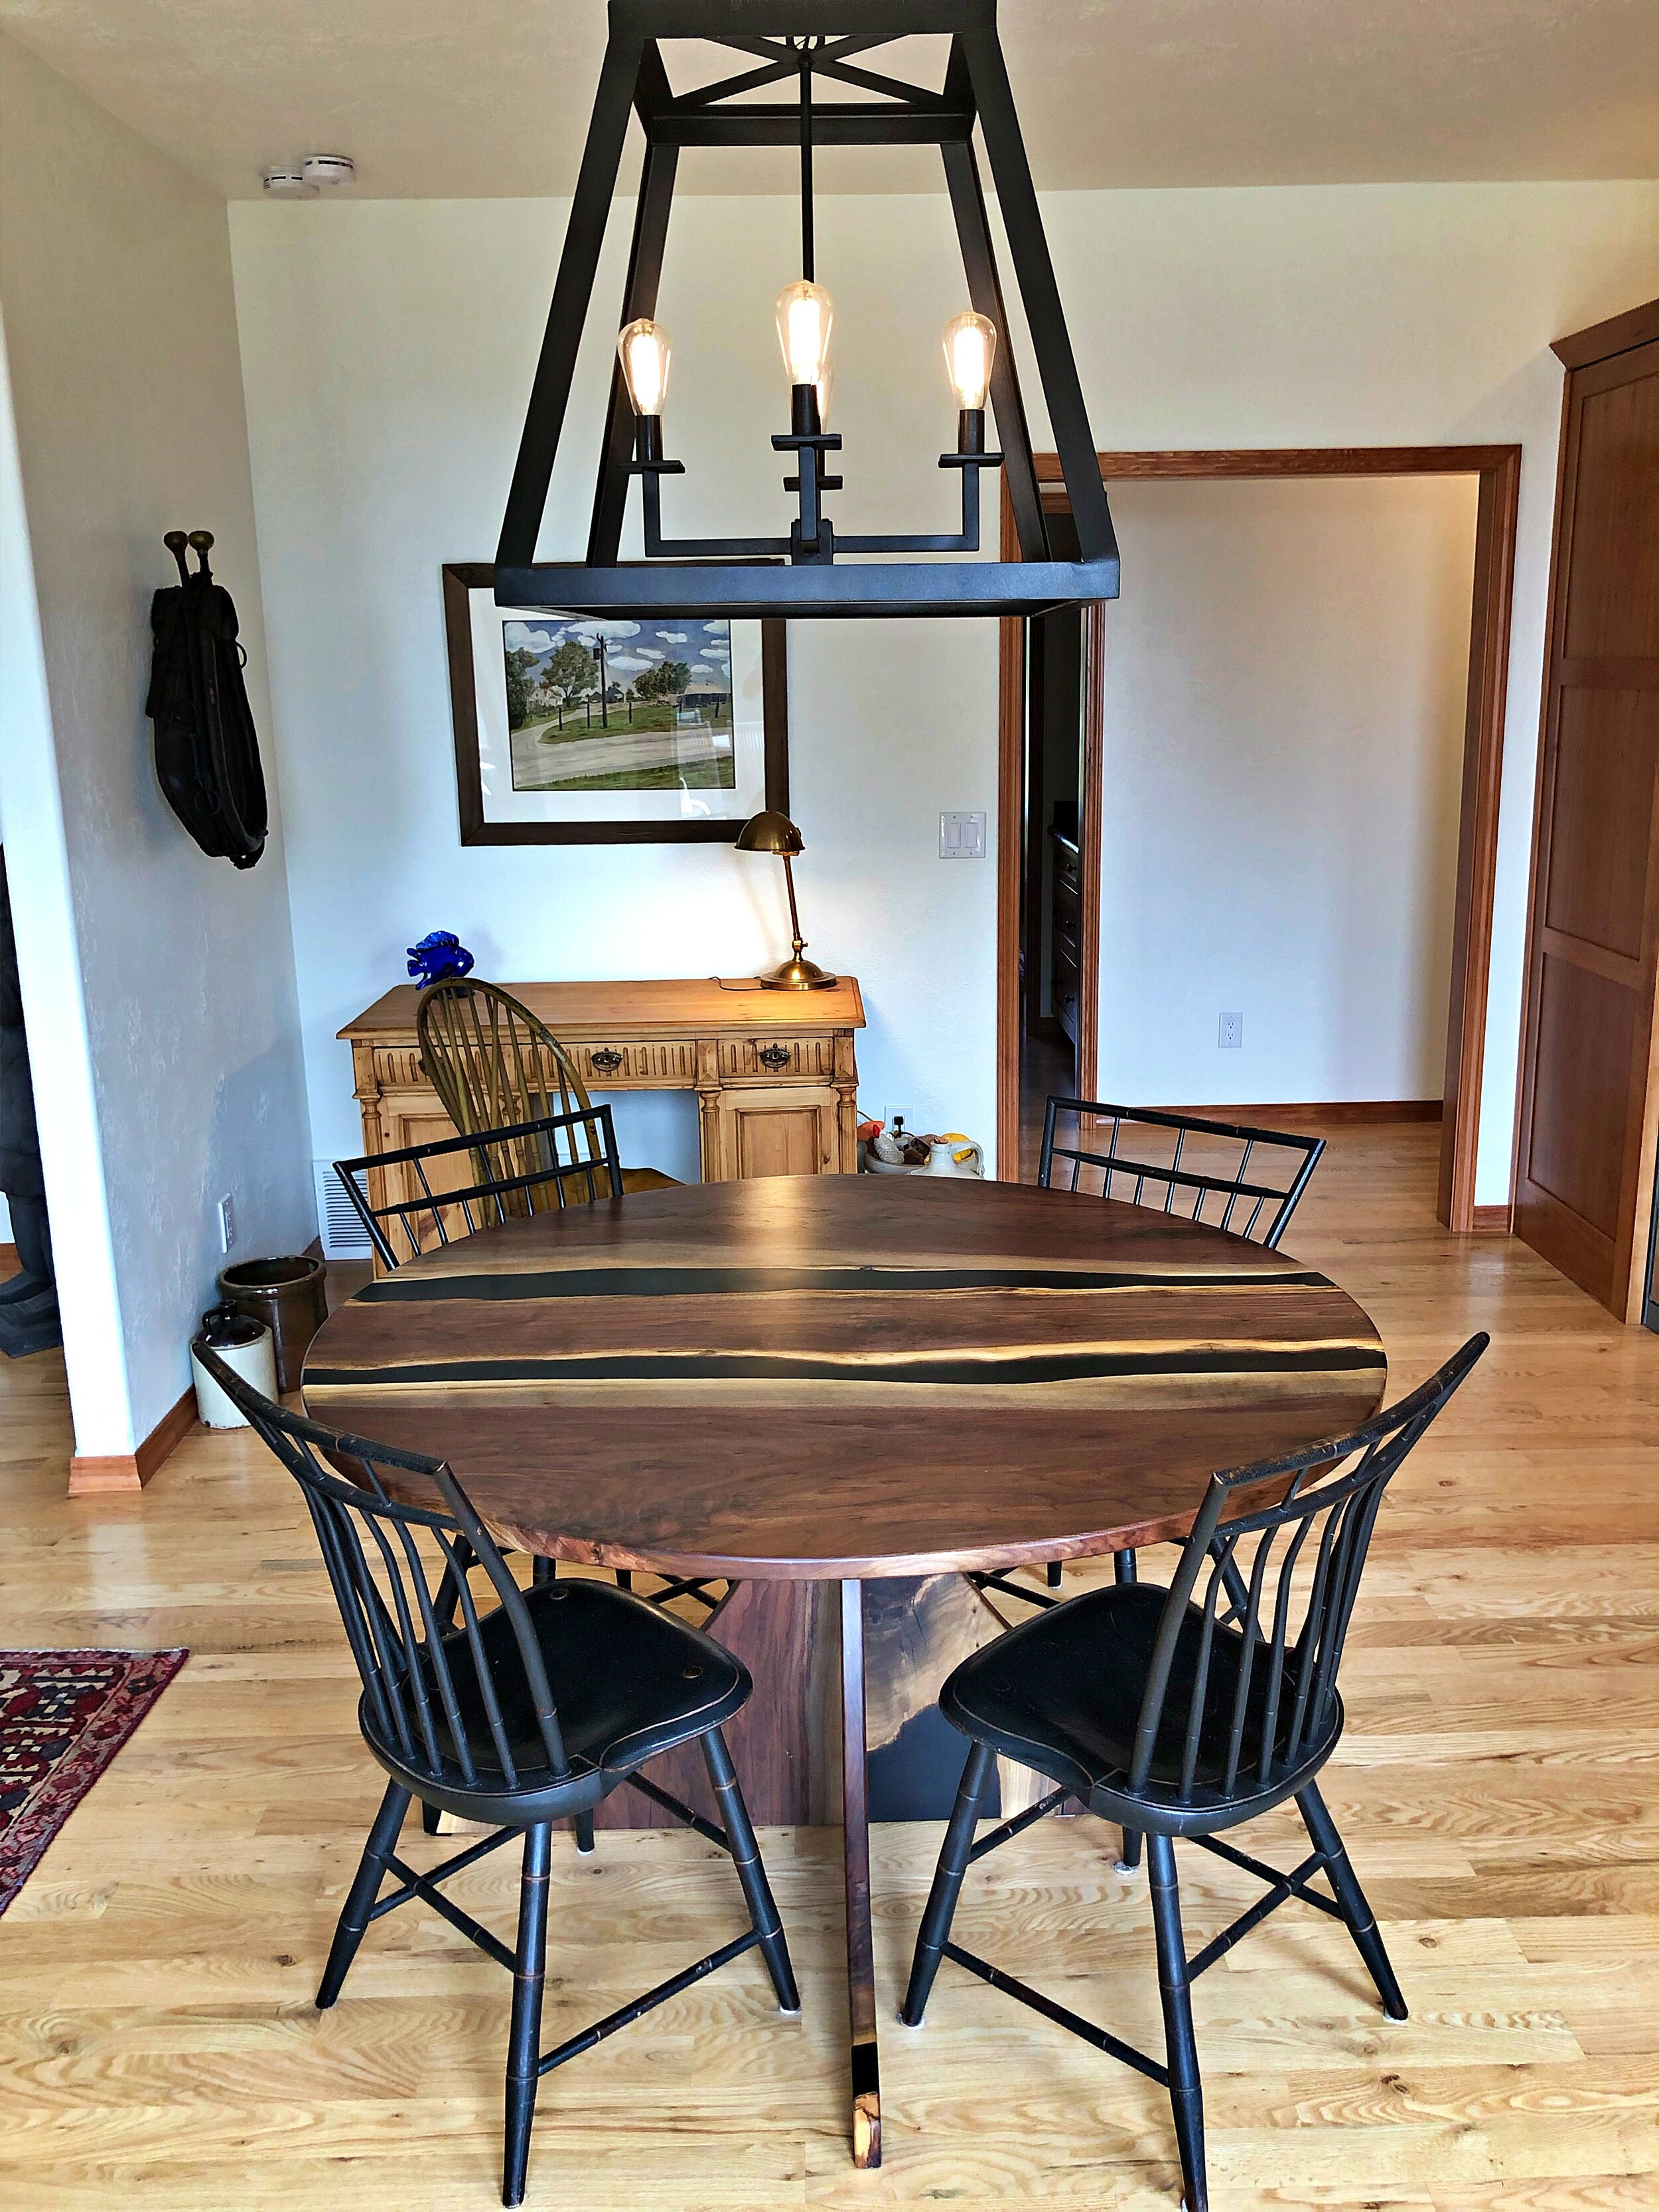
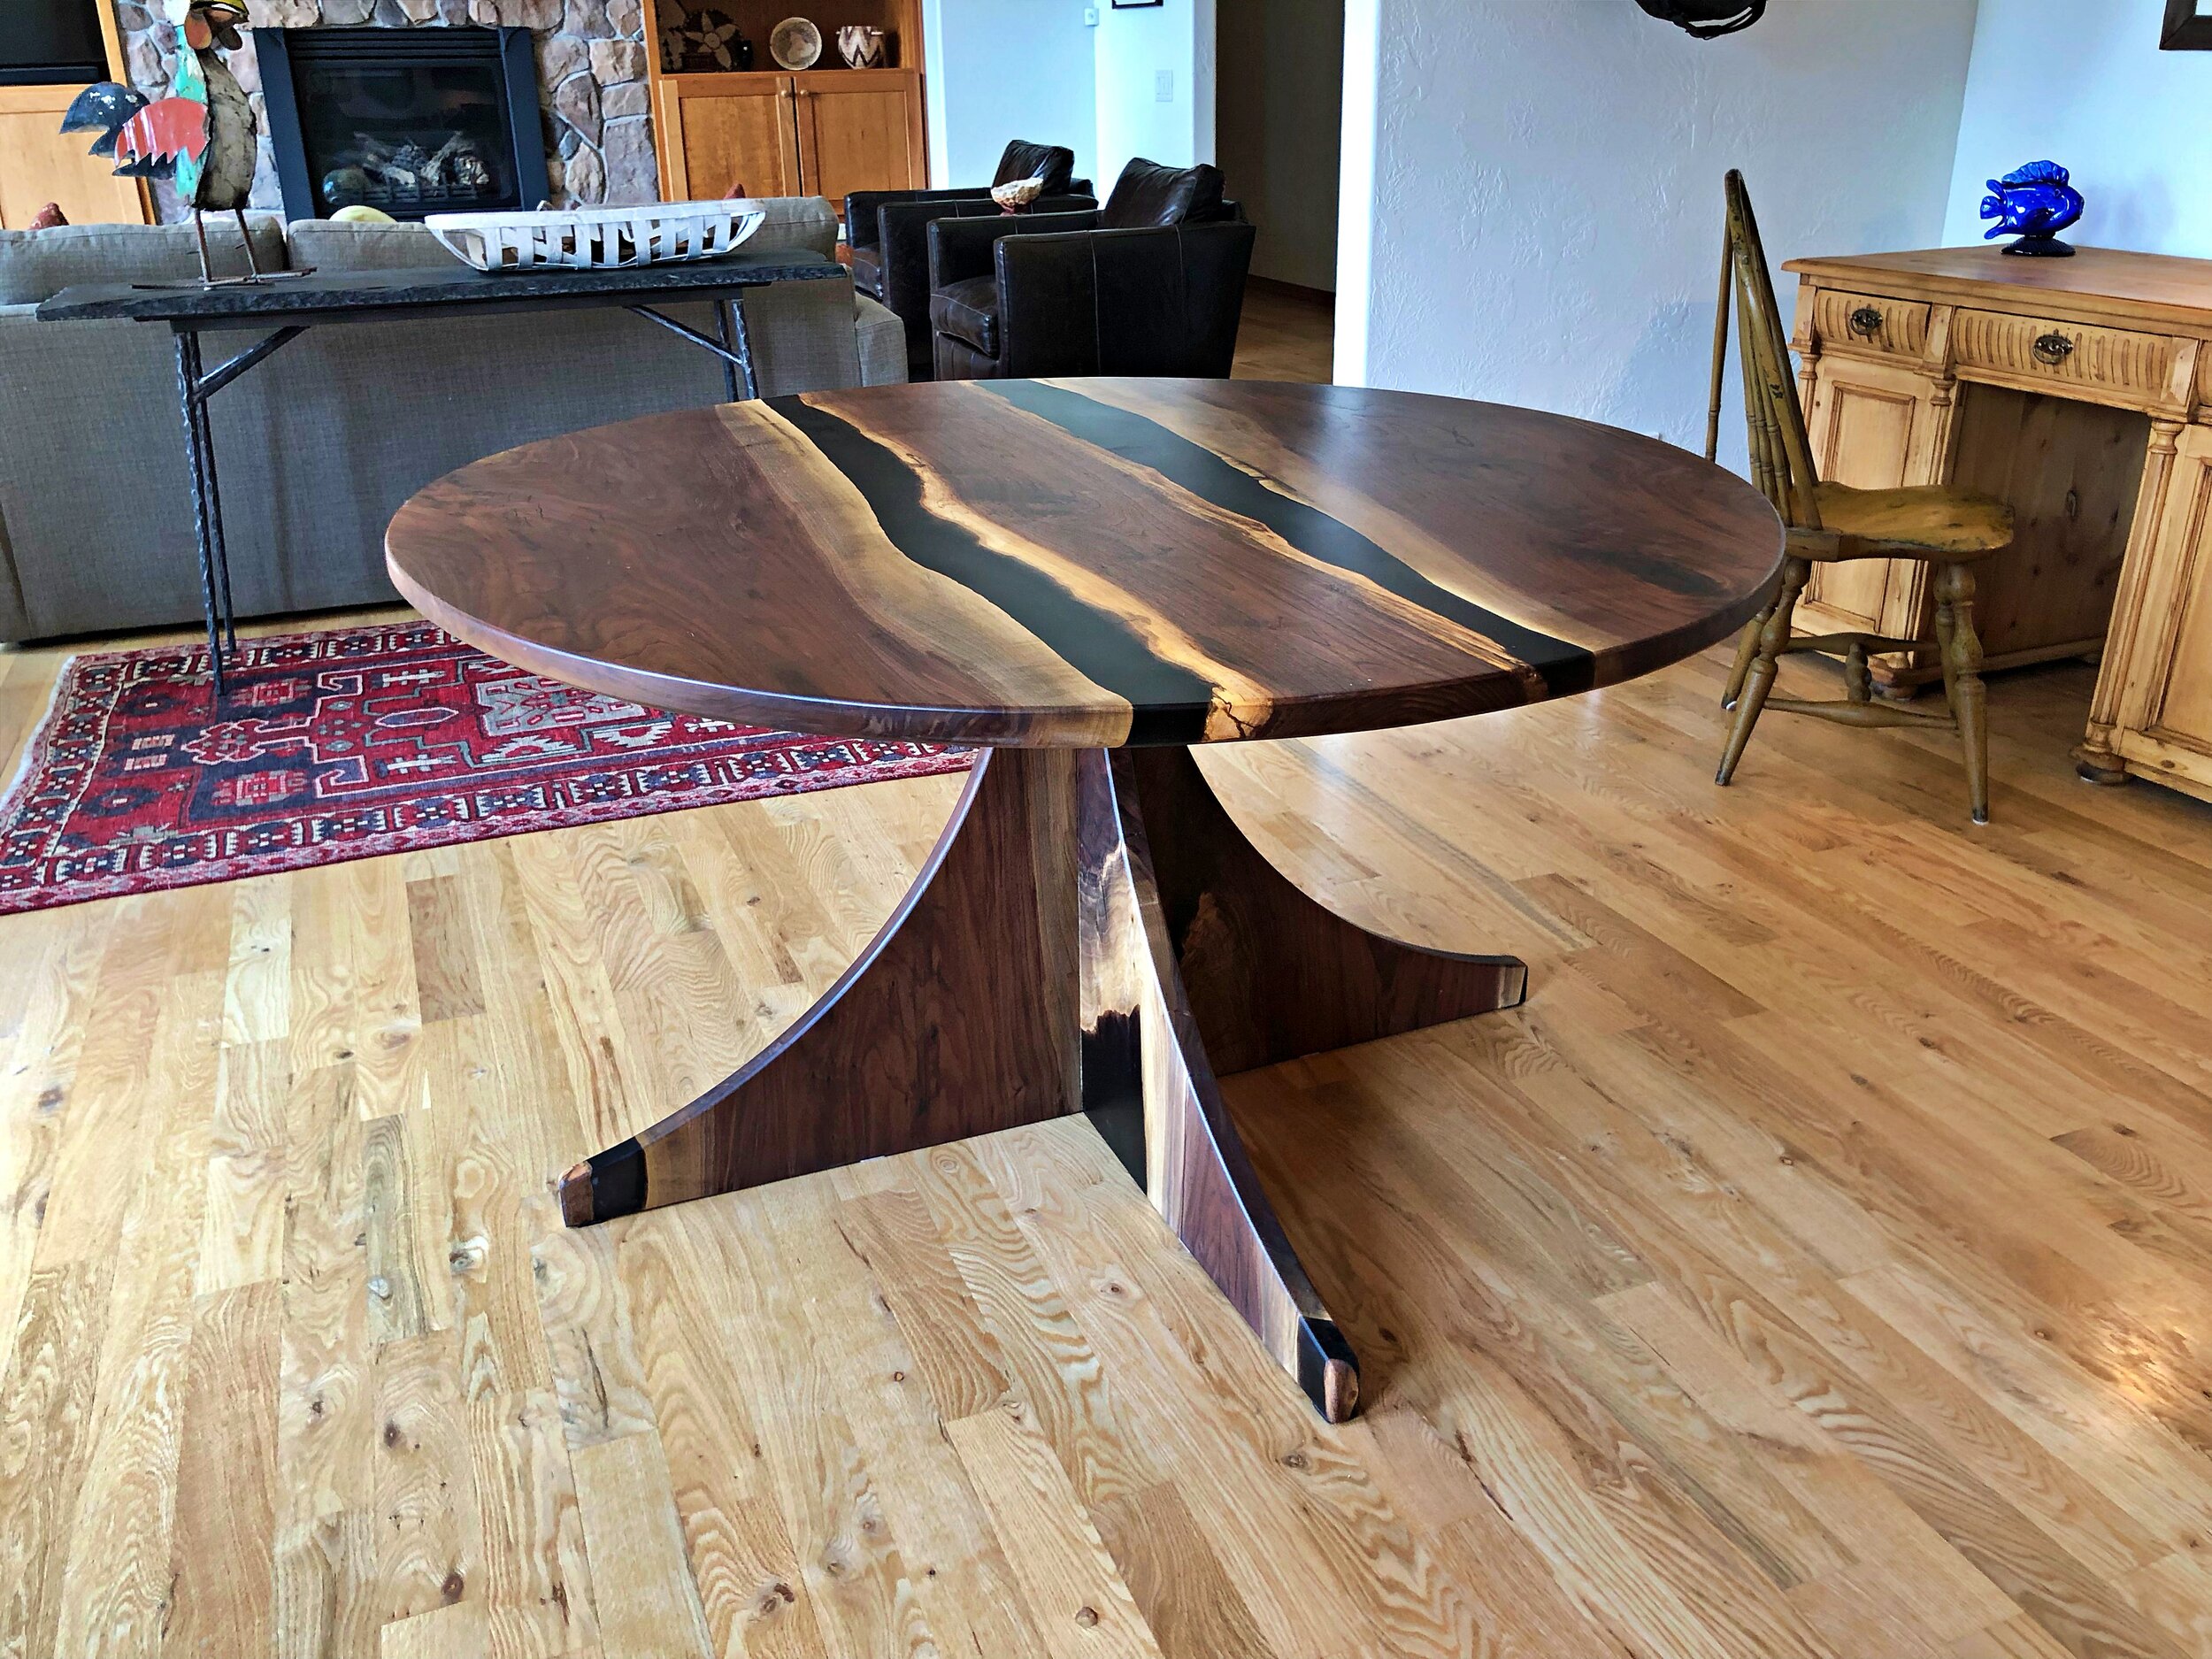
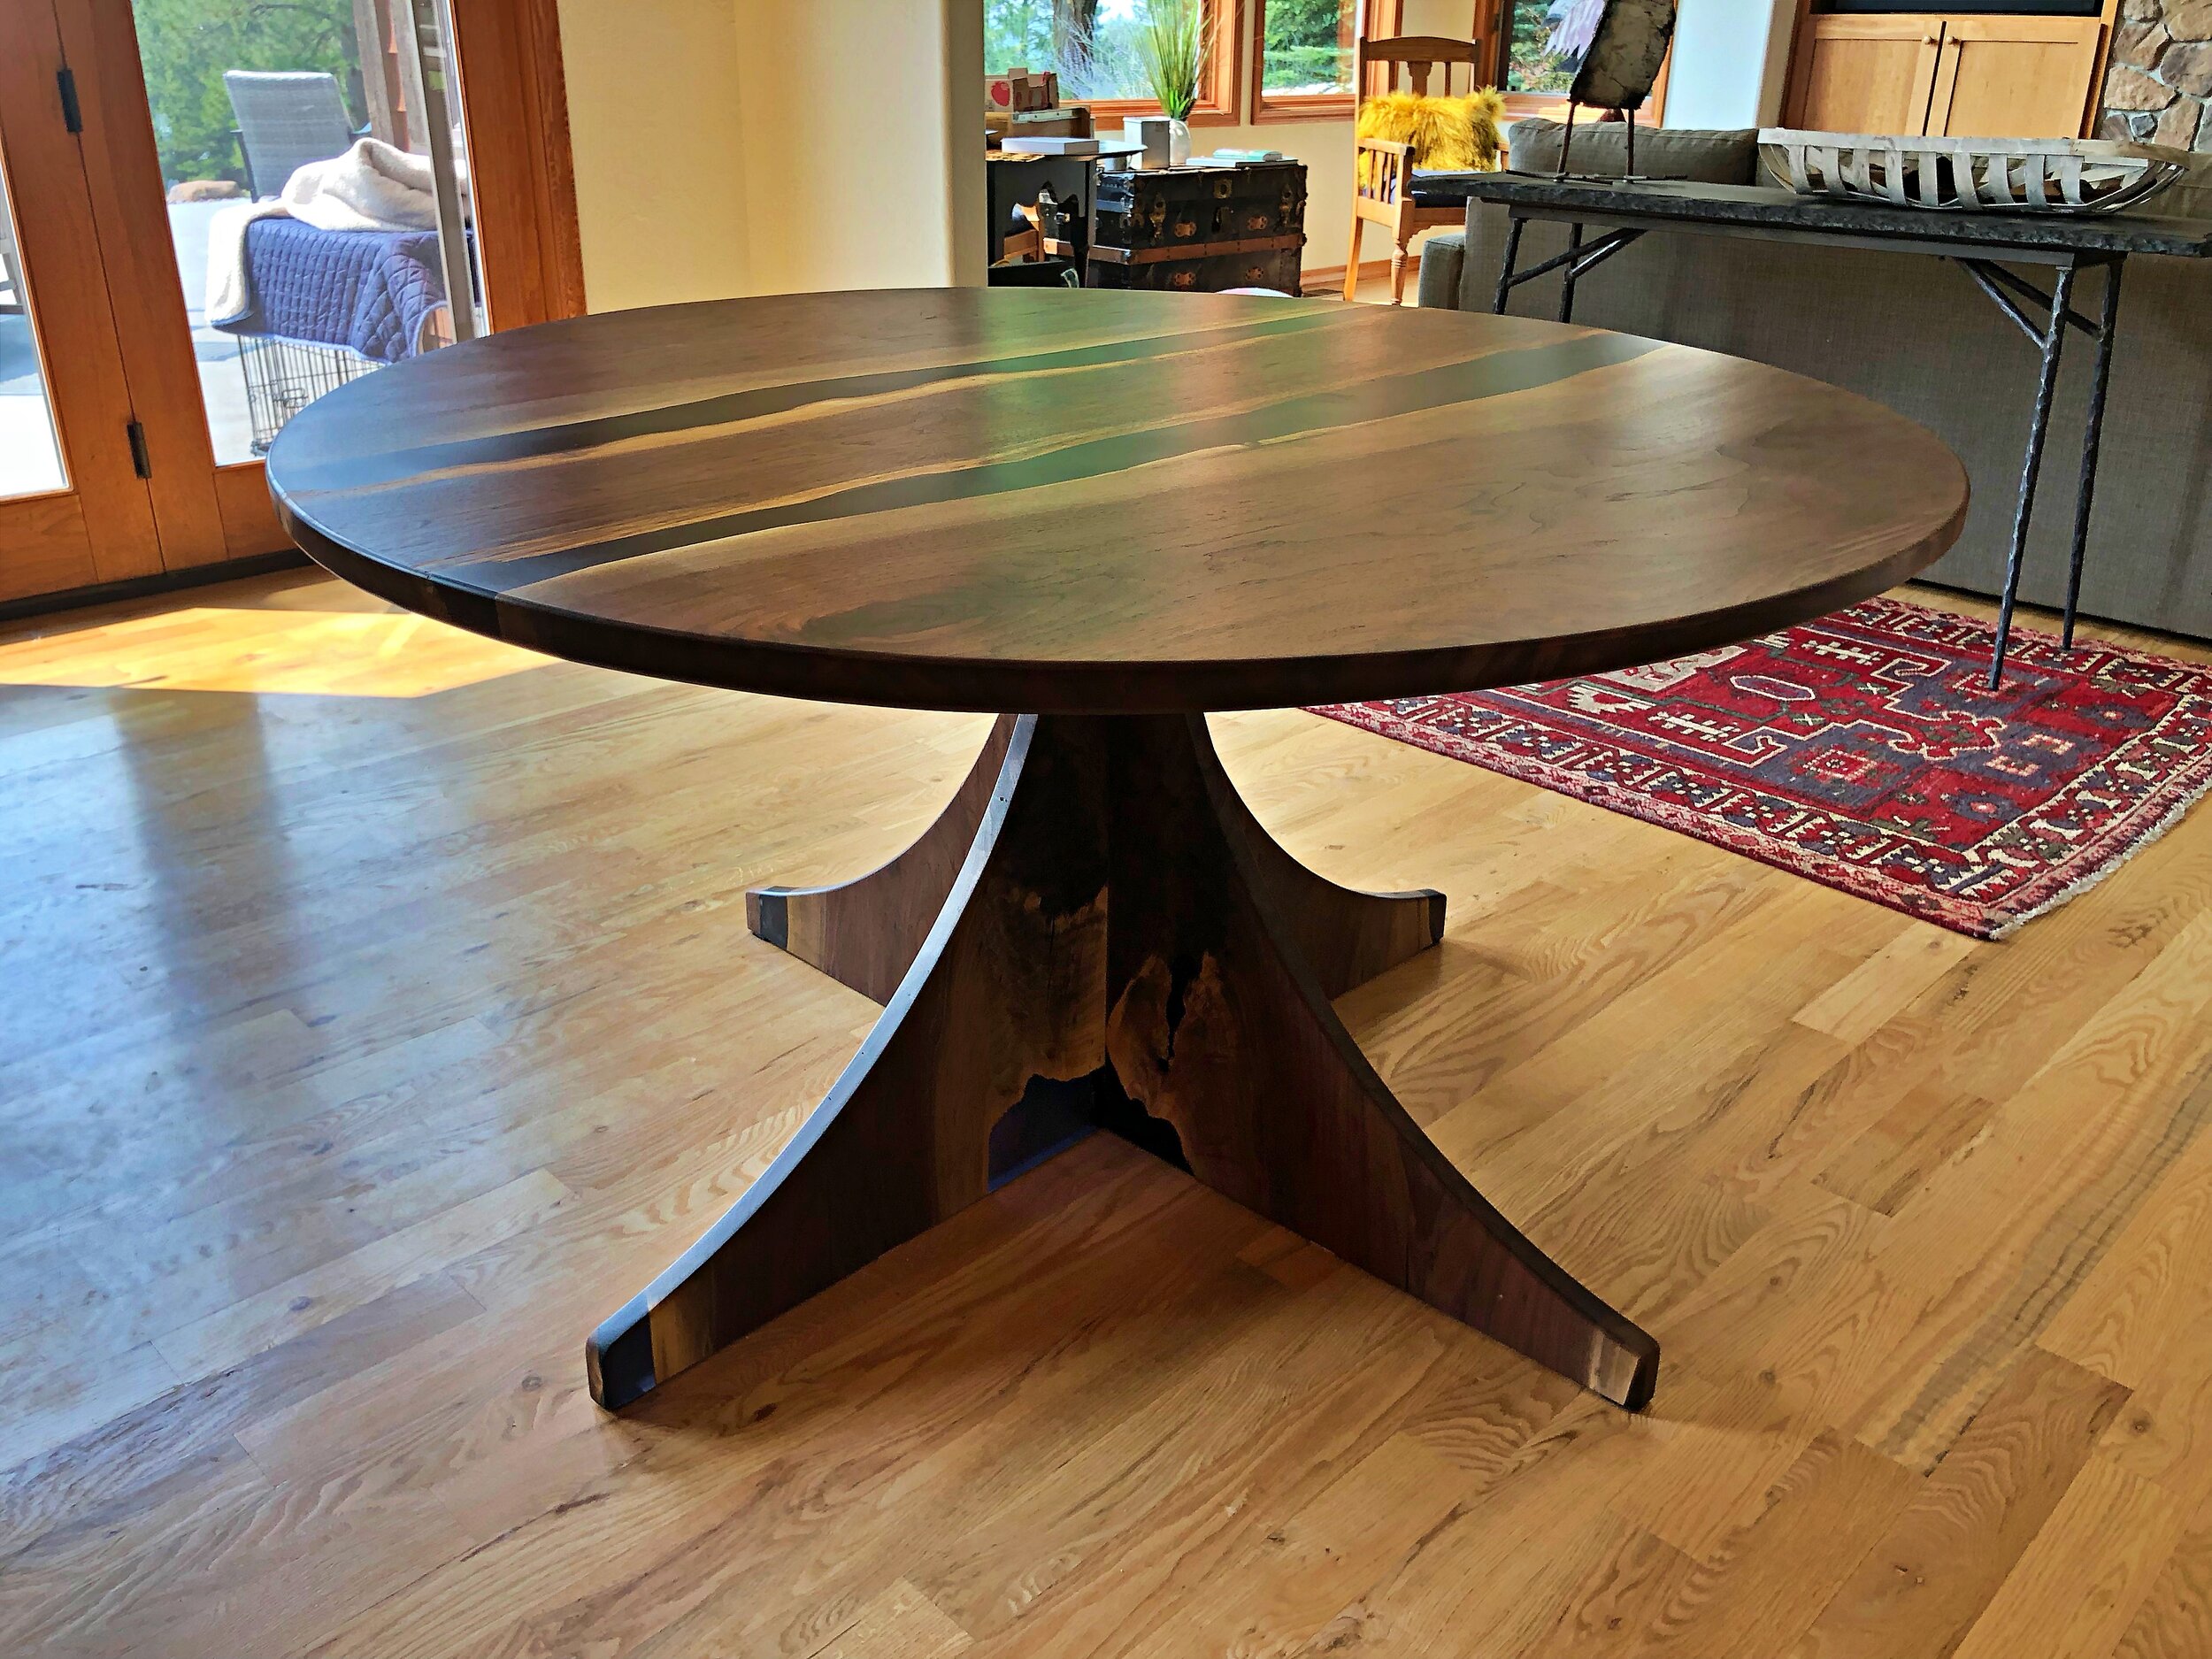
And the finished piece - at home in Montana